Thursday
1) Excavated for the footers (second week in April)
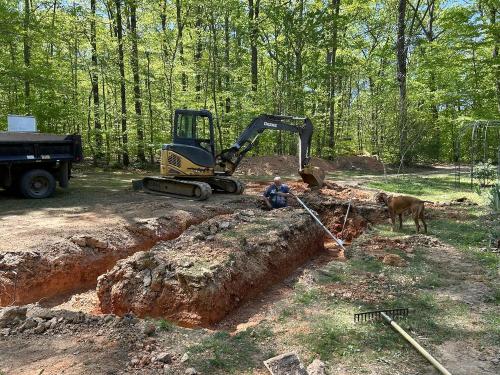
Mike did the groundwork using his mini excavator. River, ever curious, is checking things out. The width is overkill, but it is the width of the mini excavator's bucket. Much easier than digging by hand. Mike loves using equipment wherever possible ![]()
2) Poured the concrete footers (Apr 20)
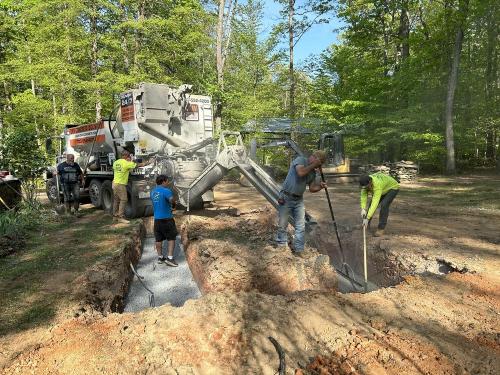
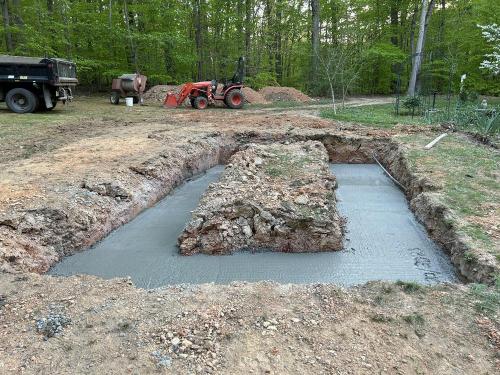
Mike, along with neighbor, friends, and the concrete truck worker getting the concrete footers in. That foundation isn't going anywhere!
3) Laid the block foundation (Apr 26)
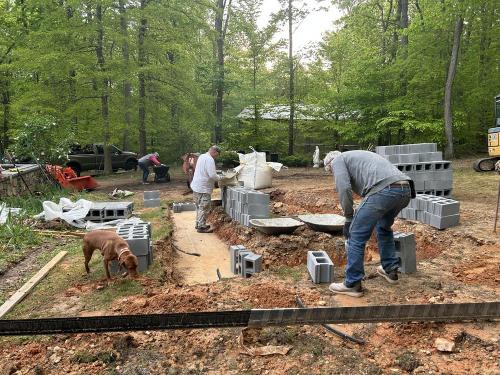
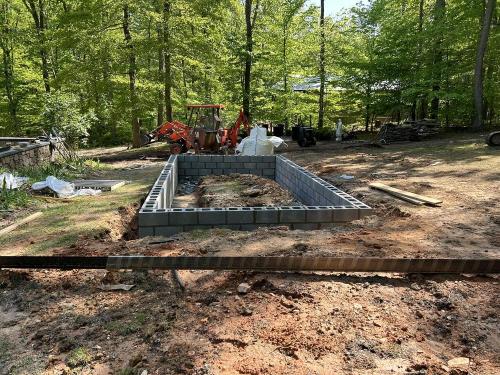
The local Lucketts born and raised brick contractor has done the blockwork for all of our projects. He had a coworker helping him. Mike is the laborer mixing concrete in the background. Yep, and River is in the thick of it as always. Good natured conversation and joking abound.
*** Break until after the May Plant Swap ***
4) Filled in with gravel (Jun 17)
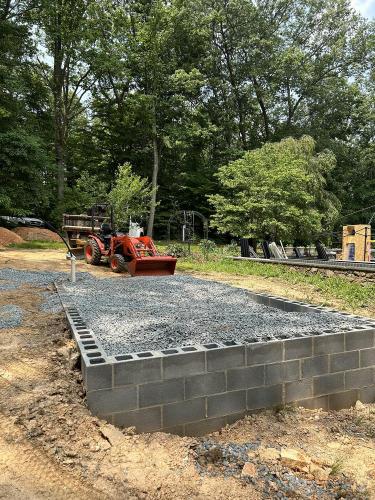
*** Gap for bluestone special order to come in ***
5) Installed the bluestone base cap (Jul 15)
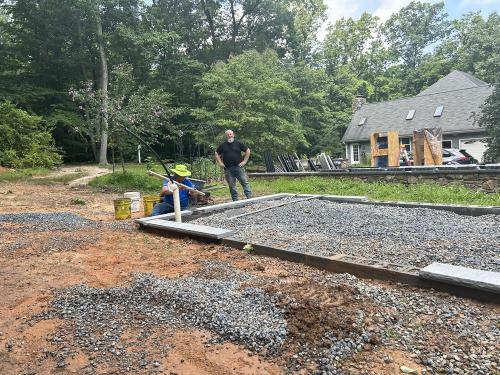
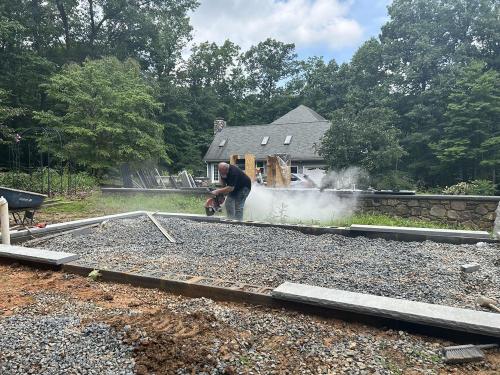
Our neighbor friend Kent the stonemason has done the stonework for all of our projects. He was on hand to set the bluestone cap. Mike used his concrete saw to cut the lengths where needed. The greenhouse runs parallel with the parking area stone retaining wall and the matching blue stone caps really complement each other.
6) Constructed the greenhouse frame (Jul 22 - Jul 26)
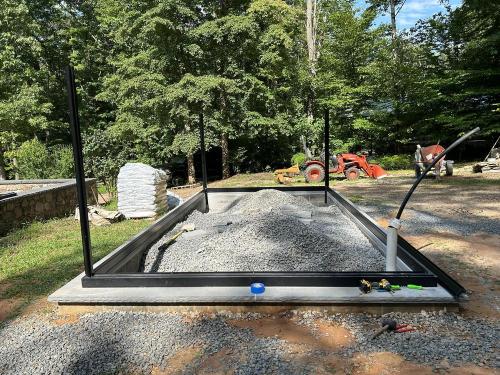
Setting and squaring up the base frame was straightforward. Setting the corner posts in theory should have been straightforward but my oh my it was anything but. All the framing goes together using hex bolts where the heads slide into channels in the framing piece with the bolt going into a predrilled hole in the piece you are connecting to and secured with a nut. It was nearly impossible to get the bolt in the channel on each side of the corner piece to go into the corresponding holes on the base. Have no idea why it was so difficult nor could any of us come up with a good solution to make it happen. This is where Mike lost it and I thought if this is how every connection is going to go we're in big trouble. You can see in this photo that there are only 3 corner posts set at this point. Each one had taken about an hour, setting into place only after much fiddling by Mike and Richard. That fourth and last corner post where the water tie in will be was even worse. Mike gave up and went inside for the day. After a much needed break, Richard, who has unbelievable patience, fiddled with it with help/no-help from Bonnie and me. When it finally set into place it was cheer worthy and a celebration ensued.
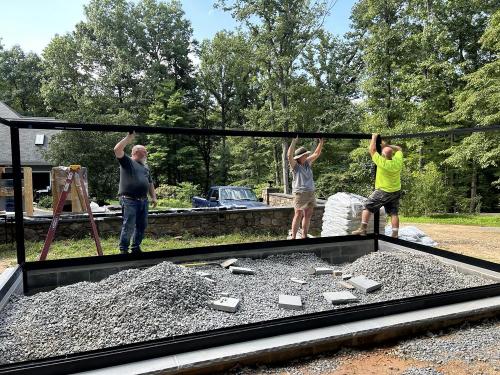
The next step was to set the top framing around the perimeter. Luckily the hex bolt connections were very easy and remained easy from this point on. The only thing that I can think of that made those corner posts so difficult was that there were two bolts at 90 degree angles, very close together, and not much room to get to them.
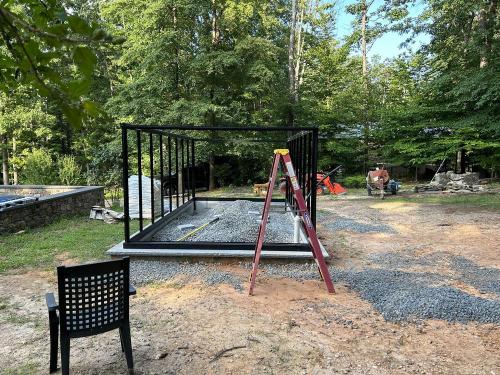
Setting the wall studs was straightforward and easy.
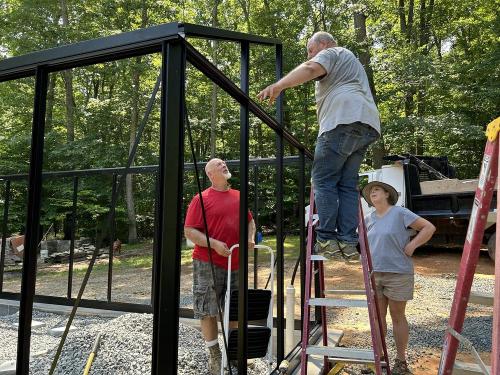
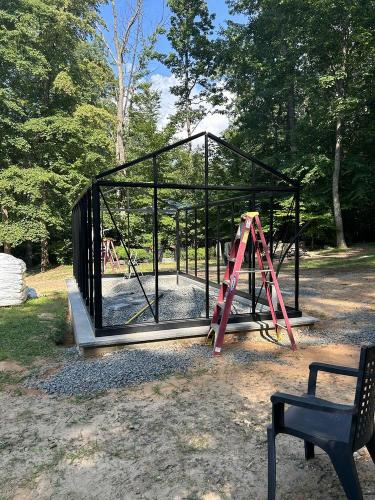
Next step, setting the gable ends. After this point, Richard, Bonnie, and I carried on without Mike, only using his help the few times when another set of hands was needed.

Richard and Bonnie setting the roof studs.
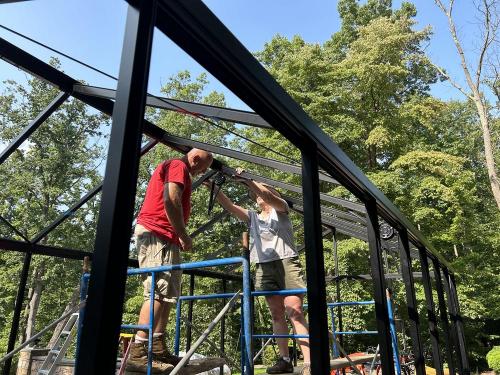
Richard and Bonnie setting the victorian spandrel supports.
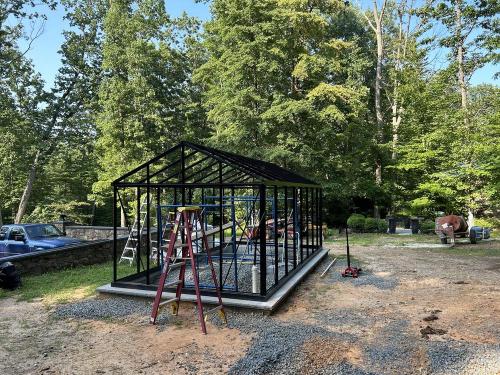
Framing COMPLETE!!!
7) Installed the polycarbonate panels and various accessories ( Aug 02 - Aug 05)
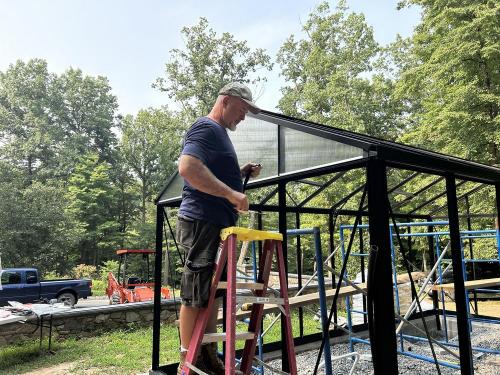
Richard getting started with the gable ends. The plastic u-channels that you slide on the bottom of the polycarbonate panels only come in white whereas the framing is black - and it shows. I really did not like the look. Mike was a car painter for 30 years before he started on his second career path using heavy equipment so painting, especially with a sprayer, is another one of his skill sets. He ended up spraying a plastic bonding agent type spray to those white u-channels and then spraying them black. SO much better.
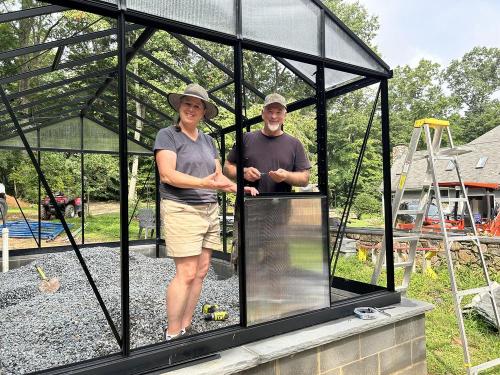
The next step should have been installing the polycarbonate for the roof panels, but Mike only painted the sides of the u-channels, not the bottoms - the bottoms don't show on the straight up and down gable end panels or the wall panels, but the roof panels are on a 45 degree angle, and what part shows the most??? The bottoms of course ![]() So, another short derailing until they were painted. In the meantime, Richard and Bonnie did the panel under the louvre vent window.
So, another short derailing until they were painted. In the meantime, Richard and Bonnie did the panel under the louvre vent window.
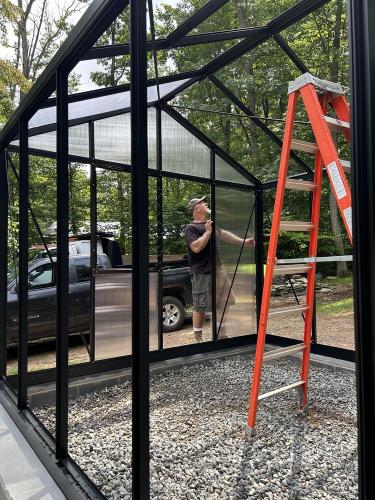
Richard getting started on the wall panels. We decided that there shouldn't be any issues following the installation manual out of sequence by installing some of the wall panels before the roof panels while we were waiting on the u-channels to be painted.
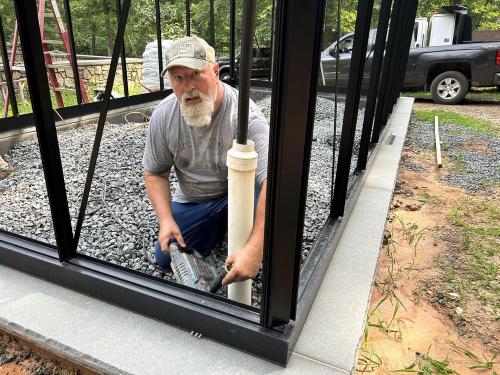
One of the instructions in the installation manual was to wait to secure the base frame to the foundation until after the framing was completed in case any squaring up adjustments had to be made. Now that the framing is done and the polycarbonate panels are going in without any squaring up type issues, Mike went ahead and secured the base frame.
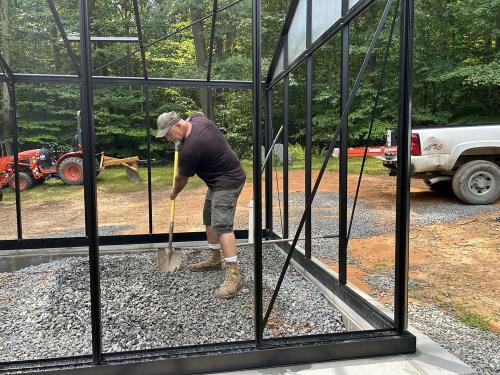
Richard raking gravel. With the base frame secured to the foundation, we are finally at a point where the gravel could be raked out to fill around the corners that we had left open.
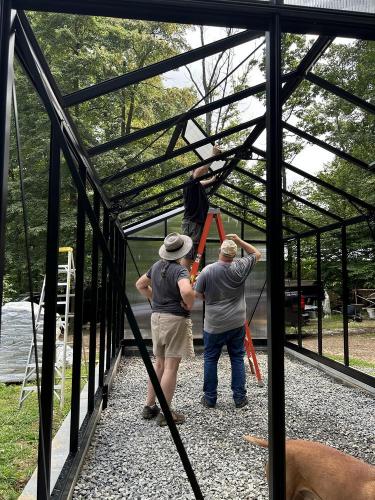
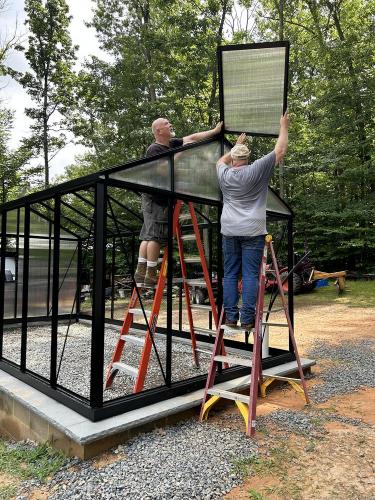
Richard installing the roof window vents. This was one of those steps where we needed Mike's extra set of hands.
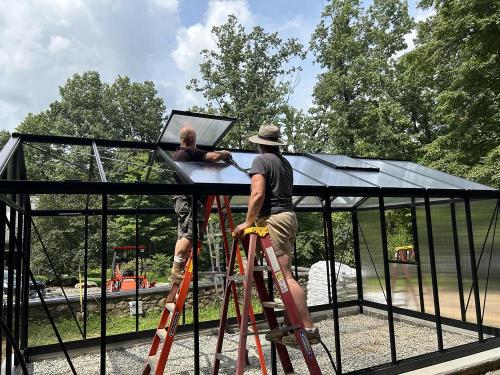
Richard and Bonnie installing the roof panels.
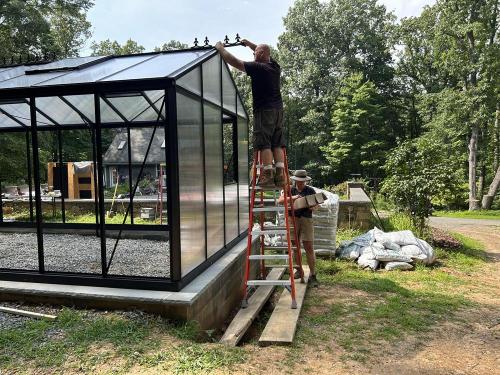
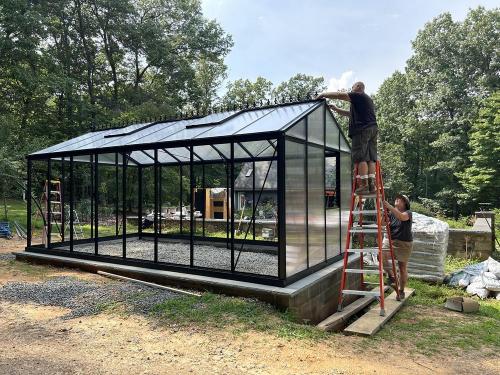
Richard and Bonnie installing the decorative victorian roof trim.
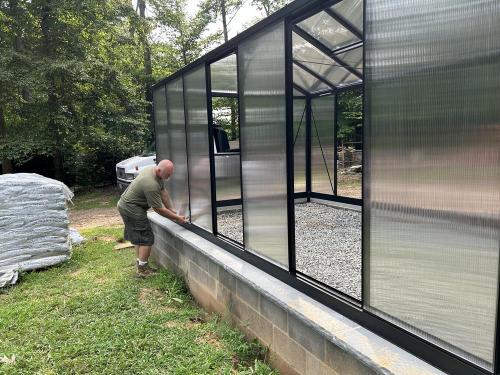
Richard continuing on with wall panel installation.
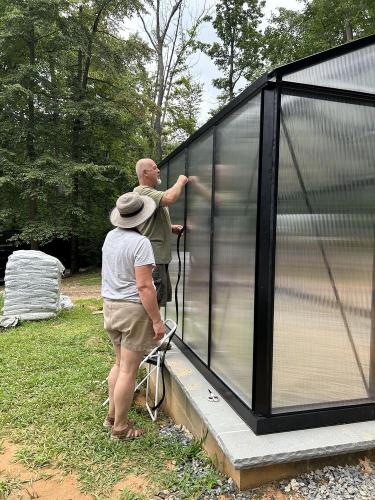
Richard and Bonnie installing rubber weather stripping.
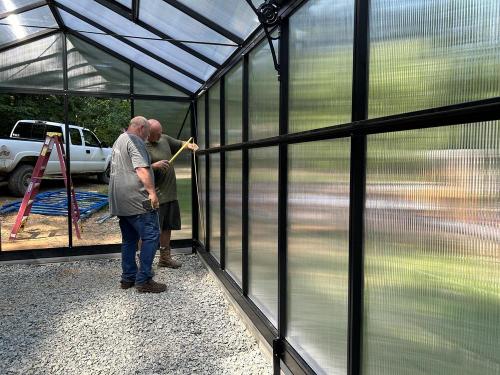
Mike and Richard installing the narrow shelf accessory.
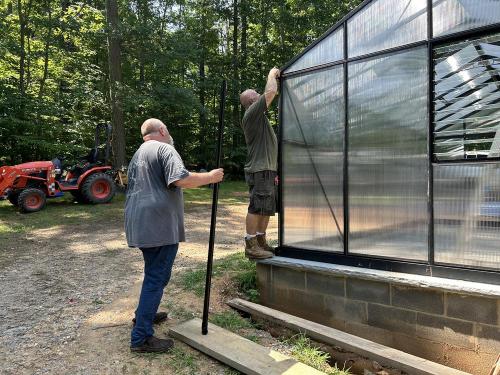
Mike and Richard installing the downspouts.
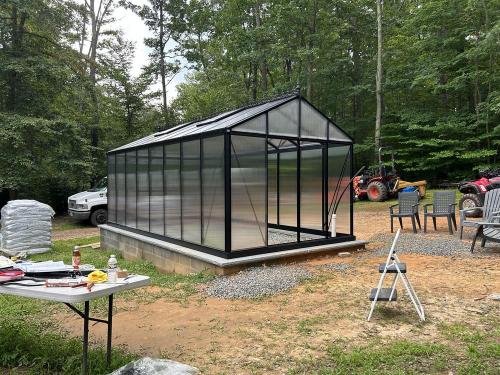
Polycarbonate panels COMPLETE!!!
Richard and I took a break before tackling the double sliding doors. We both re-read the installation instructions and watched the video again several times, but still had questions. Once we had all our questions in order, we called the Exaco technical support line. I've been impressed by their customer service. You get through to someone quickly and they were spot on knowledgeable every time I contacted them. I will post end of project type photos as soon as Mike finished up the final backfilling and grading. Right now it still looks like a construction site ![]()
Discussions:
| Thread Title | Last Reply | Replies |
|---|---|---|
| Looks great! by sedumzz | Sep 28, 2023 5:30 PM | 3 |
Post a new thread about this blog entry: