[Editor's note: Part 1 may be read at this link.]
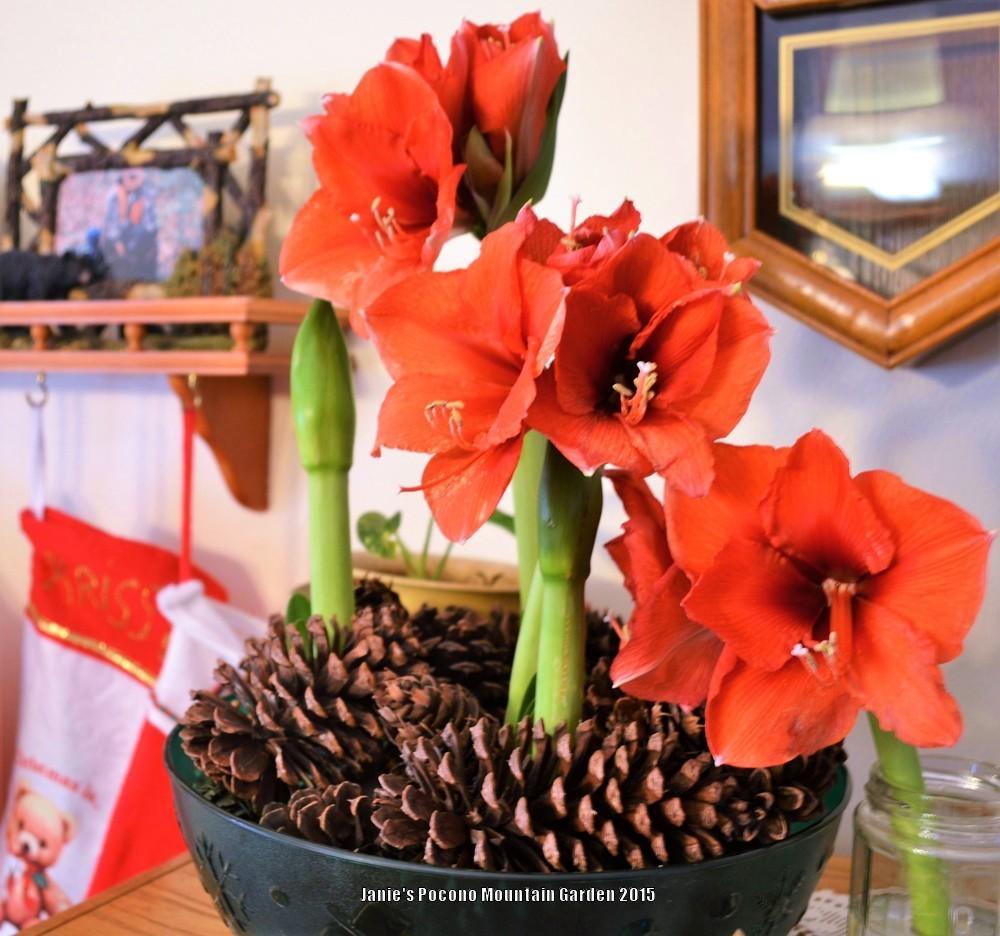
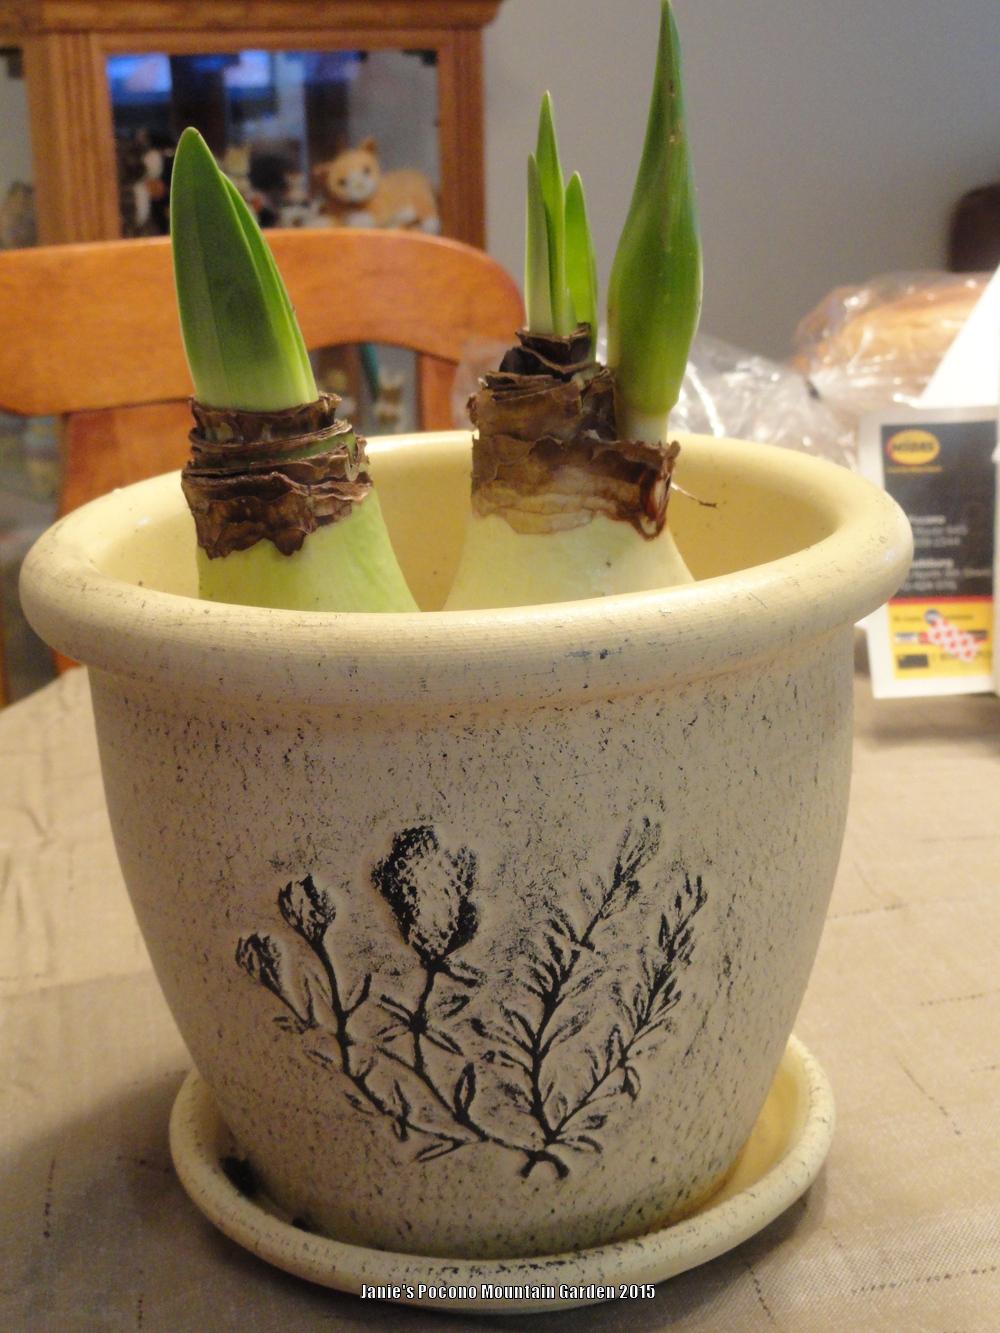
This is a photo taken on December 23, 2014, of my 3 flowering amaryllis plants, Red Lion. What made them unusual was that the bulbs were encased in wax. Although the flowers were pretty, the flower stalks were really very short.
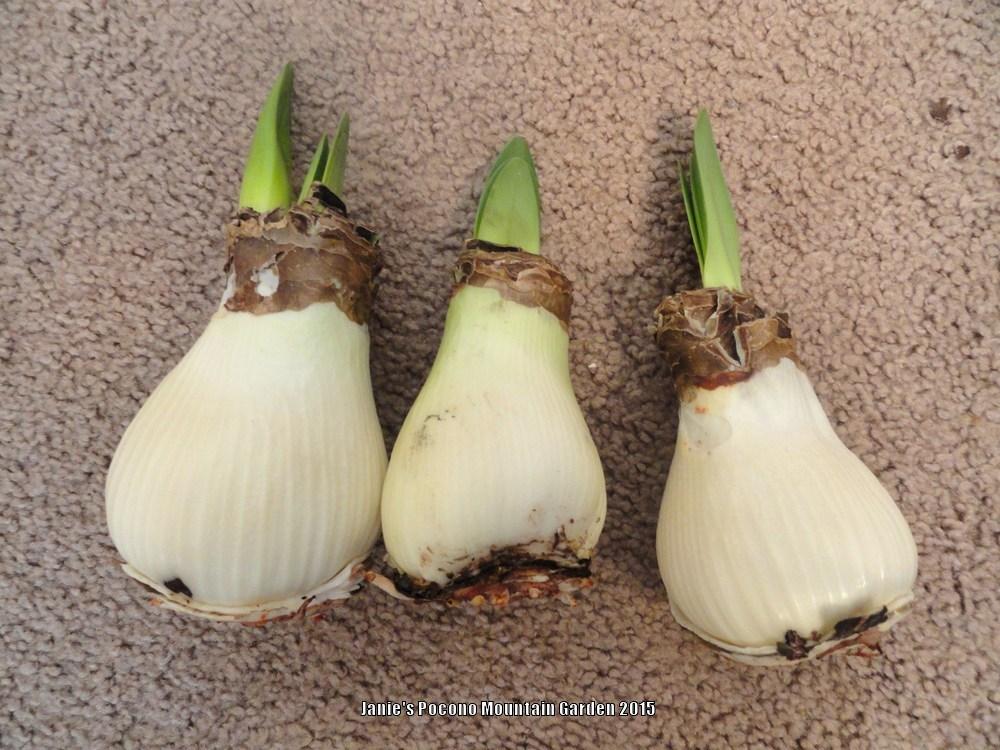
It was late January 2015 when all the flowers had finished blooming. After removing the wilted flowers, I snipped off the flower stalks, leaving only the new green leaf tips. Then I very carefully stripped away the wax coating from the base of the bulbs. Although the bulbs were small and had practically no roots, I was determined to try and salvage them.
My next step was to try to root the bulbs in paper cups half filled with water. I made sure the bottom of the bulbs barely touched the surface of the water. The bulbs fit snugly in the cups and it was very easy to adjust their position. I added to or changed the water as needed.
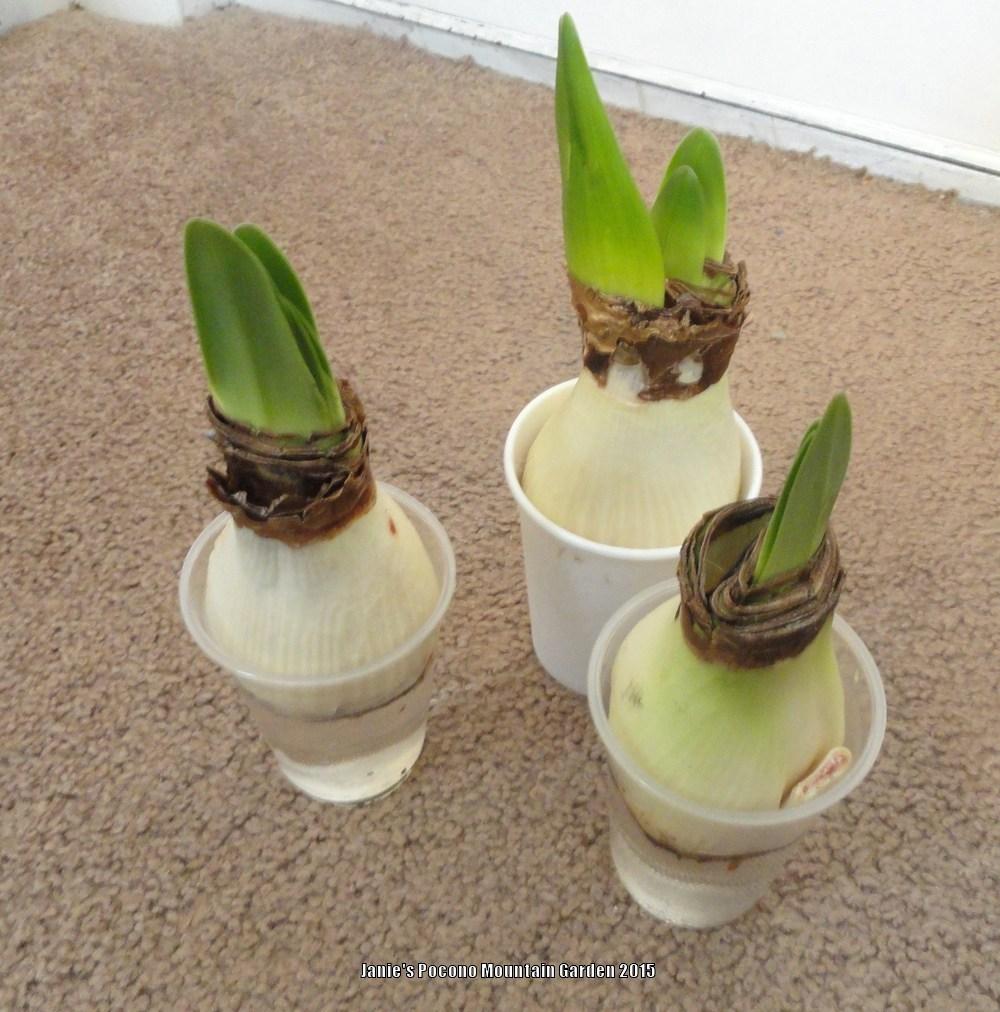
Success! About a week later new roots were forming! If you look closely, you can see that they are growing well!
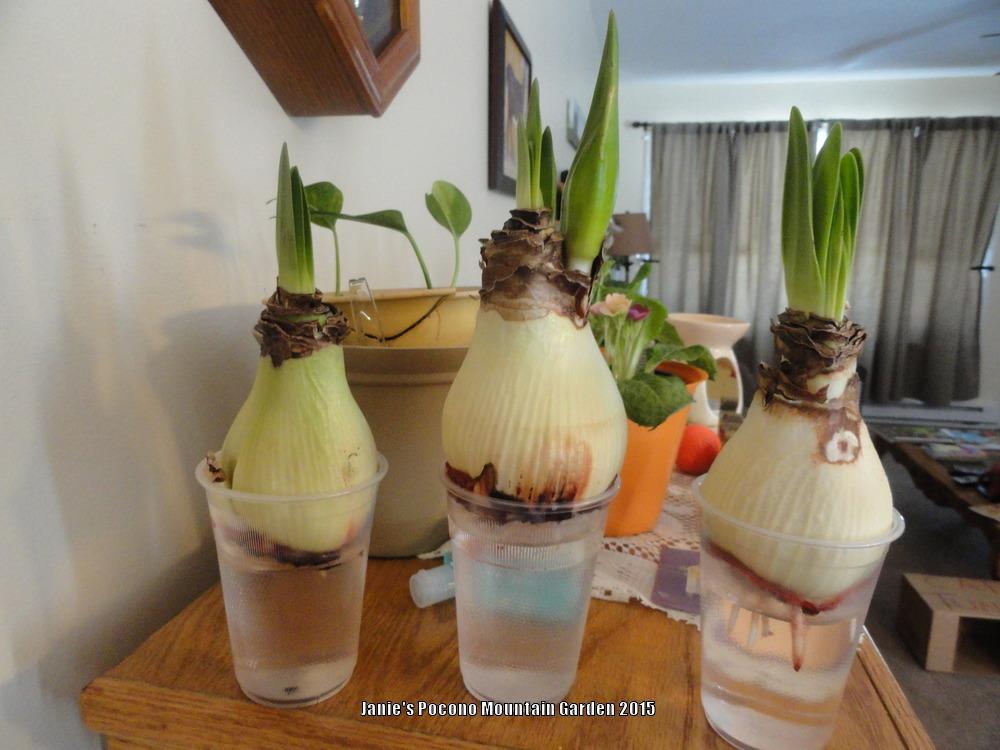
By February the well-rooted bulbs were ready to plant in heavy pots.
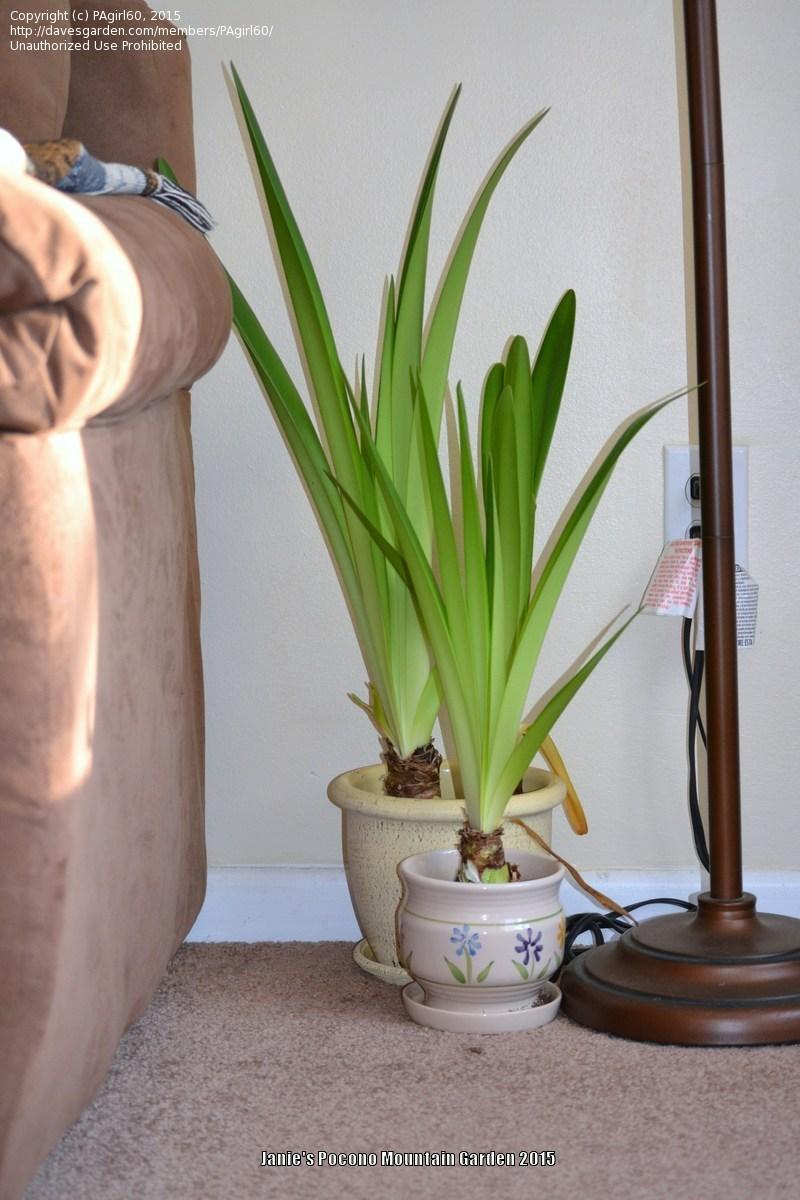
I placed the pots on the floor in the corner of my living room, where they would receive plenty of light and warmth from a lamp and a large picture window. I sparingly watered them and occasionally fertilized them through the winter and spring. When early summer came, I put them outside on my back deck. Because of the warmer temperatures and bright sunshine, I watered and fertilzed them more often and they flourished!
Around the 2nd week of August, I began cutting back on watering the plants so that they could begin the process of going into dormancy. Around the 10th of September, when most of the leaves had withered and yellowed, I cut off all the foliage to a point about 3 inches from the top of the bulbs. I removed the bulbs from their pots, gently brushed away the soil clinging to them, and put them back outside in a dry, shady spot on my deck to dry out for a few days. On September 15th I brought them inside again, put them in a large shoe box, and then placed the covered box on the floor in the back of my bedroom closet for a long rest. In early November 2015 I checked the bulbs and found that one of them had become soft and mushy. The remaining 2 bulbs looked healthy, and I potted them up, hoping that they would bloom for Christmas 2015.
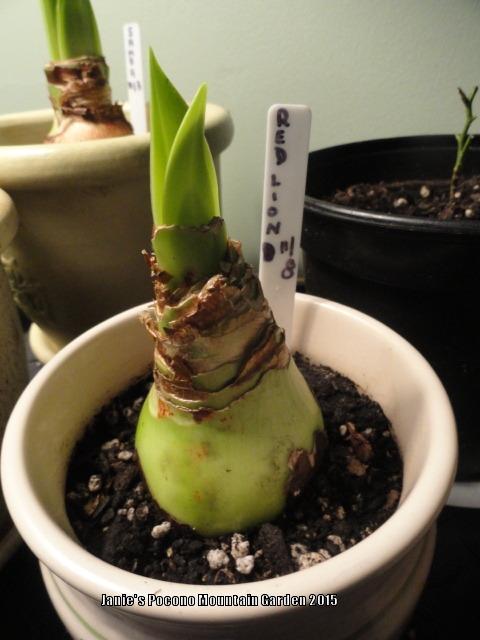
I planted the smaller of the bulbs 11/8. The photo was taken 11/24.
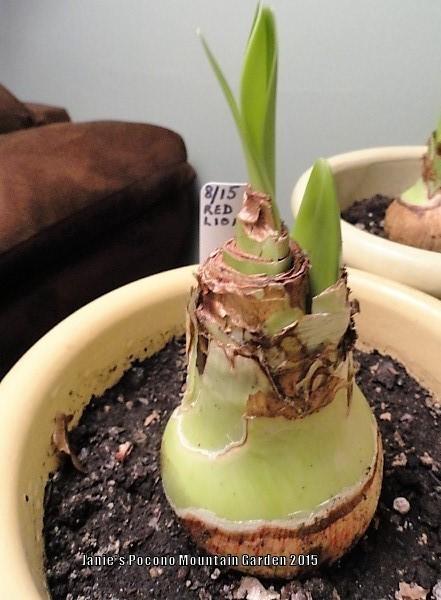
The larger bulb was planted 11/15. The photo was taken 11/24.
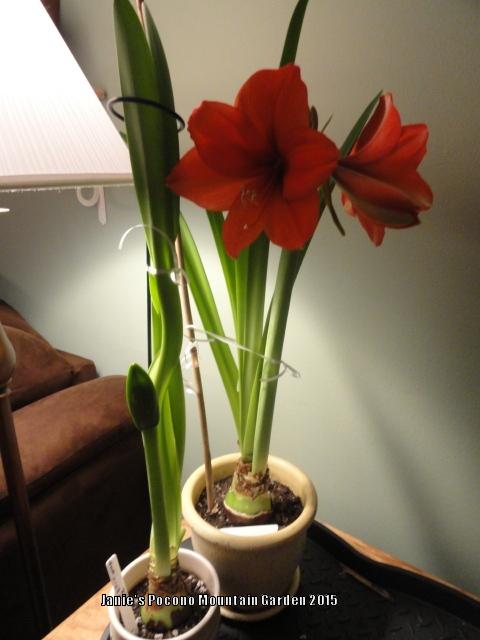
And below are photos of how they looked on December 19th, 2015. Just in time for Christmas!
| Thread Title | Last Reply | Replies |
|---|---|---|
| Untitled by donnabking | Sep 24, 2016 5:30 PM | 1 |
| Two in One! by shelleymunger | Sep 19, 2016 1:57 PM | 0 |
| Well done! by blue23rose | Sep 19, 2016 4:32 AM | 5 |