Over the past 10 years, I've used all kinds of material for hardscaping. Wood was originally the material most often used. Unfortunately, even treated wood eventually attracts termites and carpenter ants, and it rots after a few years. I wanted something that would last, be functional, and look nice. Concrete has become my material of choice and, in many cases, it is also the least expensive material to use. I've included my own photos for inspiation.
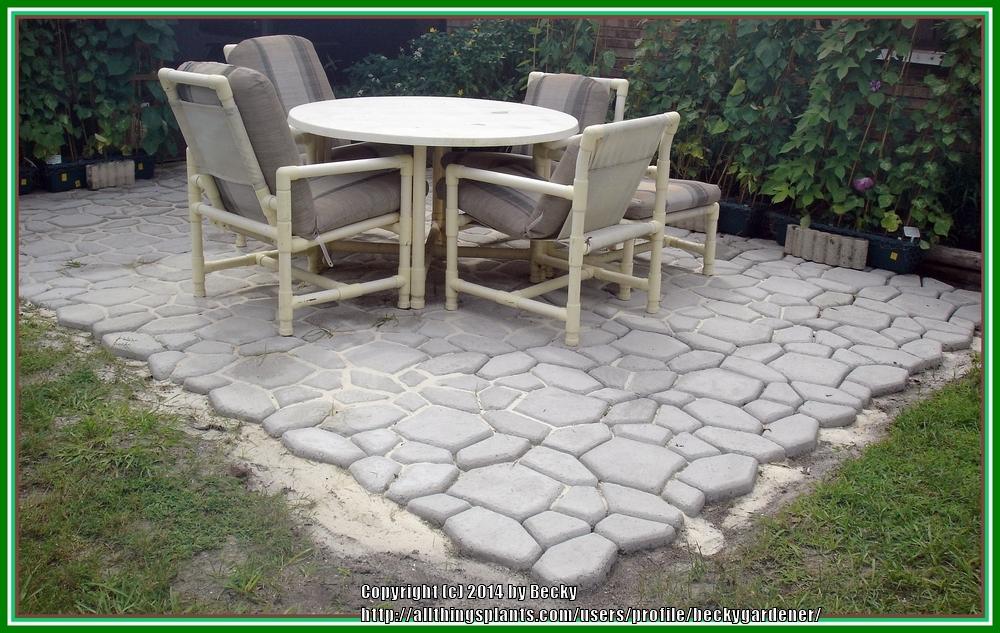
The first thing my husband and I ever created using concrete was a country stone patio. I purchased a Quikrete 6921-32 Walk Maker mold for the project.
Make sure you do the work when the temperature outside is mild. Unfortunately, my husband and I did this project in the 95-102 degree heat of August here in Florida. It took us four Saturdays to complete the patio, doing one section each weekend. It does require muscle and determination, but the results were exactly what we wanted. The patio was near our back door, so we had to make sure it had a slight slope away from the house to prevent water from pooling in case of severe wet weather. The instructions said to use 80 lb. bags of concrete for that particular mold, but we found that a 60 lb. bag was enough to make each mold (and was not quite as heavy to lift). I don't remember the exact number of tons, but we lifted numerous bags of concrete to do this project (from the store to our garage, from the garage to the backyard, and from the backyard to the concrete mixing pan). My husband shoveled the wet cement into the mold, where I used my gloved hands to smooth it out, including curving the edges of each "stone." Please note: When you work with concrete, make sure you have good ventilation and/or a dust mask. You don't want to be breathing in the concrete dust. Also, be careful how you lift 60-lb. concrete bags, to prevent any back injury.
This is a photo of the 10' x 15' patio we created in 2007:
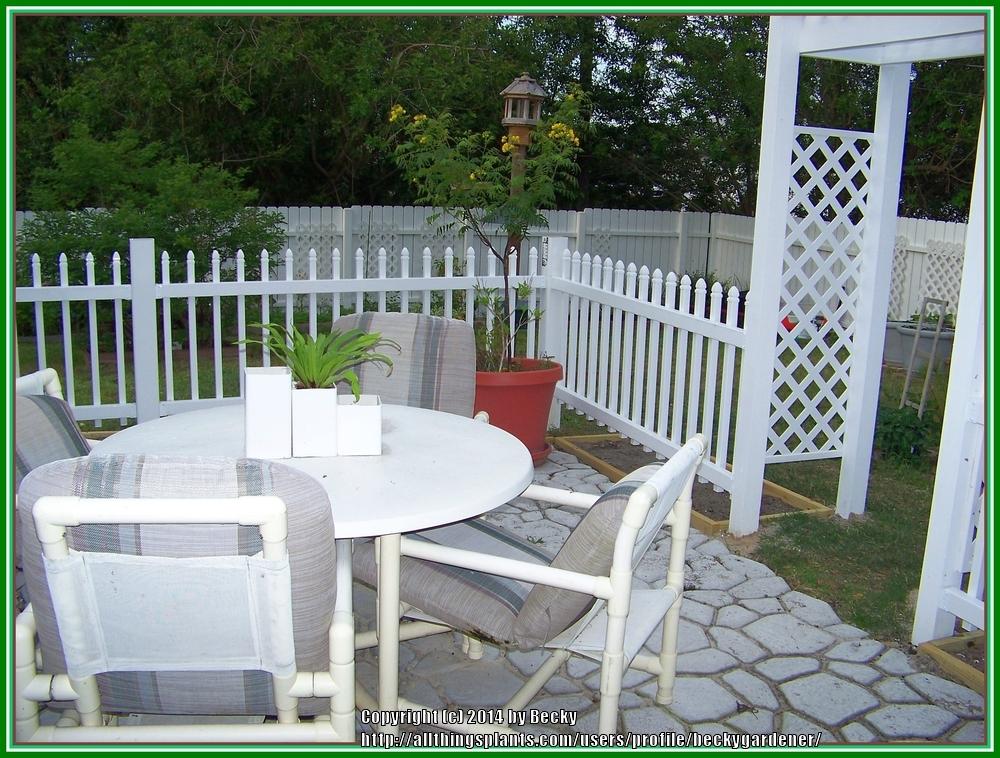
The following year we added more structures around the patio, using concrete in the holes to secure the 4 x 4 posts for some of those structures:
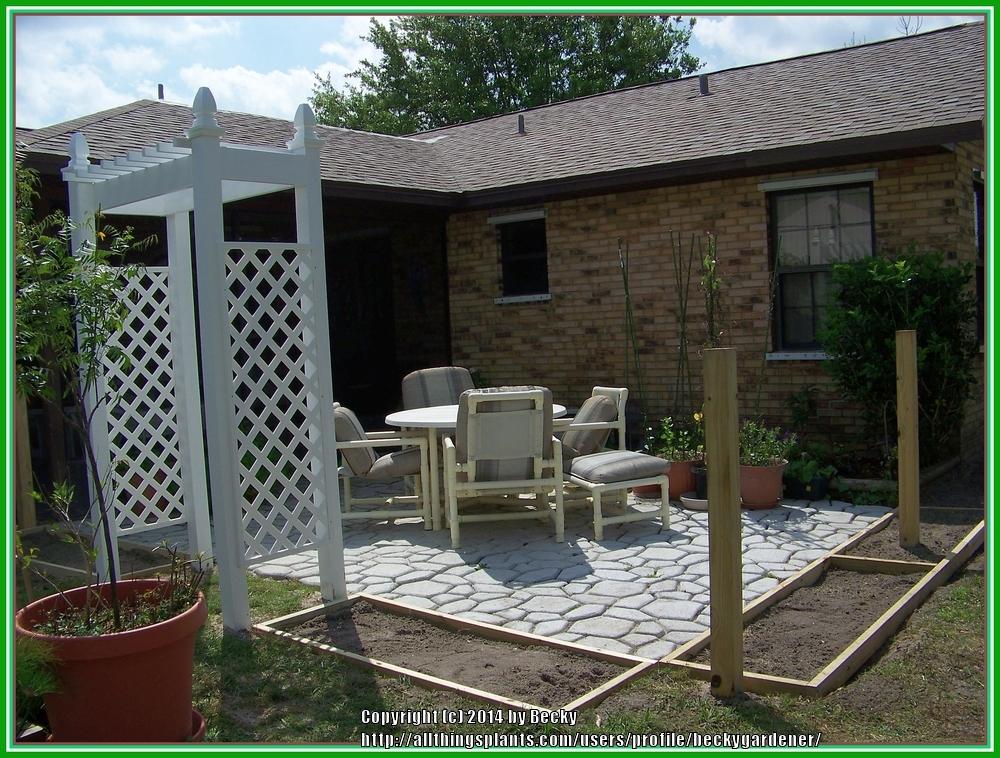
We enclosed the patio using a vinyl picket fence and 4 x 4 posts:
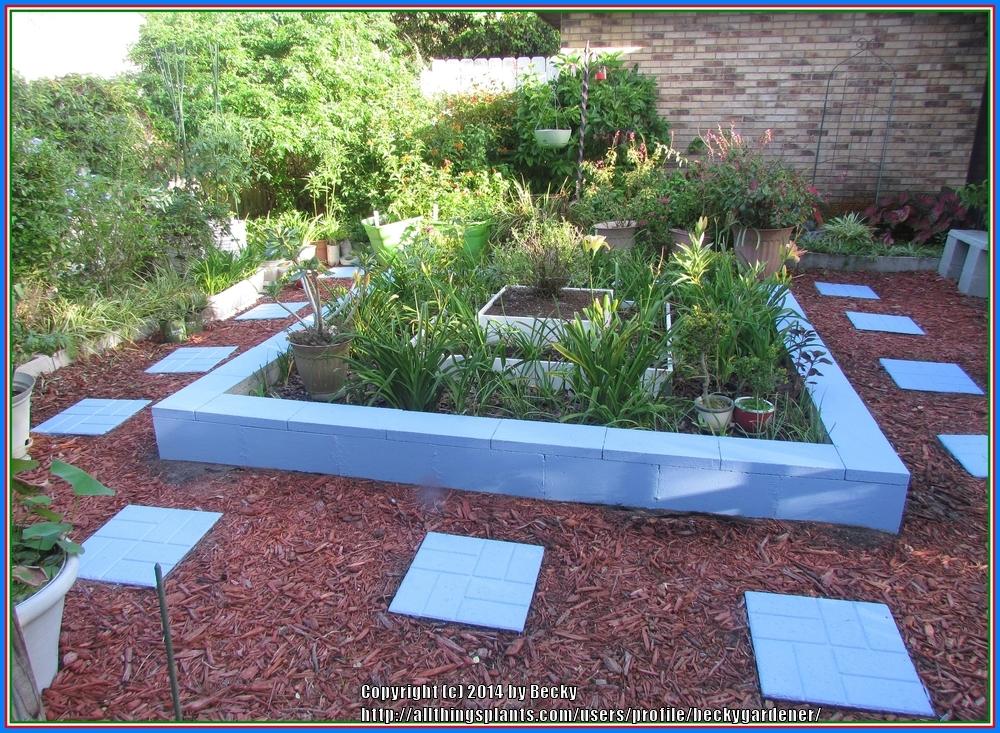
A few years after creating the patio, we built a raised bed, using concrete blocks. We used construction adhesive (in a caulking tube) to adhere the adjoining blocks, as well as the cap tops. I chose to make this raised bed only one row high, but it could be made taller with additional concrete blocks.
Concrete blocks measure 16 in. x 8 in. x 8 in. and are relatively inexpensive:
http://www.homedepot.com/p/Unb...
The concrete cap tops are only 8 in. x 2 in. x 16 in., but are a little more expensive:
http://www.homedepot.com/p/Unb...
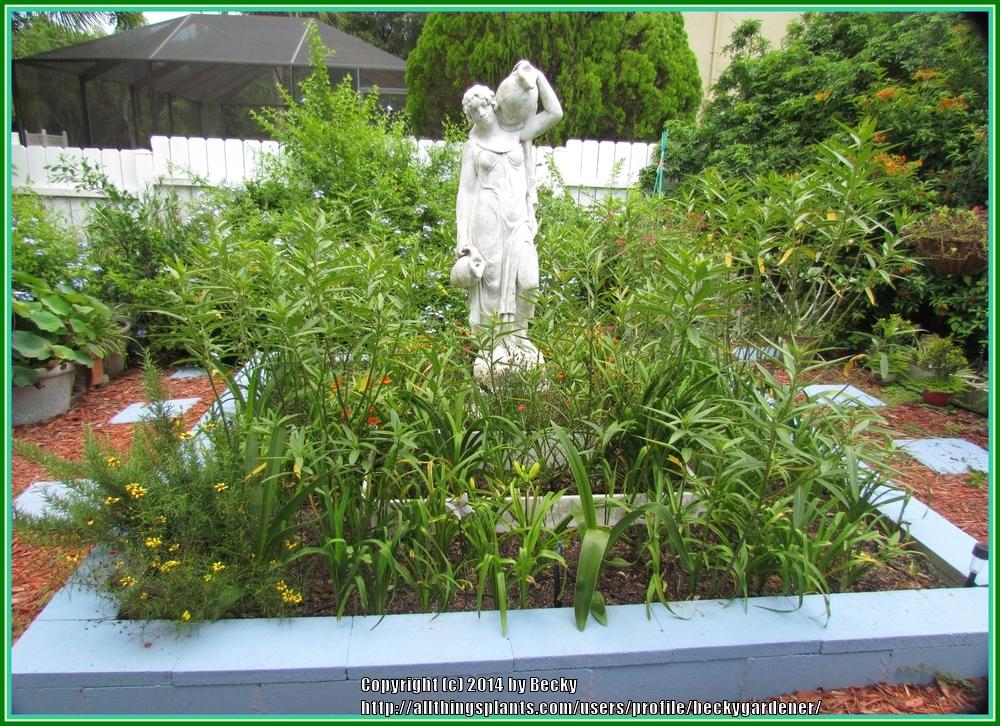
Concrete blocks can be painted with exterior paint. I chose to use a sky-blue color to match the surrounding blue flowering Plumbago shrubs. I also painted the concrete stepping stones to match. The concrete block wall also does double duty for me as a ledge to sit on while I weed the raised bed. If you desire more of a curved, less formal look, you can add plants close to the concrete block and let the growth gently cascade over the walls to soften the hard straight edges.
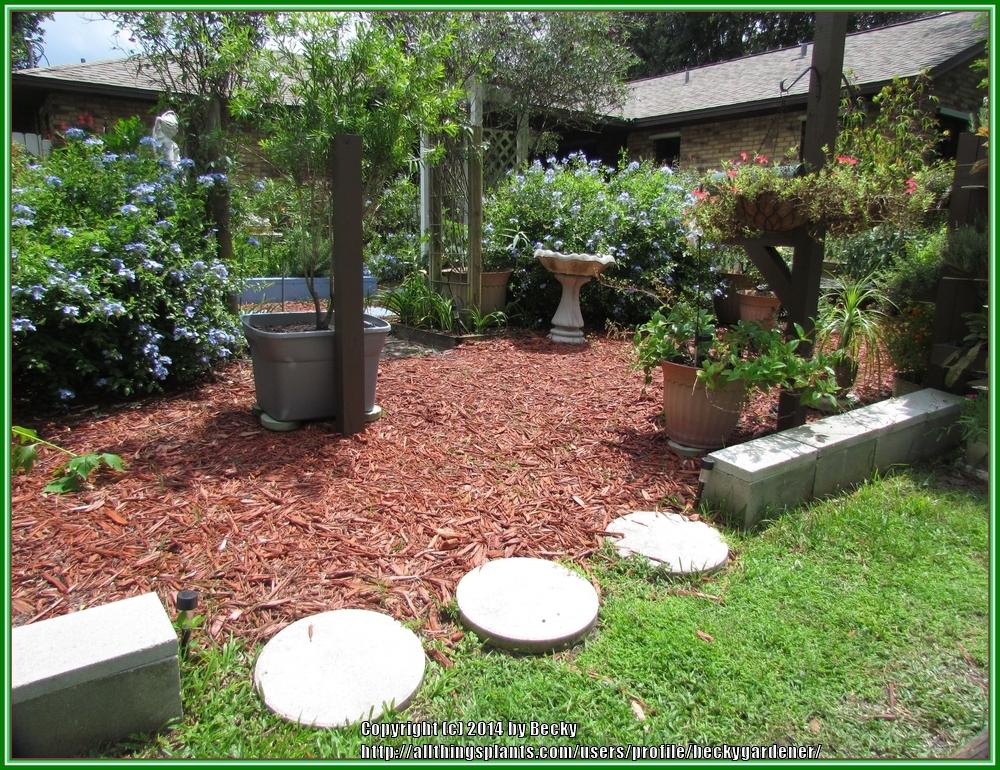
Concrete blocks can also be used as garden room dividers (these are not painted yet):
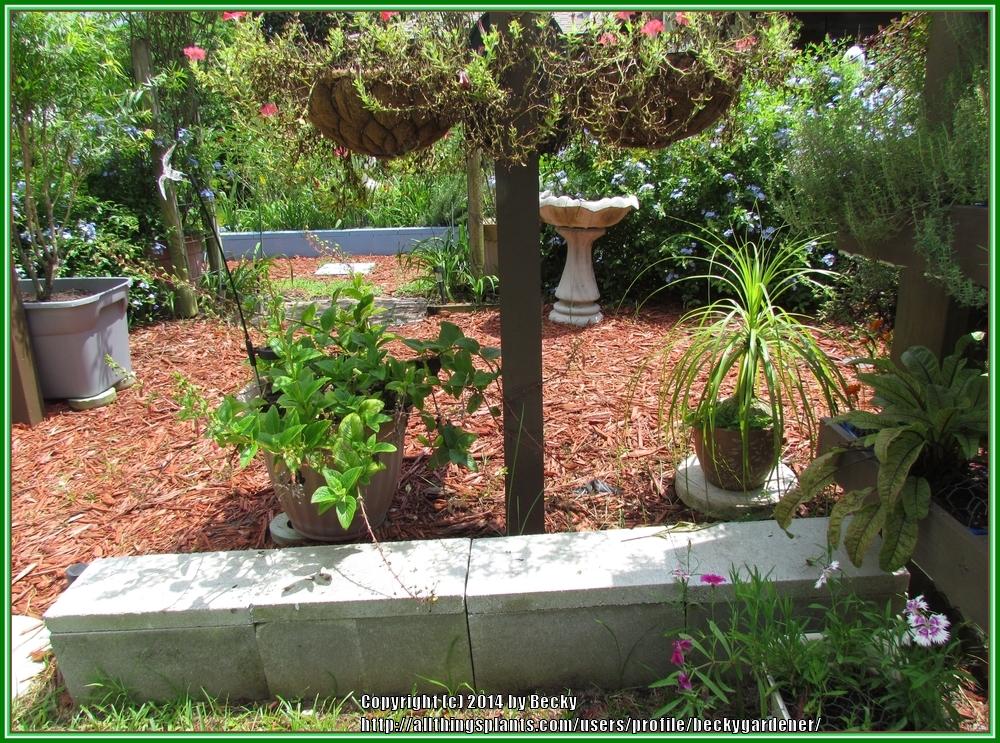
In this photo, you can see round concrete stepping stones along with the concrete block to divide one garden area from another. I liked the look of the two different shapes of concrete working together.
Concrete blocks can also be arranged and used as a unique planter for cactus, succulents, and other smaller plants.
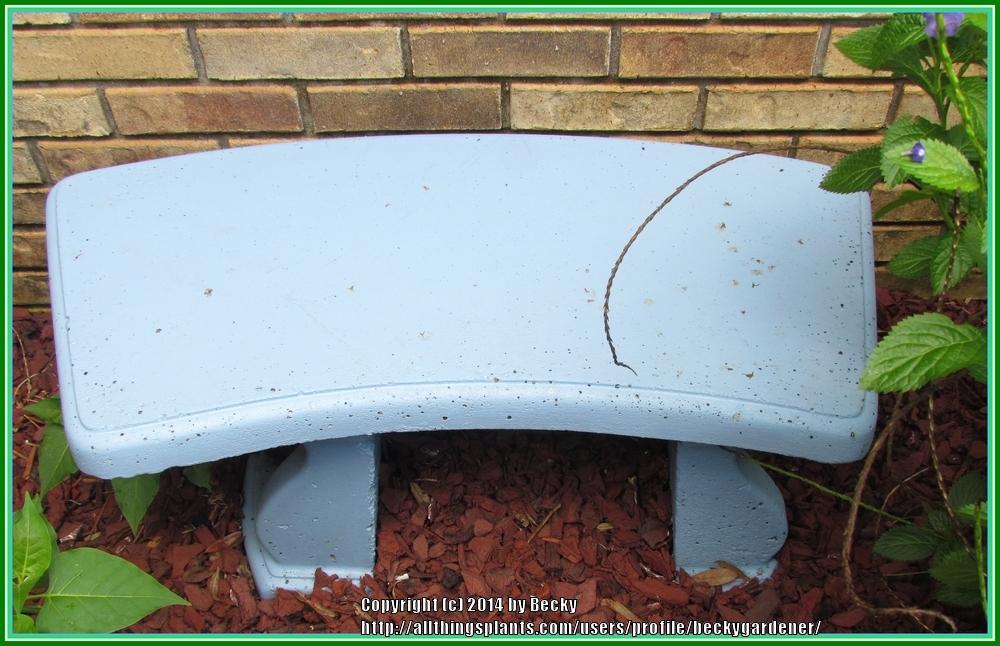
Seating is a welcomed addition in any garden. I love concrete benches, but they can be expensive. I decided to spend the money for 2 bench molds, and I've made numerous benches using the reusable molds. The molds paid for themselves after I made three benches! I had purchased a leg mold too, but you can only make one leg at a time. The legs are not very thick or sturdy unless you make four and mortar two of them together to make each leg. They become rather heavy to move at that point. I prefer using concrete blocks stacked 2 high for legs, so my recommendation is that you don't waste your money on a leg mold.
In this photo, you can see a curved bench top, as well as the molded legs, which I painted blue. The thin single legs tend to shift and even fall over. The concrete block legs are much more stable. I do not adhere the bench top and legs together, because it is lighter and easier to move them around in my garden.
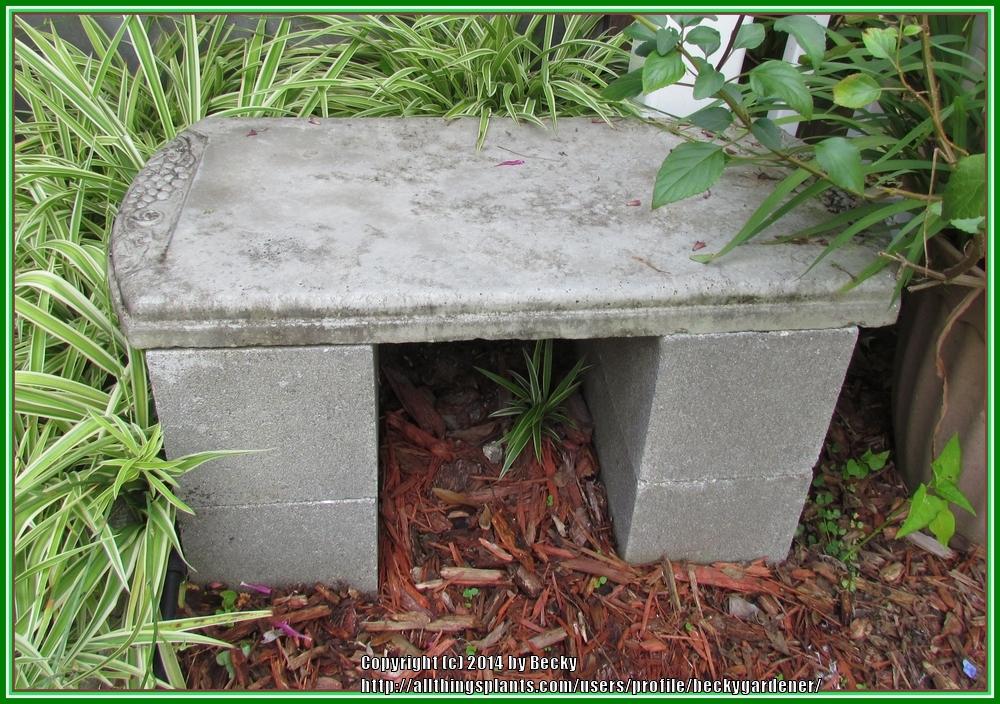
This is what an unpainted straight top bench with concrete block legs looks like:
If you want to get really creative, you can use pieces of tile, sea glass, stained glass, pennies, small smooth stones, or other decorative materials to make a pattern on a bench top, as well as on stepping stones. This is something I plan to do in the future.
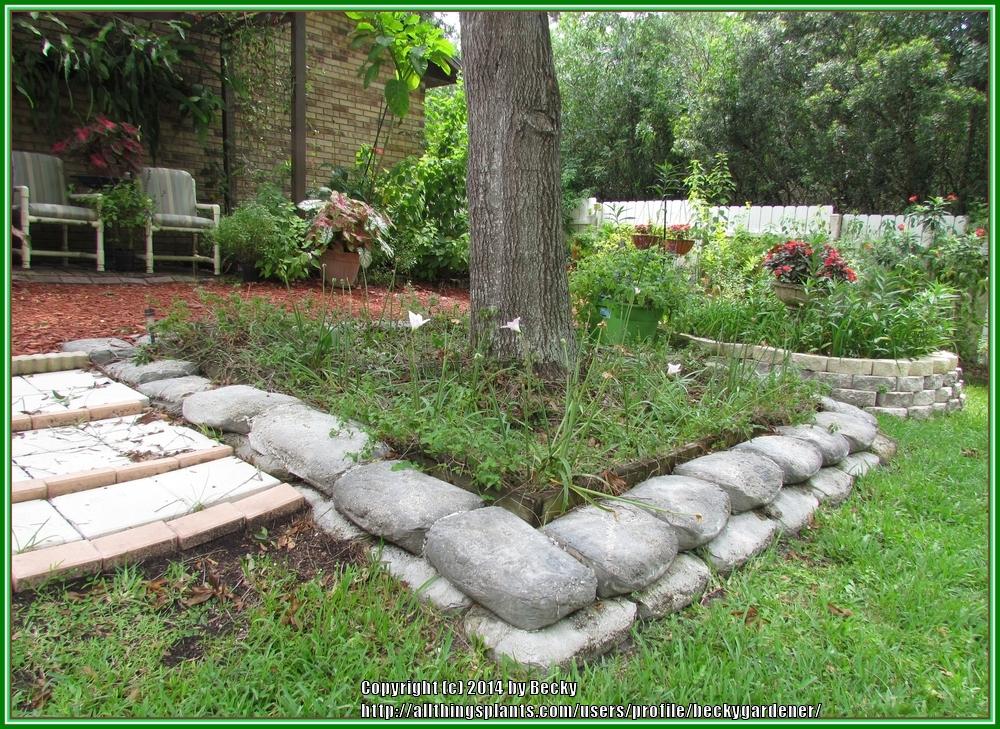
I love rock borders. Unfortunately, here in Florida, rocks are very, very expensive and hard to come by. I came up with the idea of using bags of concrete as a border around an Oak tree. The paper peels off when it is wet (or over time). You do want to puncture the bags by making small slits in them to allow water/moisture to enter. The hardest part is making sure that the bags stay wet. You can lay wet towels over them at night and let the moisture soak in, so that the concrete hardens. I did this border in small phases over several months. I was concerned about the amount of lime leaching from the concrete into the ground soil (I didn't want to kill any of my plants or trees), so I took my time, adding bags gradually. I soaked the bags with my garden hose repeatedly over the course of 2 days. At times, I even worked around predicted rain. In hindsight, I can see that it probably would have been best to build this type of concrete border, let it cure and leach out for a while, and THEN add the plants. Luckily, it didn't become a problem for me in this instance. The tree was large and established, and so were the lantana and rain lilies in that bed.
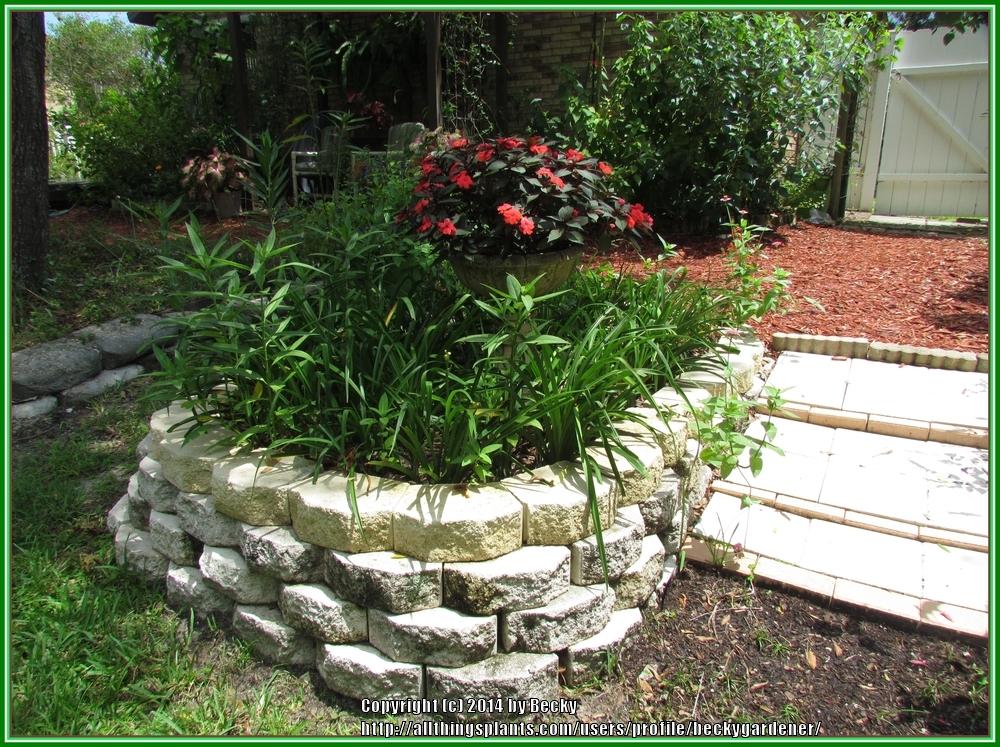
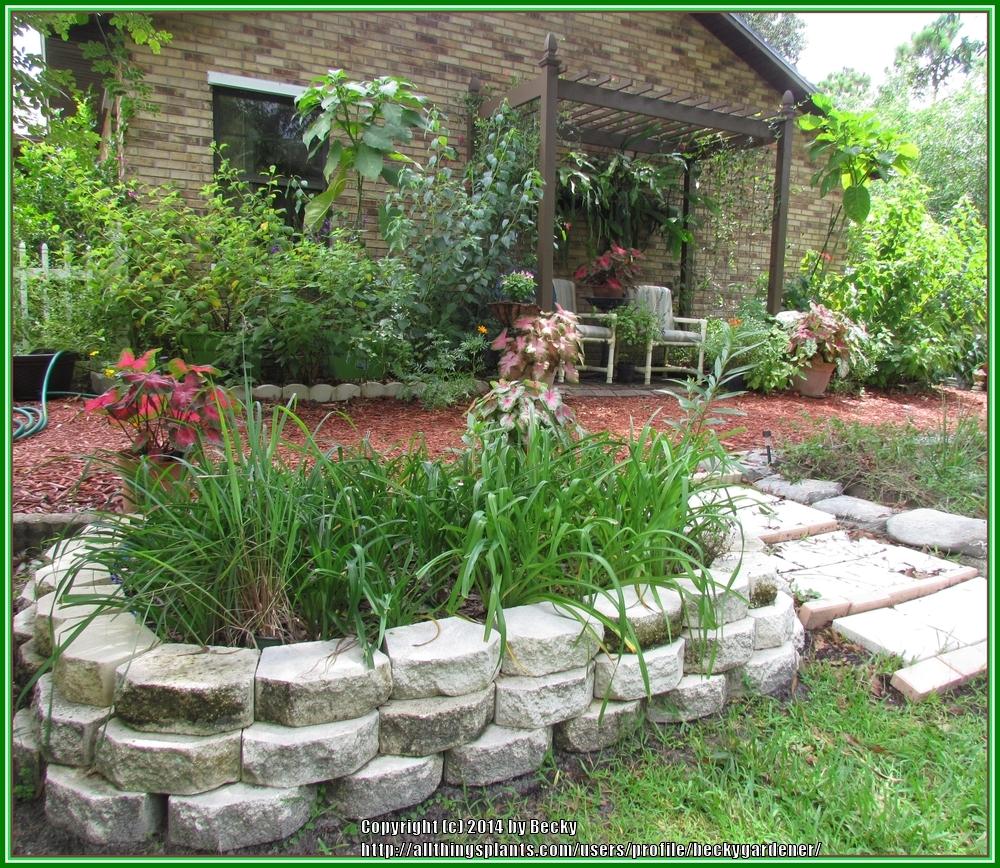
Sometimes you can find concrete wall block through Freecycle or purchase it at your local garden center to make raised beds:
My yard is on a slope, so I had to be creative when building these raised beds using concrete wall block. I was very fortunate to receive most of these wall blocks from a neighbor's yard renovation. They were unexpected freebies!
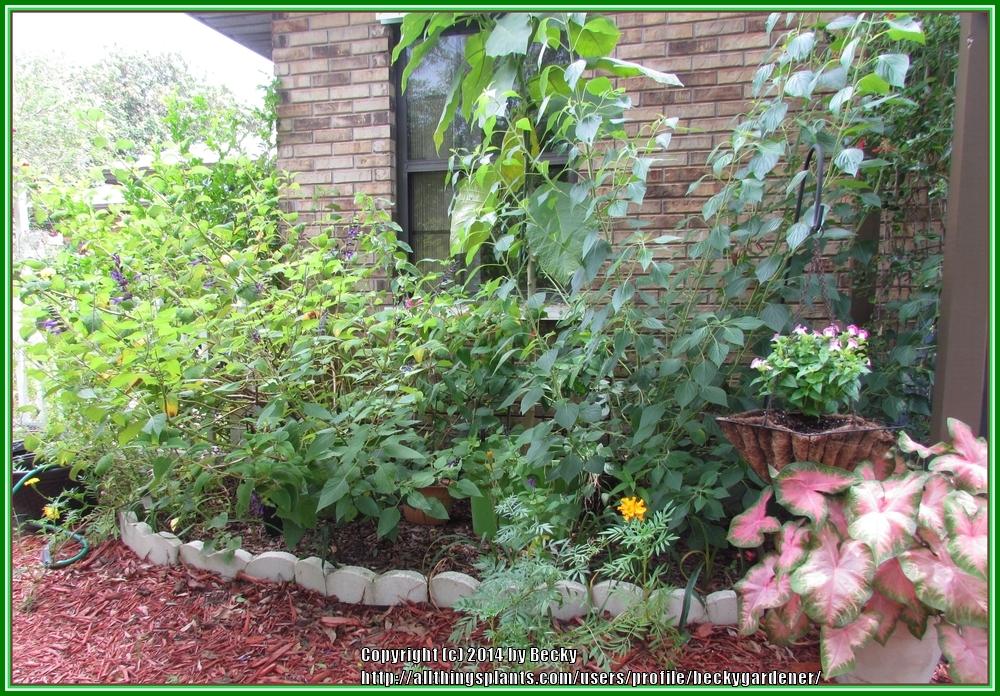
I've used various concrete edging pieces around my garden (some were free and some I purchased):
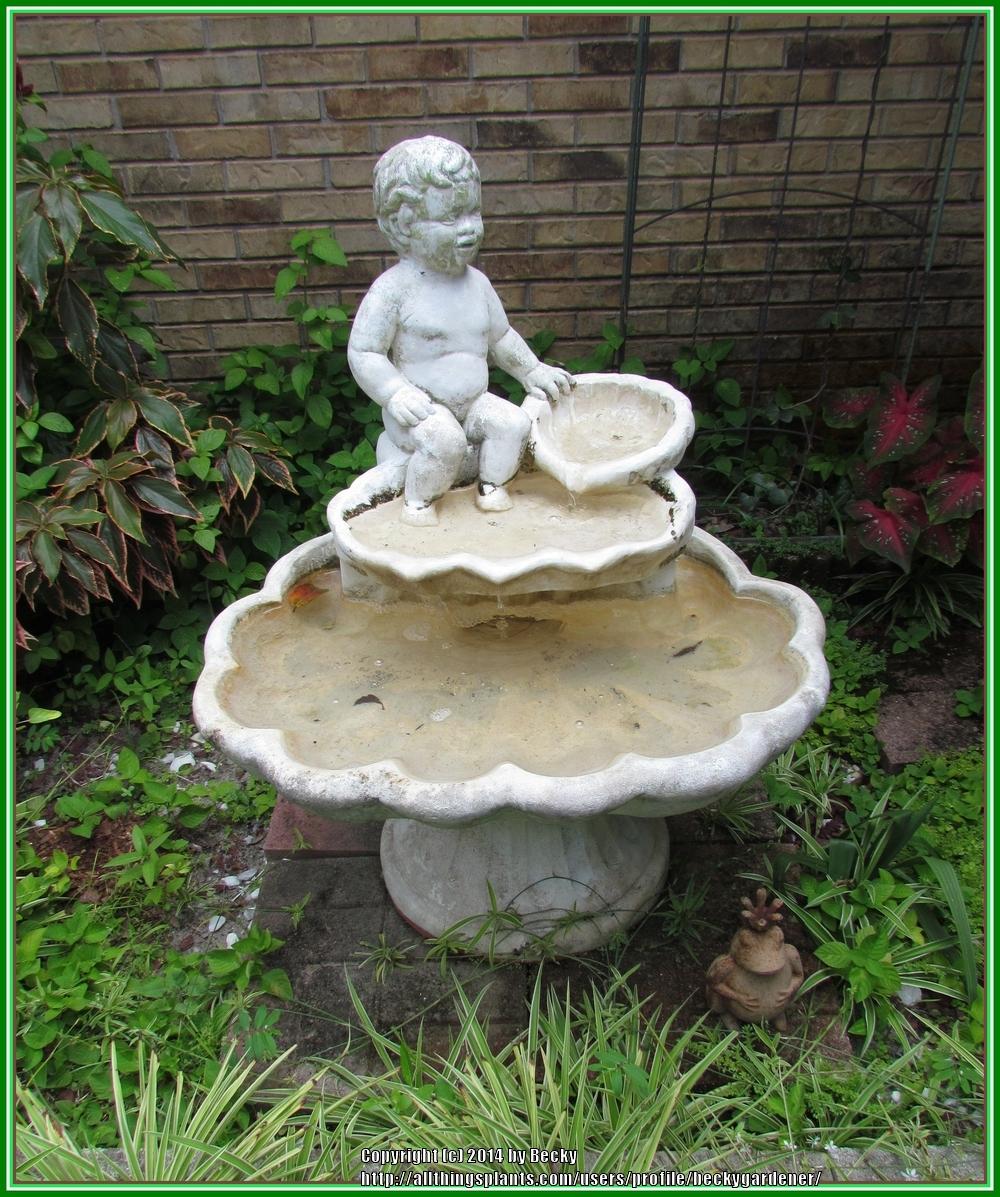
Let's not forget about concrete statues, bird baths, and fountains. Watch for estate sales that have some nice yard items. I found the beautiful maiden statue and the whimsical child in a fountain at an estate sale for a fraction of the retail prices of these pieces:
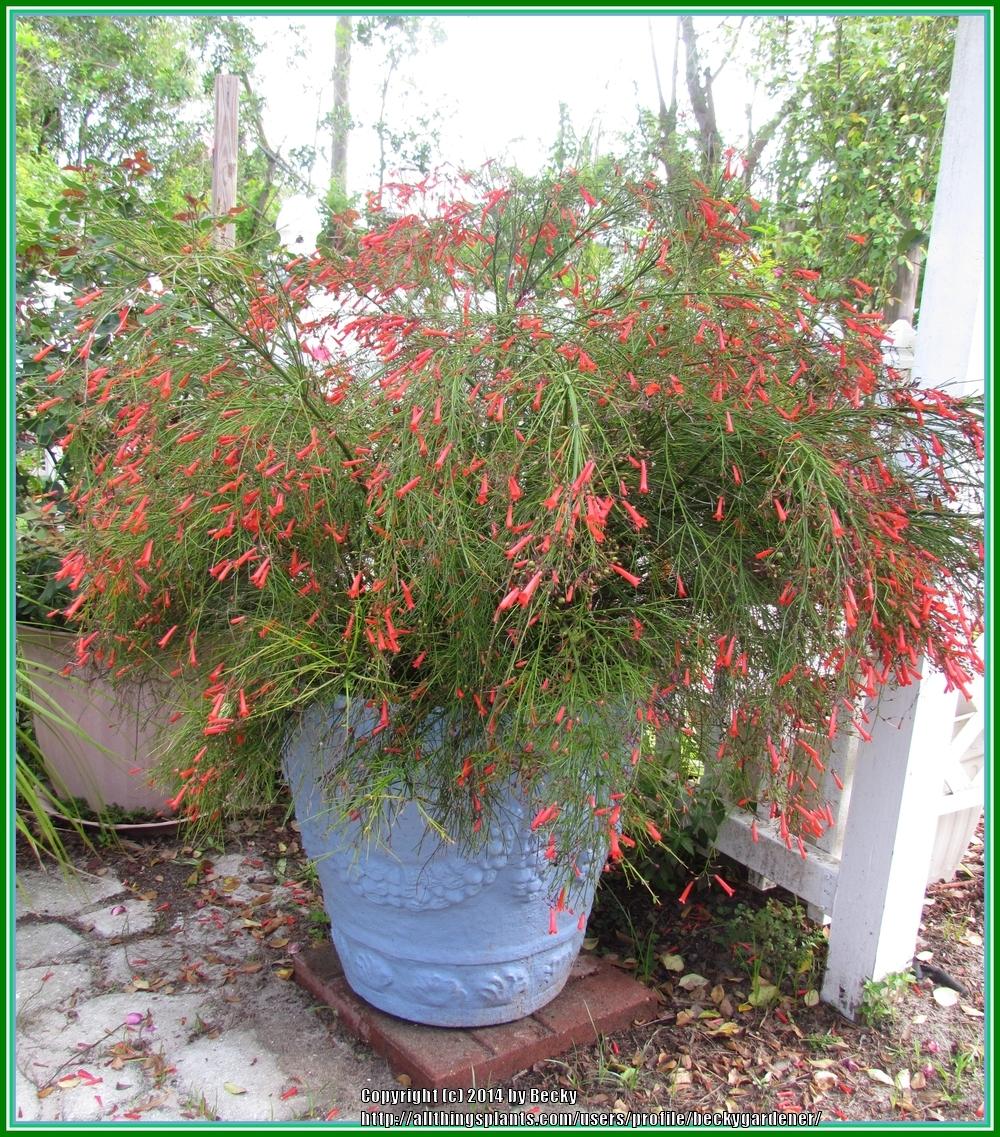
My son brought home a couple of large discarded concrete plant containers. I cleaned them up with a wire brush and then painted them blue to match the color scheme in the garden area:
Concrete bird baths are a staple in my garden. (I bought this one at my local garden center during one of their sales):

I hope you are inspired by the many ways concrete can be used in your garden, Just use your imagination and have fun!
| Thread Title | Last Reply | Replies |
|---|---|---|
| Concrete Hardscaping by valleylynn | Aug 30, 2014 8:34 AM | 17 |
| Untitled by Pxdeangelis | Aug 30, 2014 8:21 AM | 2 |
| Concrete Hardscaping by Pxdeangelis | Aug 30, 2014 8:18 AM | 1 |