Container gardening is very popular today, especially for people gardening in small spaces. Buying self-watering containers can be expensive, so here is a way to make your own, almost for free.
I asked my local Publix (grocery store), Walmart, and Sam's Club bakeries whether they had any used containers they did not need. The bakeries get their icing in large containers. The ladies at both Publix and Sam's Club told me they throw them away unless someone requests them. They were both happy to give me as many as I wanted. The lady at Sam's actually took my phone number and saved them for me over a week's time. I ended up with as many as I needed for free. I did promise to return with some vegetables when they are ready.
Here is a 5 1/2 gallon bucket from Sam's club or Walmart:
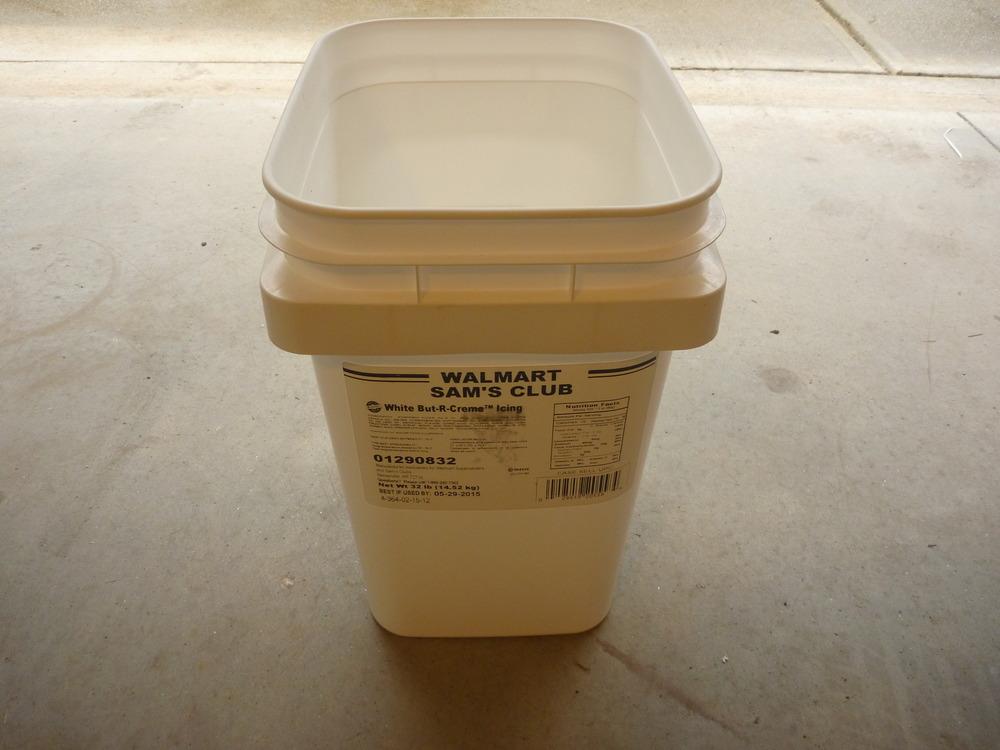
Make sure to get the lid.
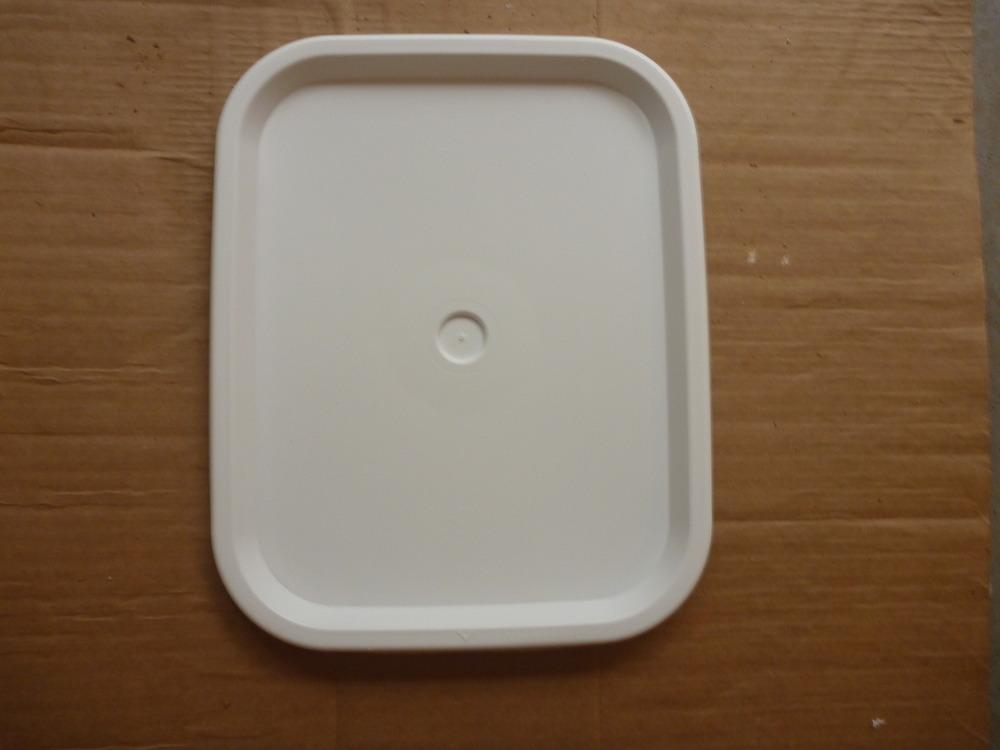
The lid will need to be cut so that it will fit into the bottom portion of the bucket. This will serve to hold the soil above the standing water. I used a jigsaw to cut mine and trimmed it with shears to make a smooth fit.
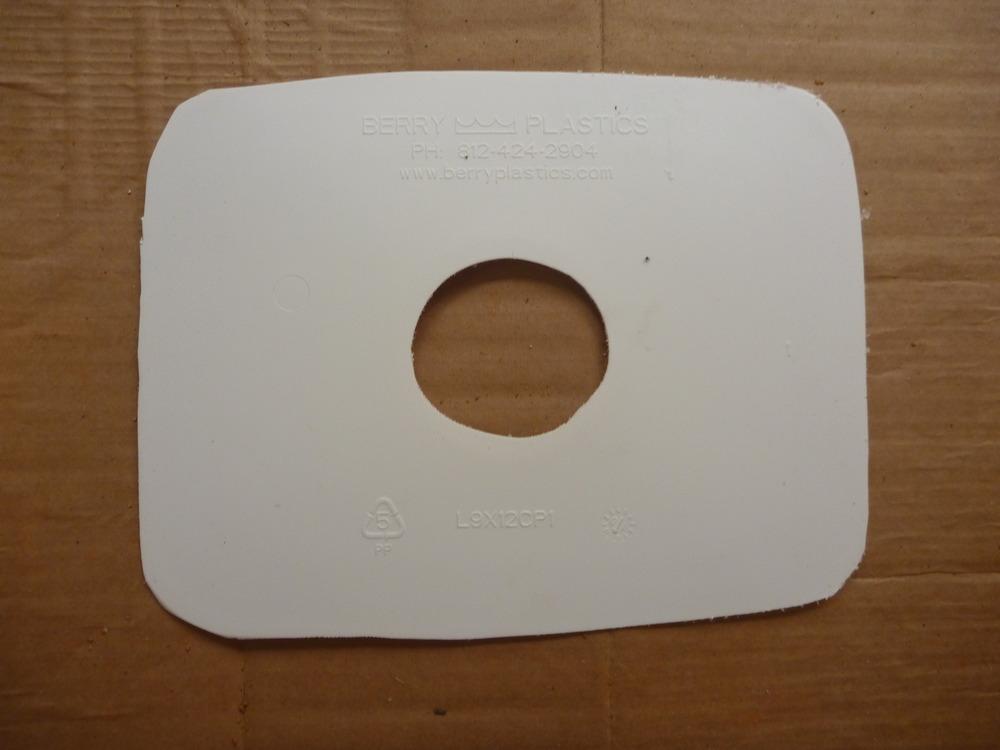
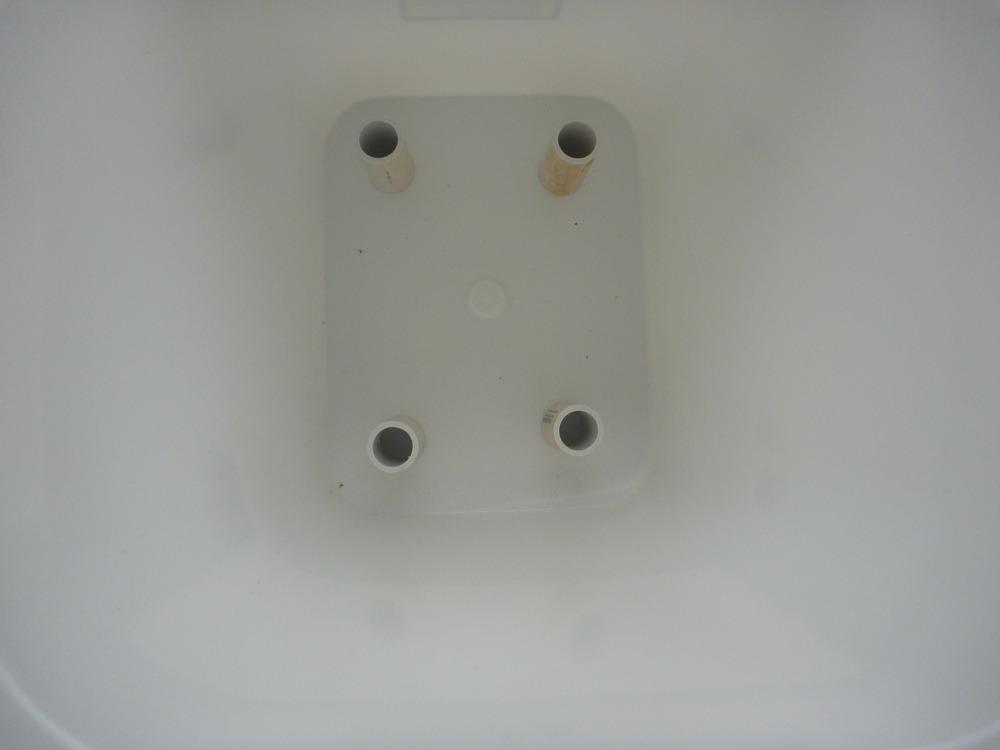
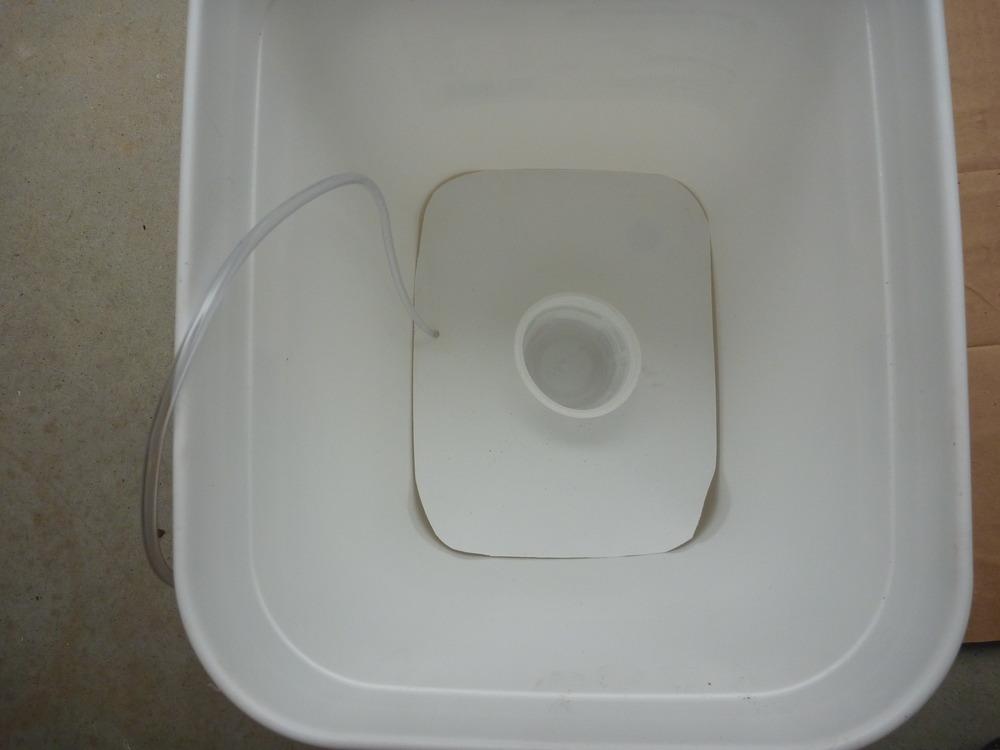
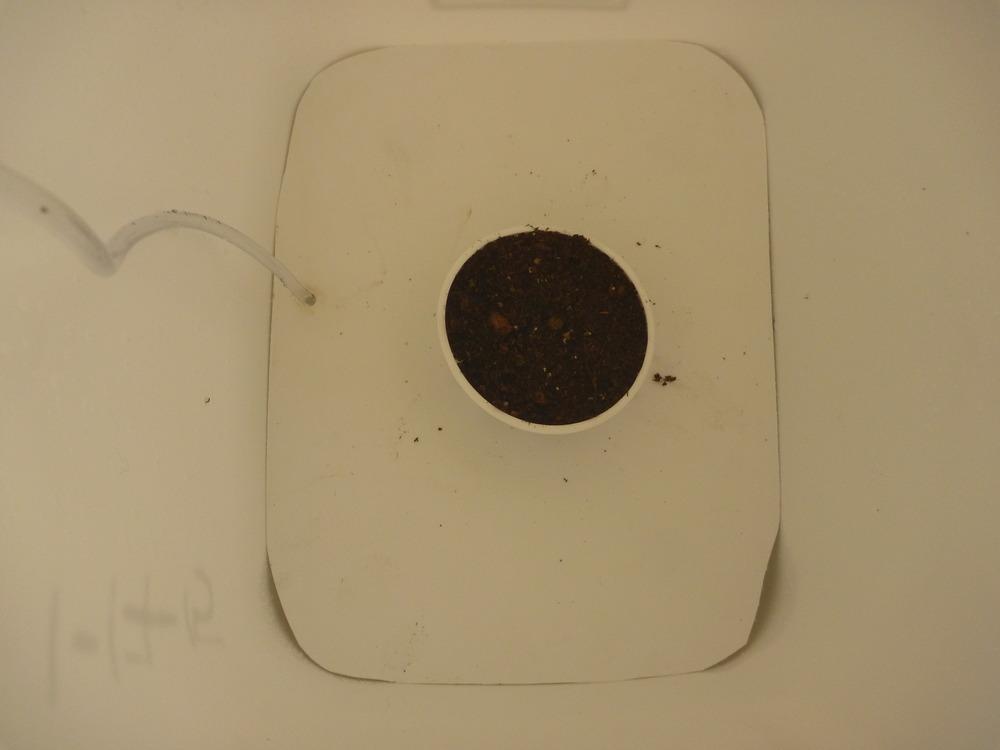
Cut a hole in the center to hold a container that will sit both above and below the water level. This will serve to wick the water from the bottom of the container into the soil at the top of the container. I first drilled a large hole and then used the jigsaw to make the hole larger.
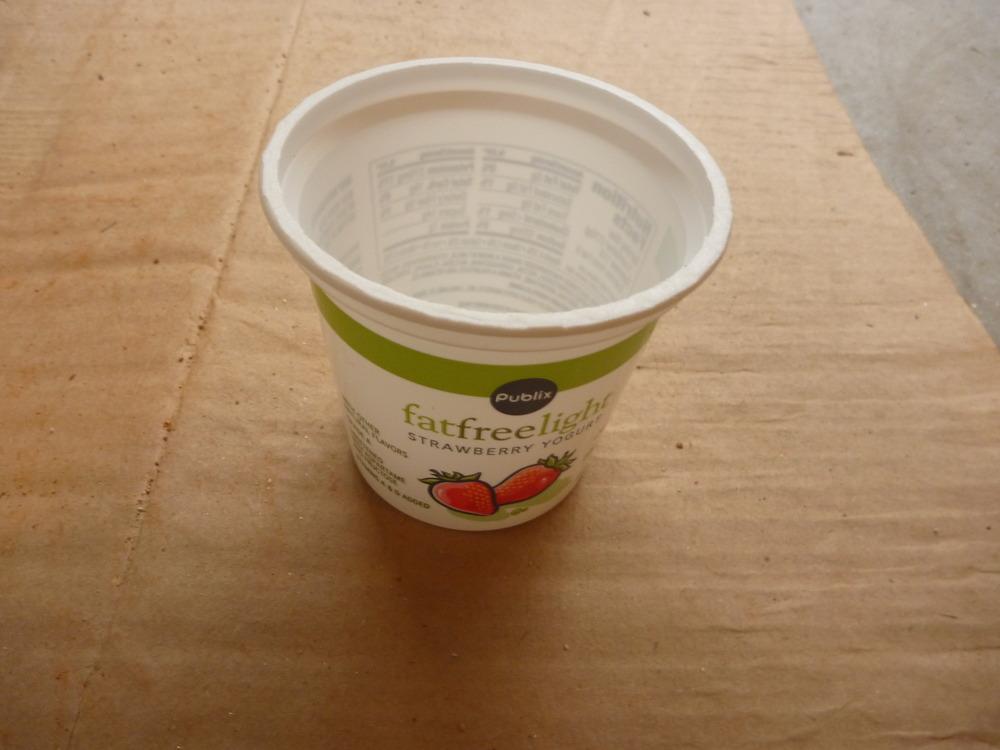
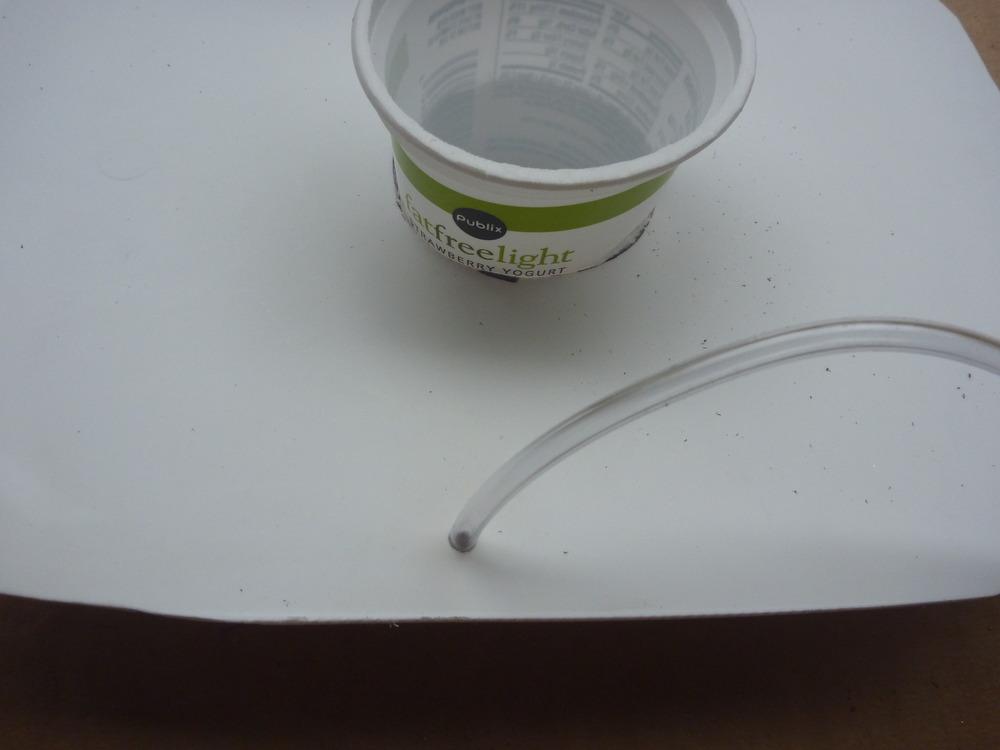
My container of choice was a used plastic yogurt cup.
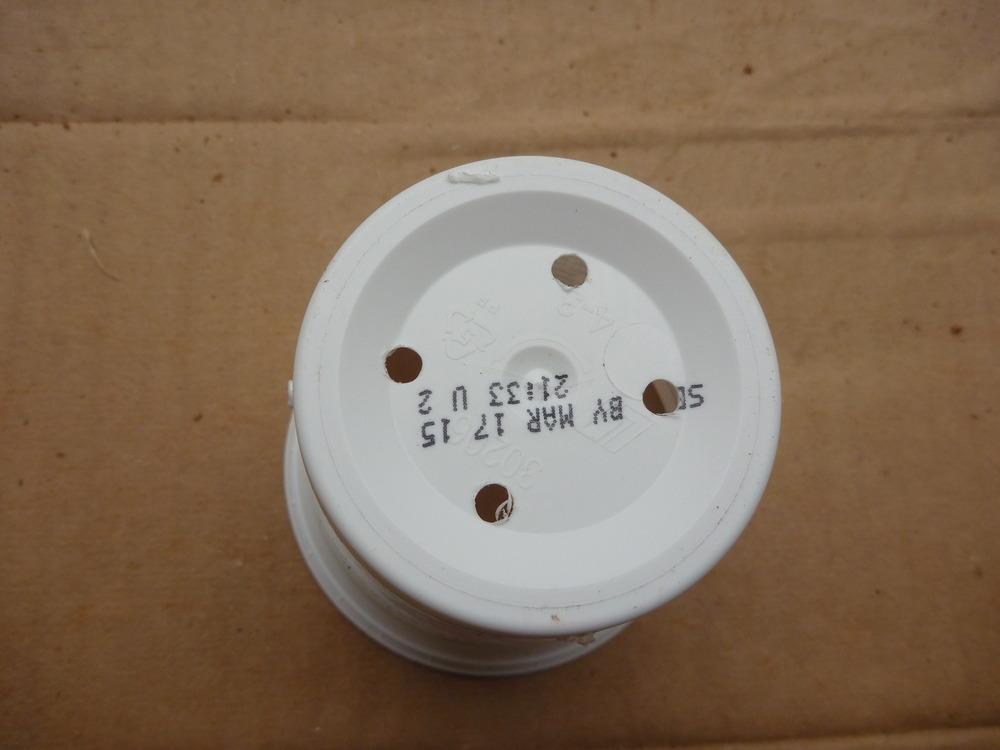
This will also need holes drilled into it so that the water will seep into the soil inside.
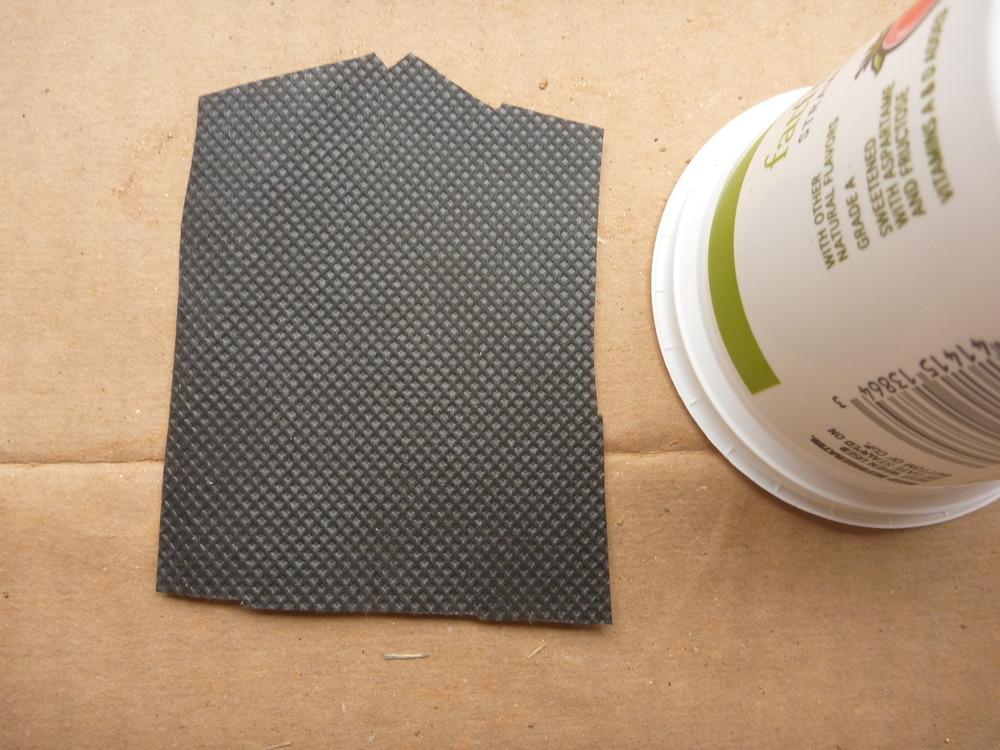
If you're worried about soil dropping through the holes, you can add a piece of landscape cloth to the inside. I hot-glued mine.

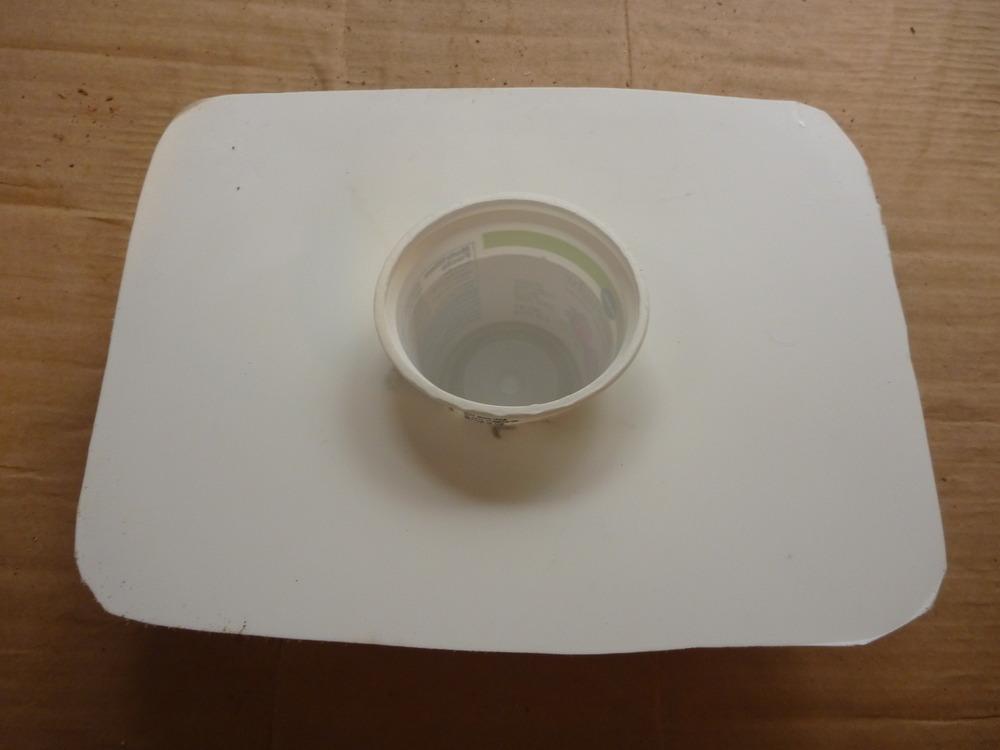
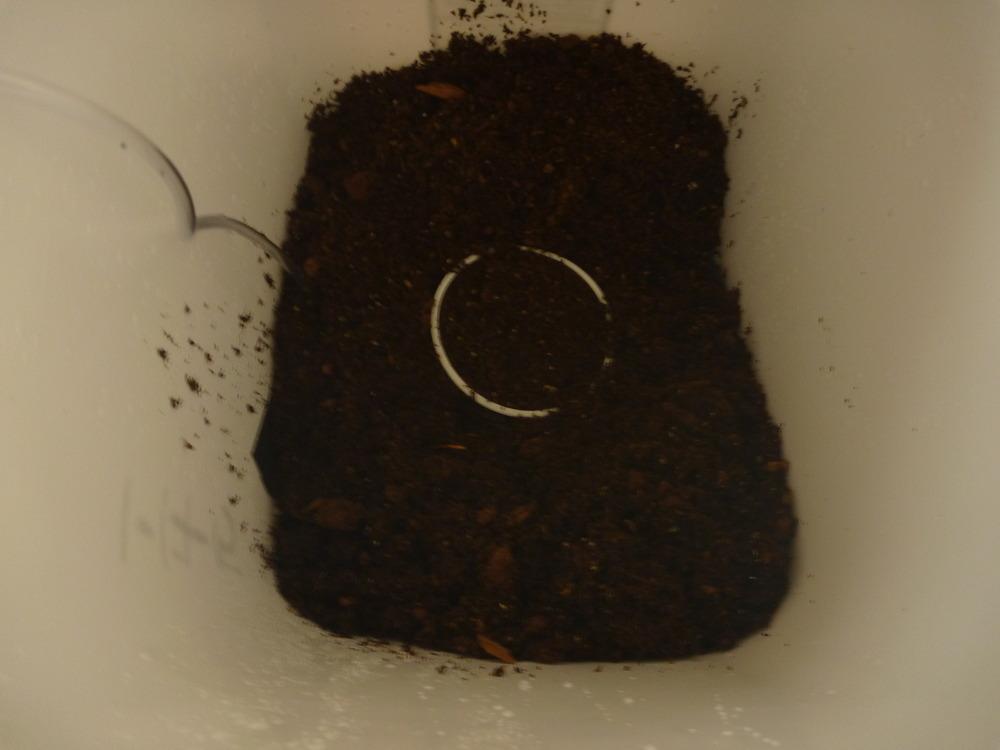
Here is a top and bottom view of the cut lid with the yogurt container:

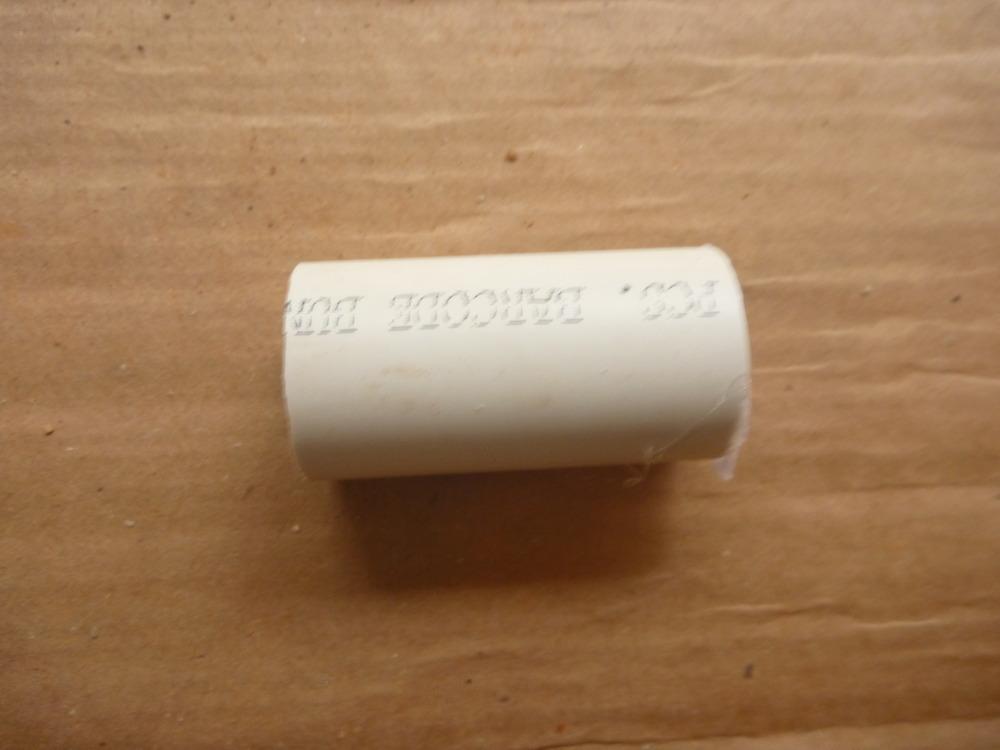
At this point you can decide how much water you want in the bottom of your container. I chose 2 inches and cut plastic PVC pipe in 4 pieces (each one 2 inches) to hold the cut lid above the level of the water. I hot-glued them to the bottom of the container so that they would stay in place.
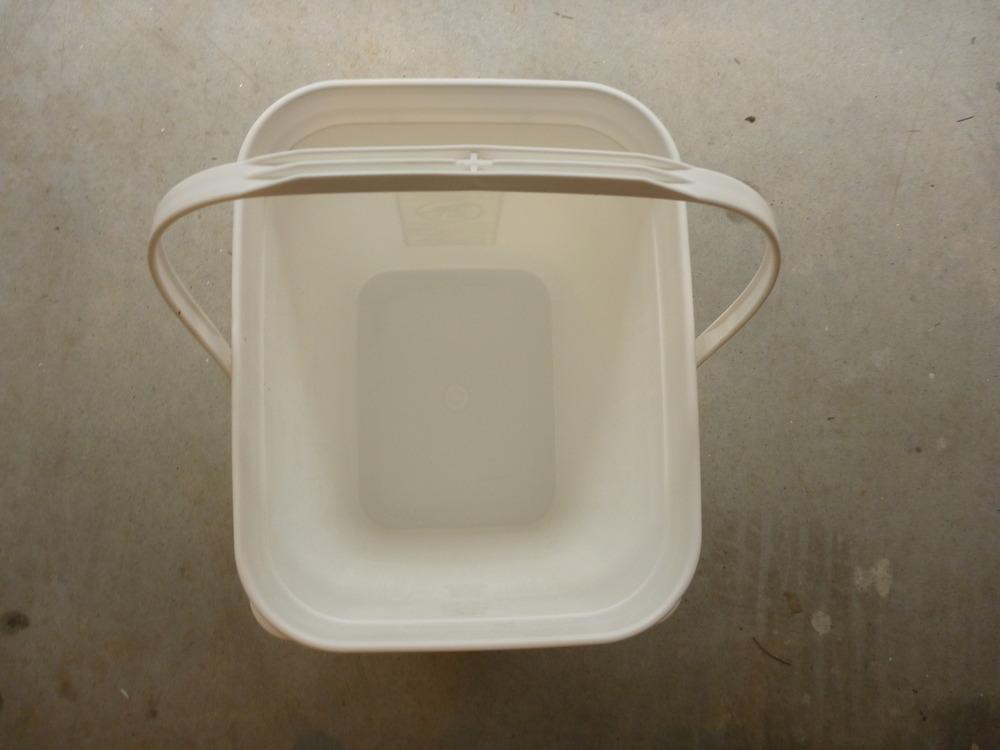
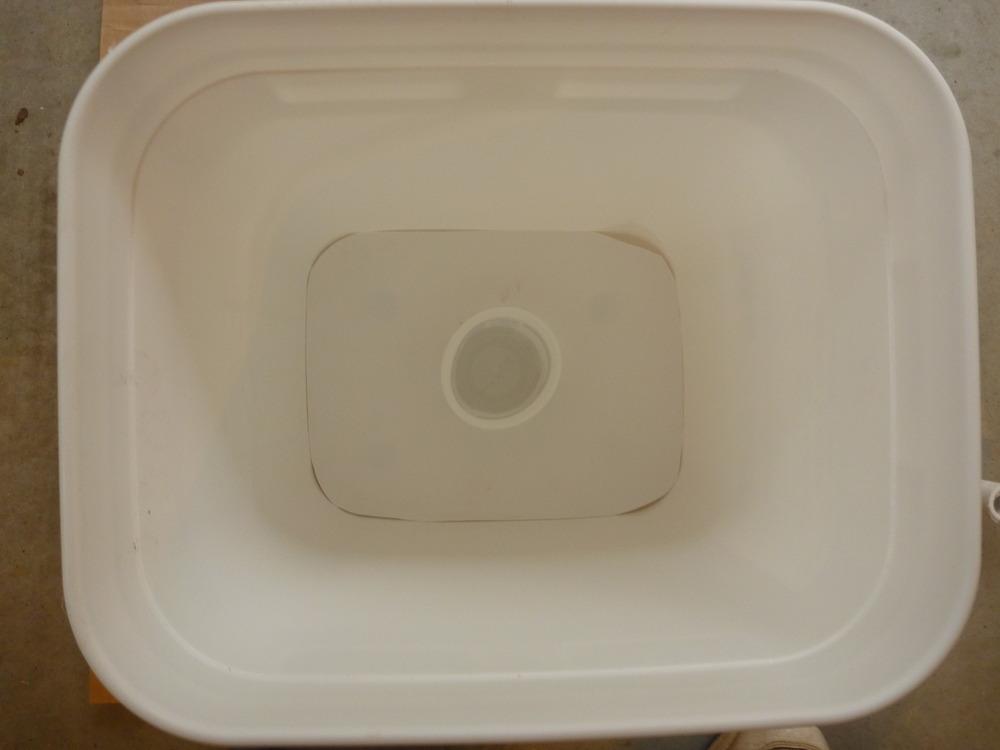
And here is the lid fitted into the bottom of the container and supported by the PVC pipe.
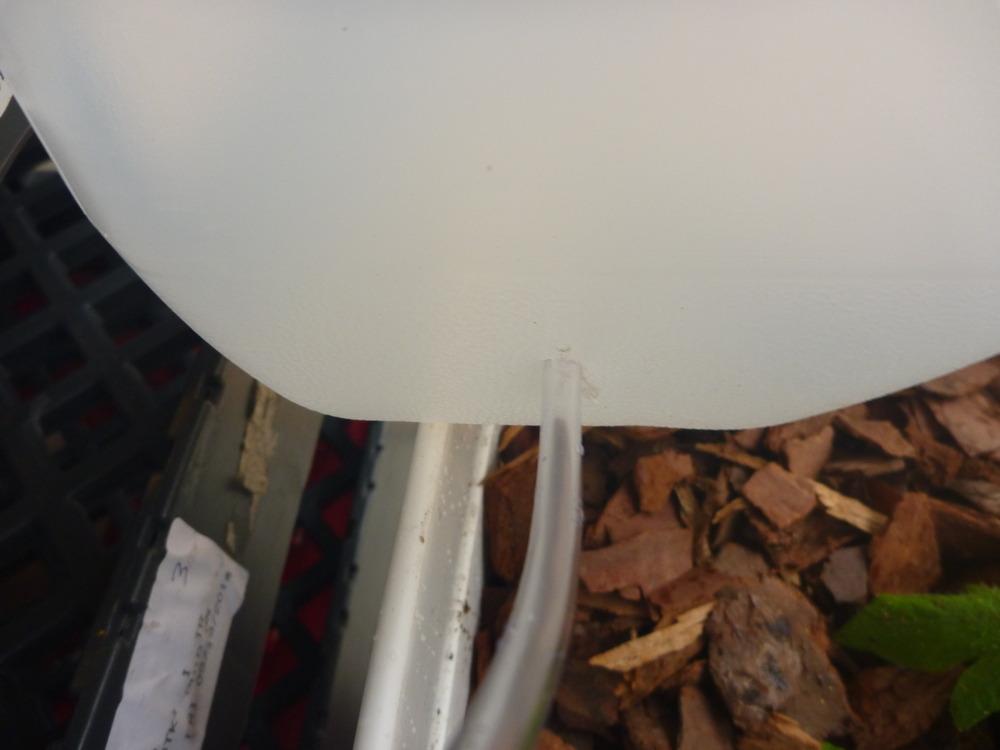
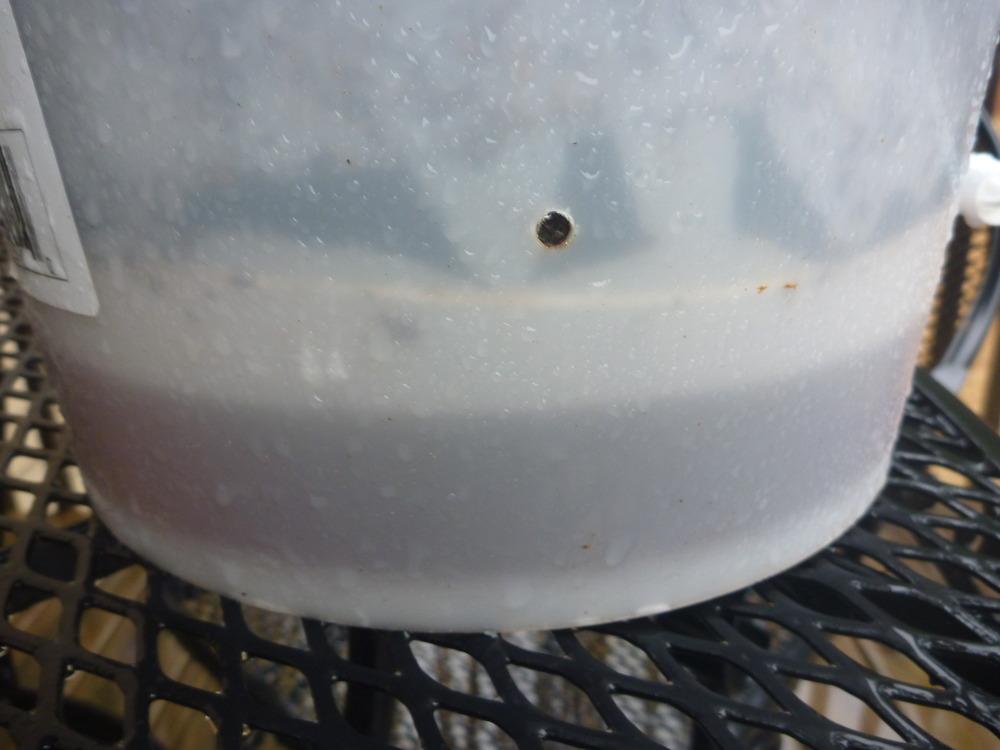
It is important to drill drain holes in the bucket, especially if your plant is outdoors and is going to get rained on. This will keep the container from totally flooding. I drilled small holes on all four sides of the container about 2 inches high, which is the top of the water level in the bucket. My holes may need to be larger but that is easy to fix if necessary.

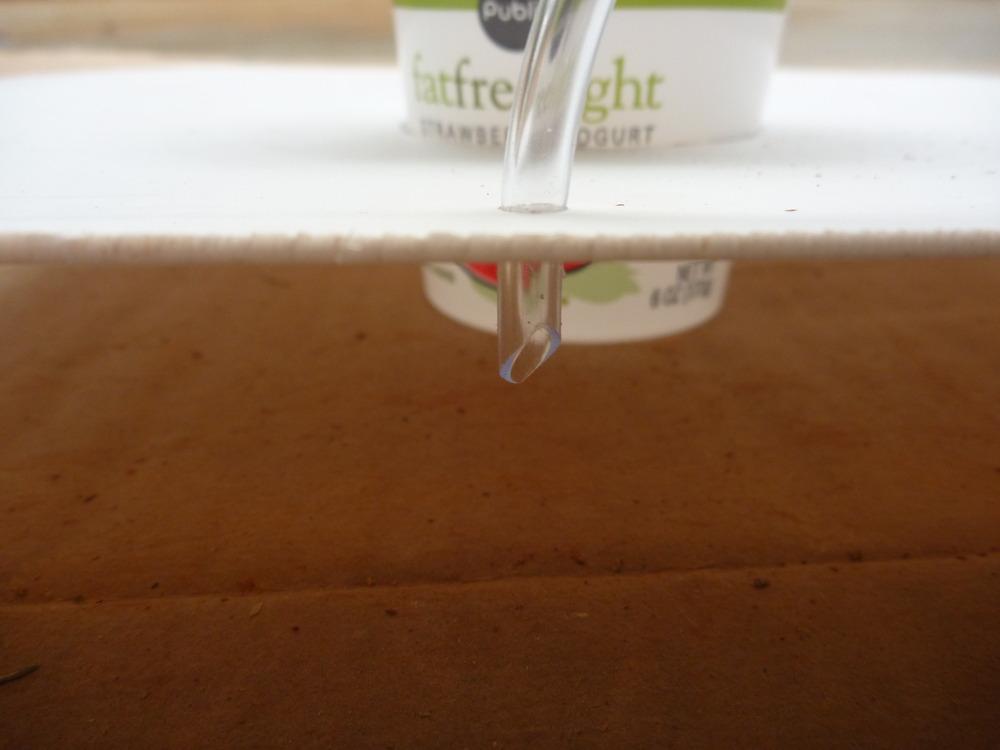
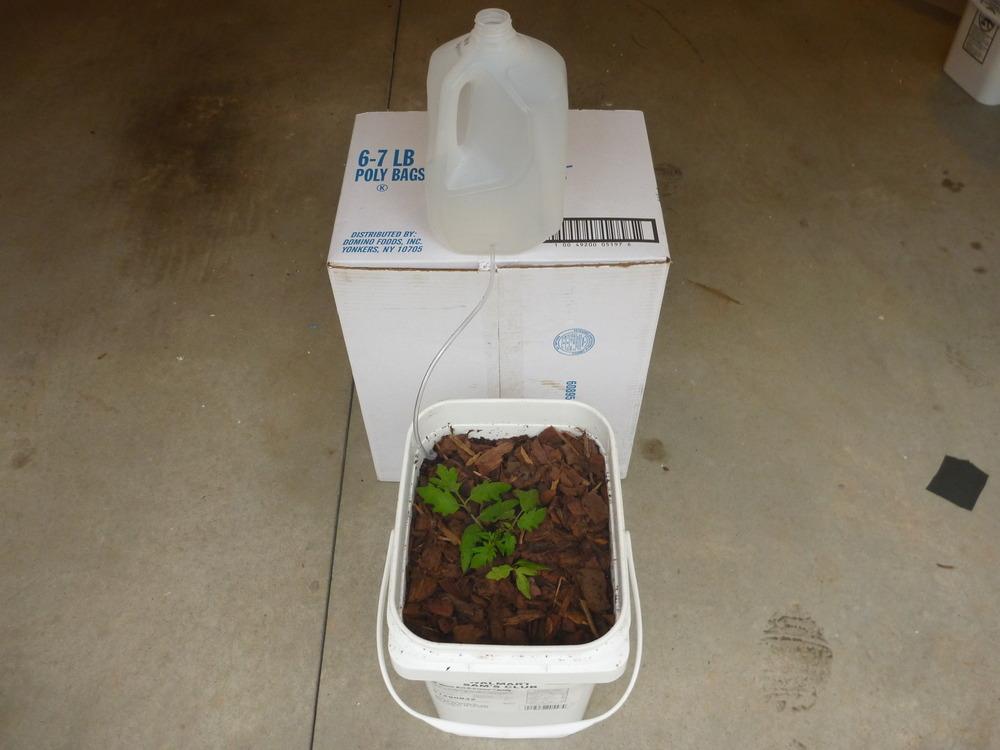
I wanted a way to be able to fill the bottom portion of the bucket with water after it was planted. At some point, the plant is going to drink all of the water. I had some plastic flexible tubing lying around and I came up with this idea:
I drilled a hole the same diameter as the tubing, squeezed the tubing through the plastic lid divider, and extended it up and out of the bucket to serve as a type of IV for the container.
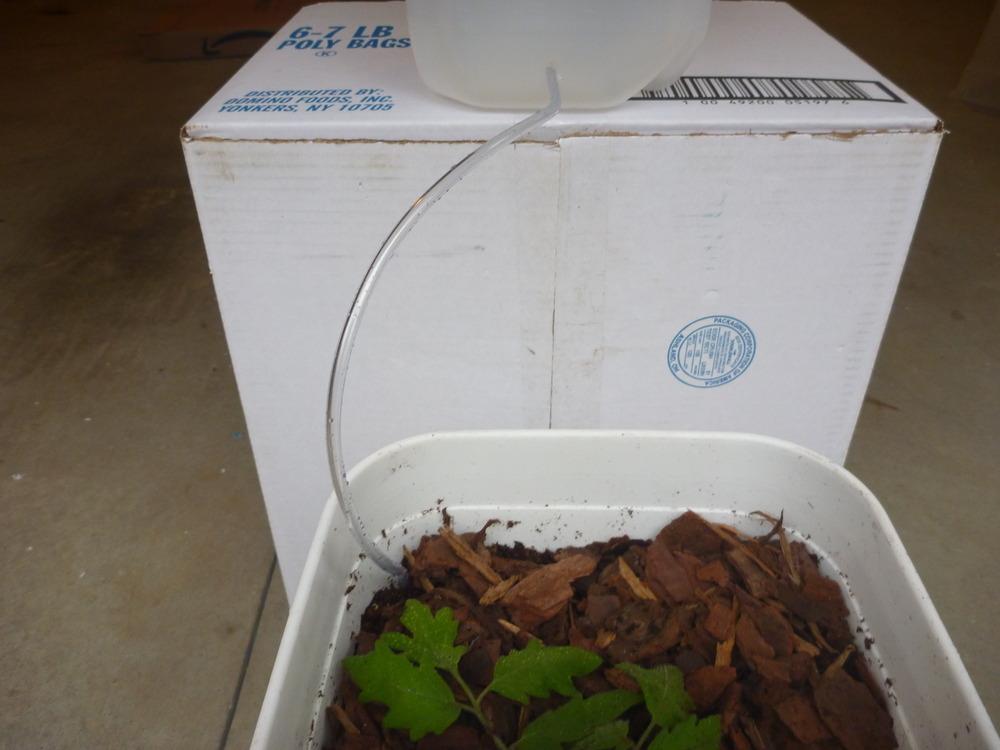
Here is how I fill it up, using an old milk jug filled with water or liquid plant food.
I drilled a hole slightly smaller than the diameter of my tubing in the bottom of the milk jug. This will prevent it from leaking. Now squeeze the tubing through the hole. It helps if you cut the tubing at an angle. Fill the milk jug with water or liquid plant food. Keep the lid off the top of the milk container to allow it to drain easier. You will know it is full when water begins to run out of your drainage holes (or, if you forgot to drill them, out of the top of the container).
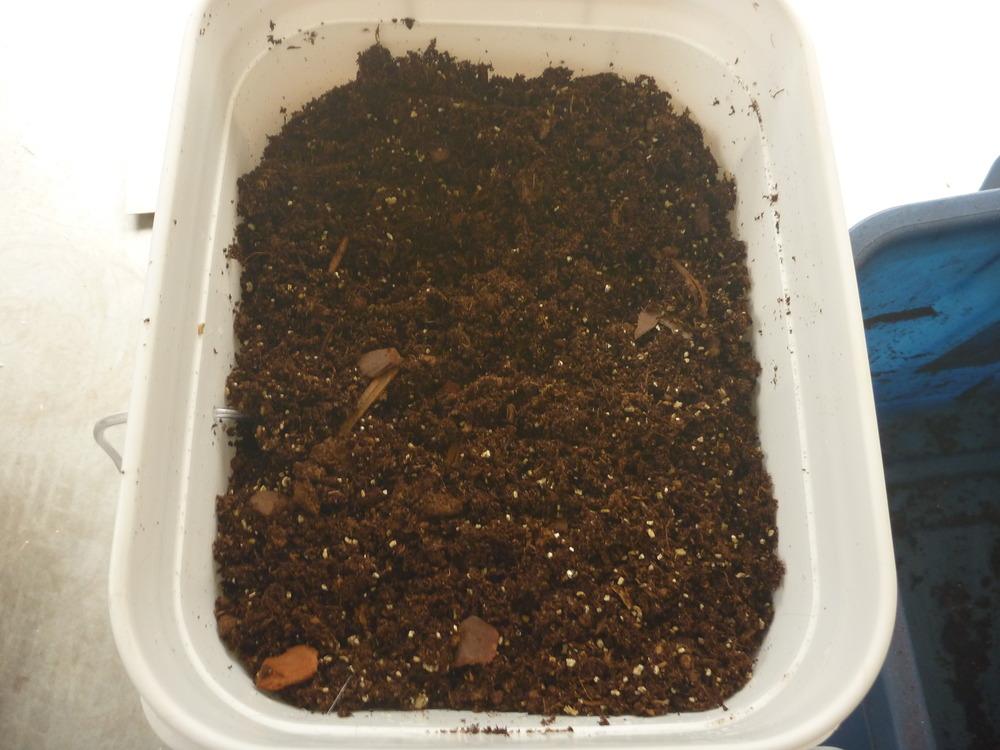
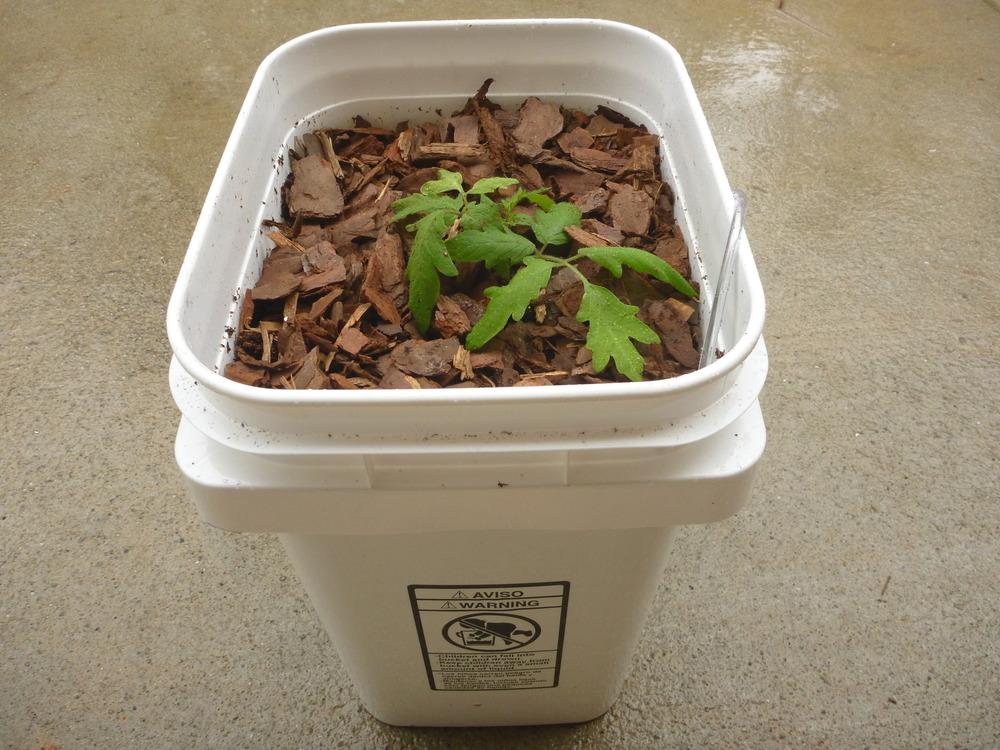
Finally, here is the bucket being loaded with a light homemade soil mix of peat, vermiculite, pine bark, and worm castings.
And, hopefully, one happy tomato plant.
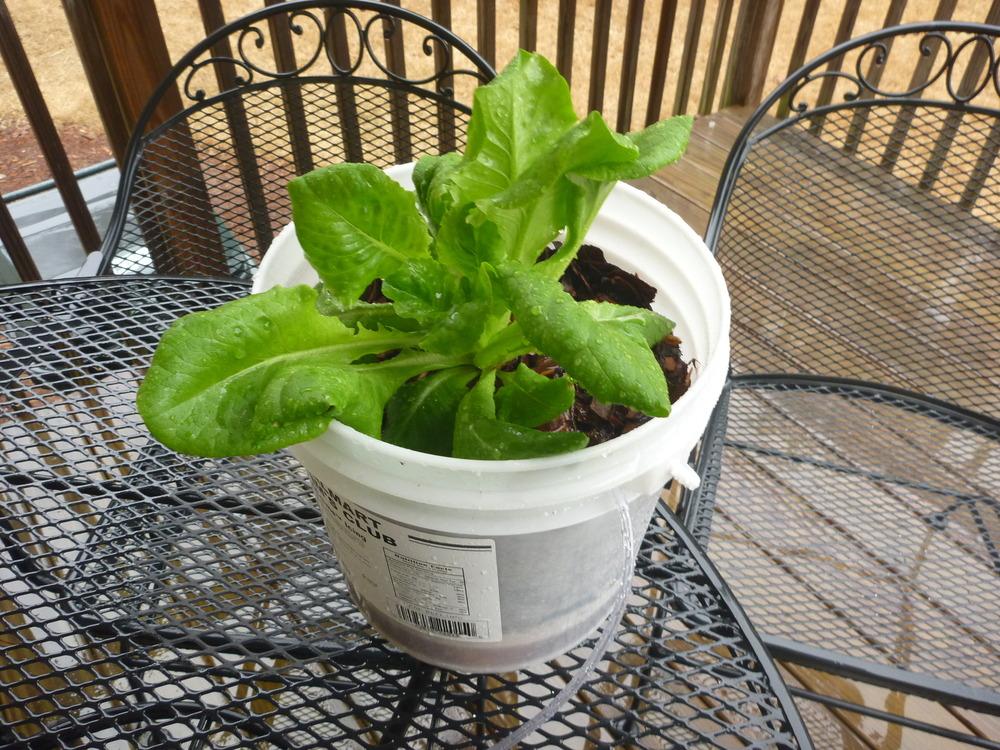
Here is a buttercrunch lettuce that I started from seed over the winter. I have not watered this in over a month and it was in the basement under lights until this week. The soil has stayed moist (of course it's raining today) and it seems to be happy.

Here you can see the water level in the bottom of this container.
Here is a list of the supplies I used:
5 1/2 gallon bucket with lid: Free
small plastic yogurt cup: Free
landscape fabric scraps or an old shirt: Free
3/4 inch PVC pipe cut to desired water level (I chose 2 inches for mine): $ 2.35 for 10 Feet at Home Depot
plastic flexible tubing (I've seen some built using a rigid piece of PVC tubing): a few dollars.
milk jug: Free
I have found that it is much quicker to do each step to several buckets at a time. I made four of these in less than an hour. Good Luck!
| Thread Title | Last Reply | Replies |
|---|---|---|
| self-watering container by shelleymunger | Jun 22, 2015 4:54 PM | 0 |
| Self watering planters by greatmama | Jun 20, 2015 4:53 PM | 0 |
| Nice by sbueno59 | Jun 20, 2015 8:05 AM | 0 |
| Great Job! by Gymgirl | Jun 19, 2015 8:29 AM | 0 |
| Perfect! by greene | Jun 19, 2015 6:28 AM | 2 |