Pesky critters, slopes, boggy spots, shallow root zones under trees, and all-day sun are just a few of the challenges we face when deciding where to plant our perennials. Many of these sites can be managed successfully without breaking the bank or our aching backs, and without the importation of truckloads of mulch. Here's a sampling of ideas that can make our difficult gardens a joy to plant, maintain, and behold!
Repetitive visits by nuisance animals and birds immediately after young perennials have been planted often result in fatal consequences. Smaller animals can be deterred by nesting a new planting with driveway rock or crossed twigs. Larger animals, such as dogs, oftentimes can be foiled by using logs or larger rocks. Animals that just want to dig will lose interest in these newly planted areas fairly quickly. Once disturbances have ceased to appear, materials may be removed. Removing a bit at a time often works best, as resident animals and birds are highly attuned to anything new that happens in the garden. The trick is to first make digging difficult and then to cultivate apathy and indifference in our yards' nuisance populations.
Slopes can be tricky, difficult, and expensive to maintain following the standard practice of reapplying huge amounts of mulch after each heavy rain. At planting time, consider the eventual downward slide of materials and take steps to slow the descent from the outset. If terracing with mortared rock or brick walls isn't an option, placing materials like logs or rocks downslope of each new planting will help to hold soil, compost, or minimal amounts of bark mulch in place. Set these items about a foot away from plantings and back-fill both the uphill and downhill sides with fill. Good fill to retain positioning might include clay, twigs, or small stones. Using what's readily available saves money and travel time to and from the store, and also requires much less work caused by the carrying in of goods.
Potted plants can also be used in the same manner if rough materials are in short supply. One container placed uphill will provide a bit of shade for the new plant's root zone, and drain water from the planter will provide moisture. Two or more pots placed downhill of the new planting will hold materials in place until the plant has a chance to settle in and become established.
Planting in boggy spots and flood-prone areas is made easier by raising rot-prone perennial crowns permanently. This can be done using the same items as above. Simply design a raised holding area for the new plant's immediate vicinity, or plant in a bottomless pot. The plant's roots will grow down into wet soil as far as they wish, and only to a depth that they're most happy with.
The area among shallow tree roots is one of the most challenging sites. New perennial plants will definitely struggle to become established in this position, but it can be done. The rule in this situation is moderation. Digging large planting holes or adding 12" of fill over the tree's root zone can damage your tree! Instead, dig smaller and shallower planting holes, radiating outward from the trunk in more or less a straight line. If you find a main feeder root while digging, try to gauge where it's headed and avoid disturbing it by planting to one side or the other.
Shallower planting holes will often raise your new perennial's crown above the existing soil line, so extra care will need to be taken to make certain its roots don't dry out or become too hot. The same principles applied to slope planting or bog planting will work for under-tree planting as well. Back-filling planting pockets not only won't suffocate your tree's roots, but also will allow your new perennial the opportunity to become established.
Planting young and tender new perennials in all-day sun can be an especially tough challenge in hot weather areas, or elsewhere, in the middle of the summer season. For these plantings build your planting pocket both wider and higher on the sunniest sides. This will provide a bit of extra shade for both the exposed parts of the plant and its vital root-zone.
Back-fill planting holes with native soil on one side of the root ball and compost on the other side, and water in well. Then apply your favorite dry mix of compost, native soil, and bark chips to top off your planting pockets. Placing this dry mix on top will hold just the right amount of moisture in your new plant's root zone rather than leaving it sopping wet. If properly applied, these methods should ensure a happy and healthy perennial planting in even the most difficult areas, with minimal further fussing required by the gardener.
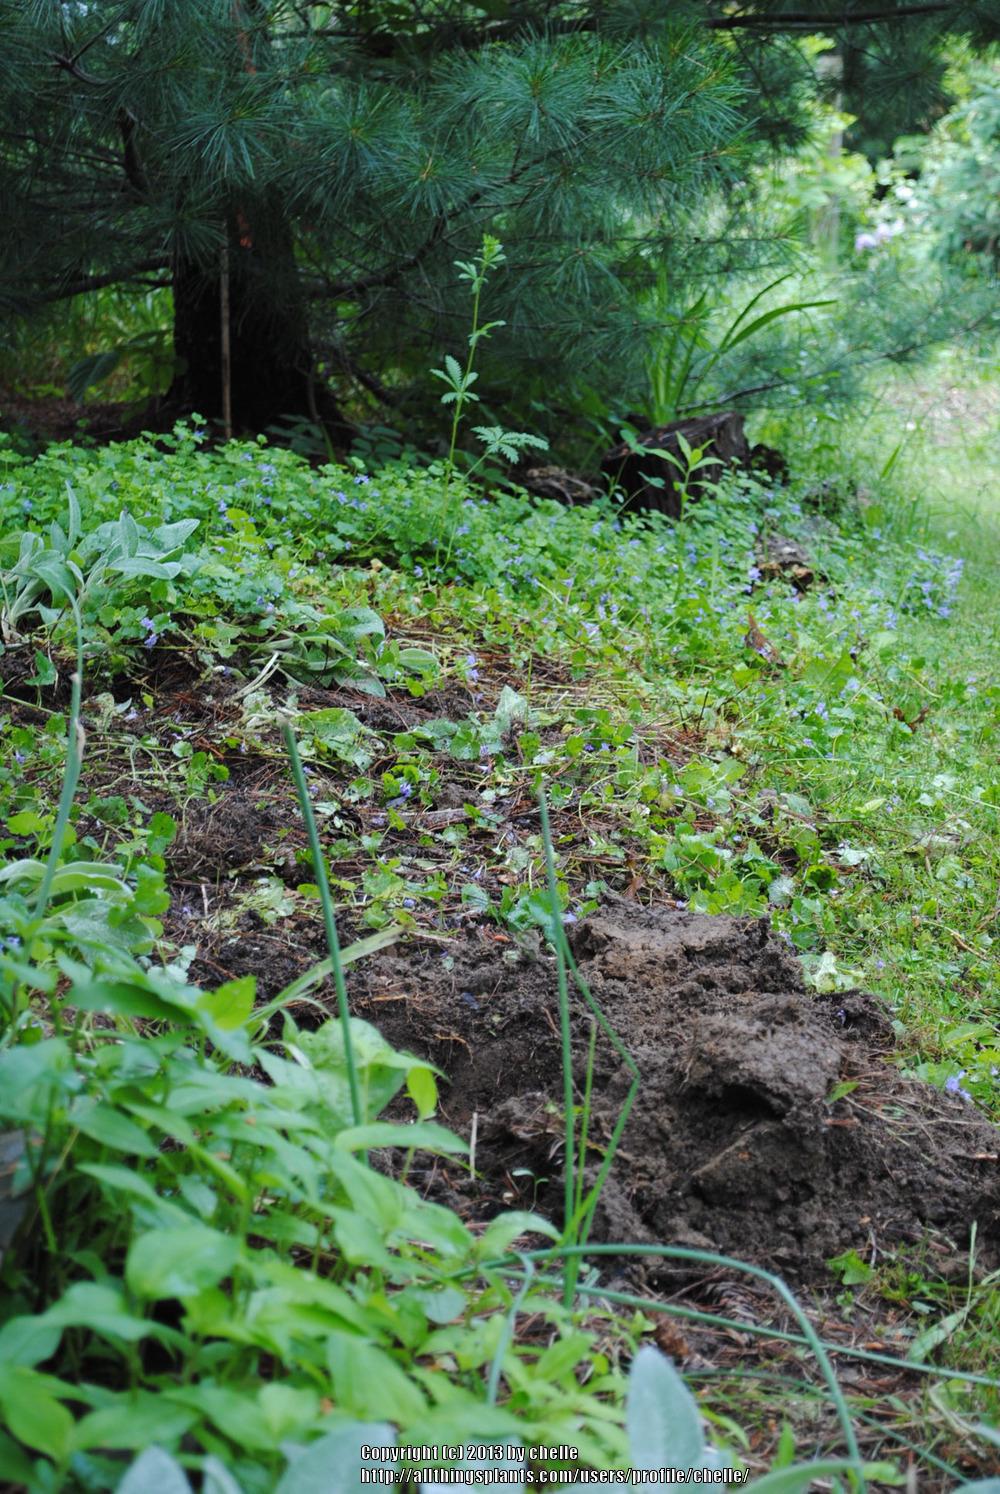
Step-by-step pictorial: the following images are taken from roughly the same vantage point, unless otherwise stated.
Planting site - good slope, under an evergreen tree.
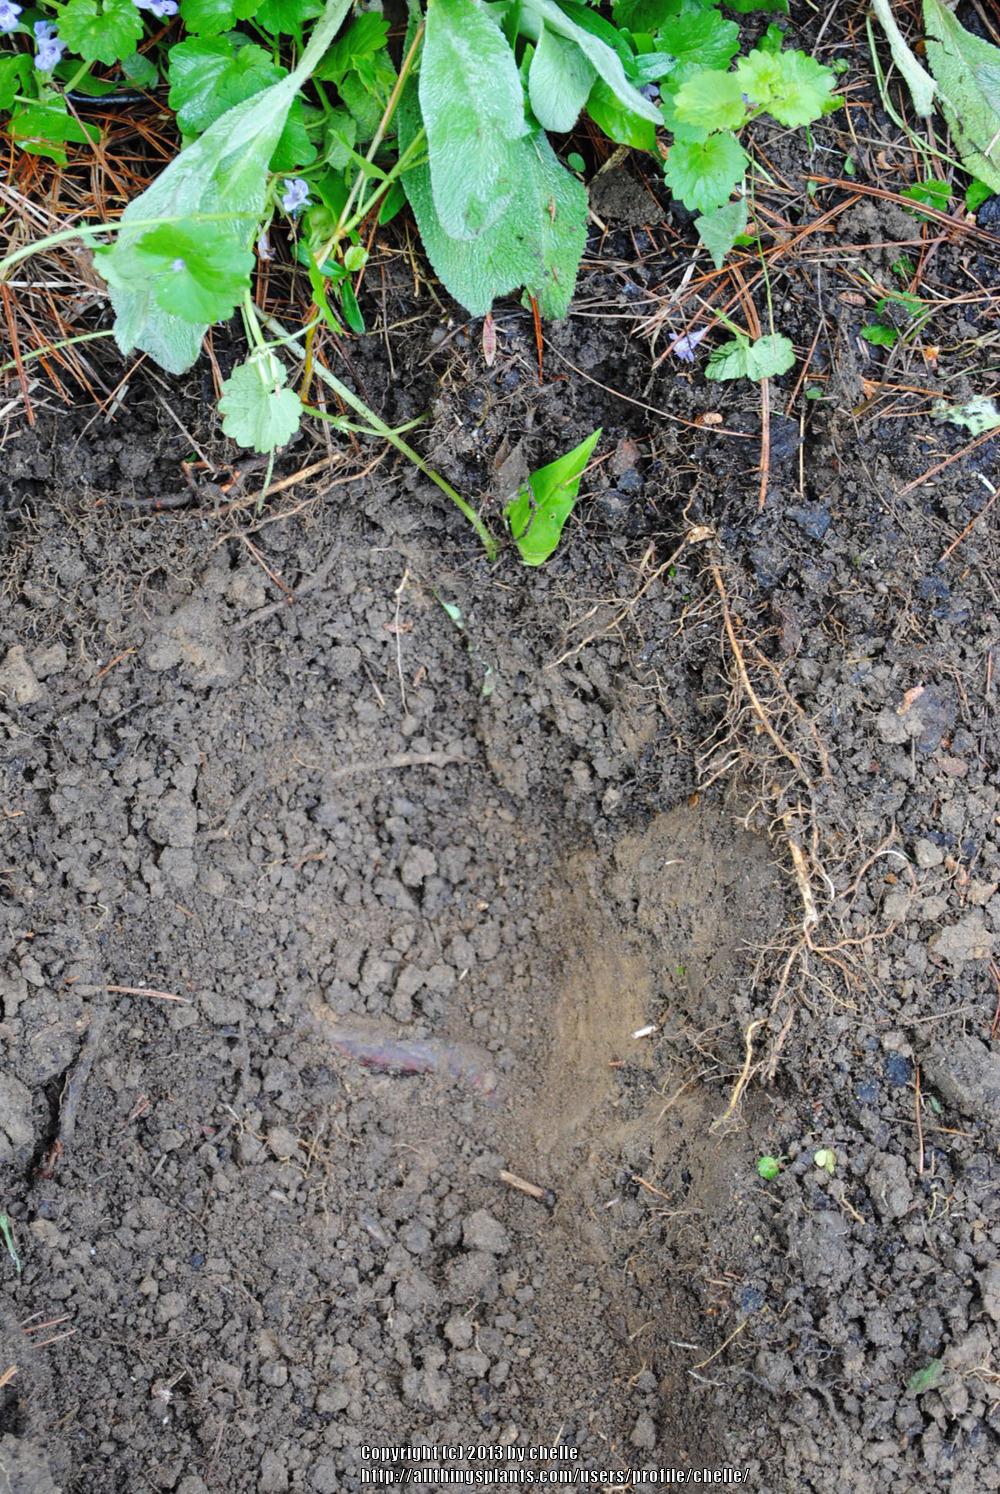
Four inches down we find a major feeder root, so we won't dig any further.
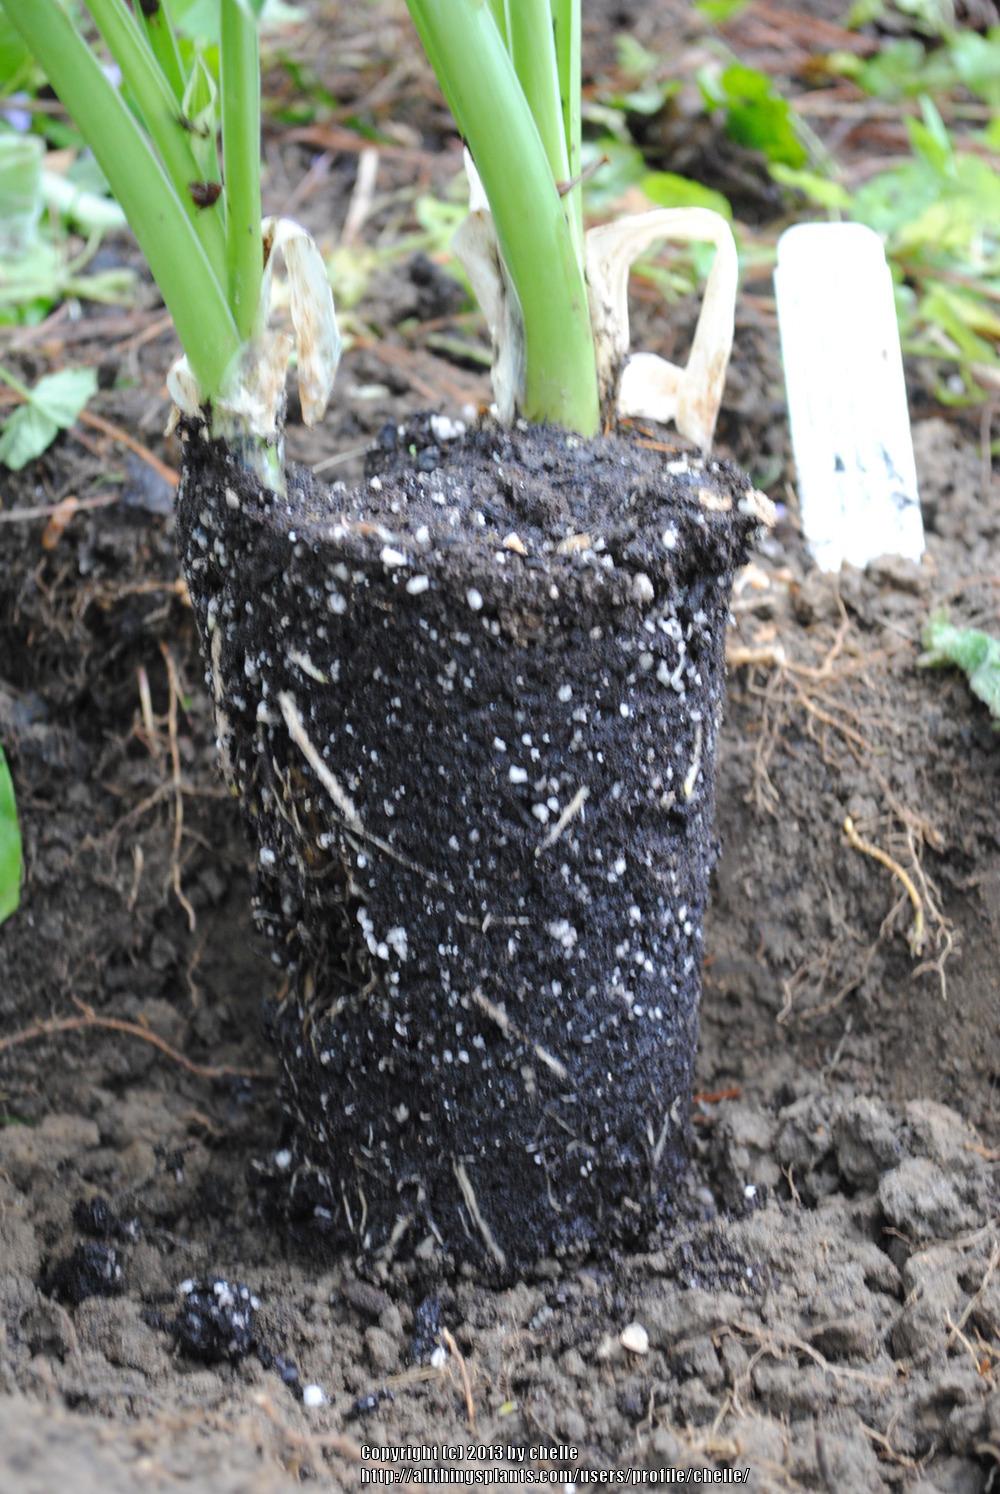
As you can see, our new perennial is deeper than the hole, but that's okay. Our planting pocket will make up the difference.
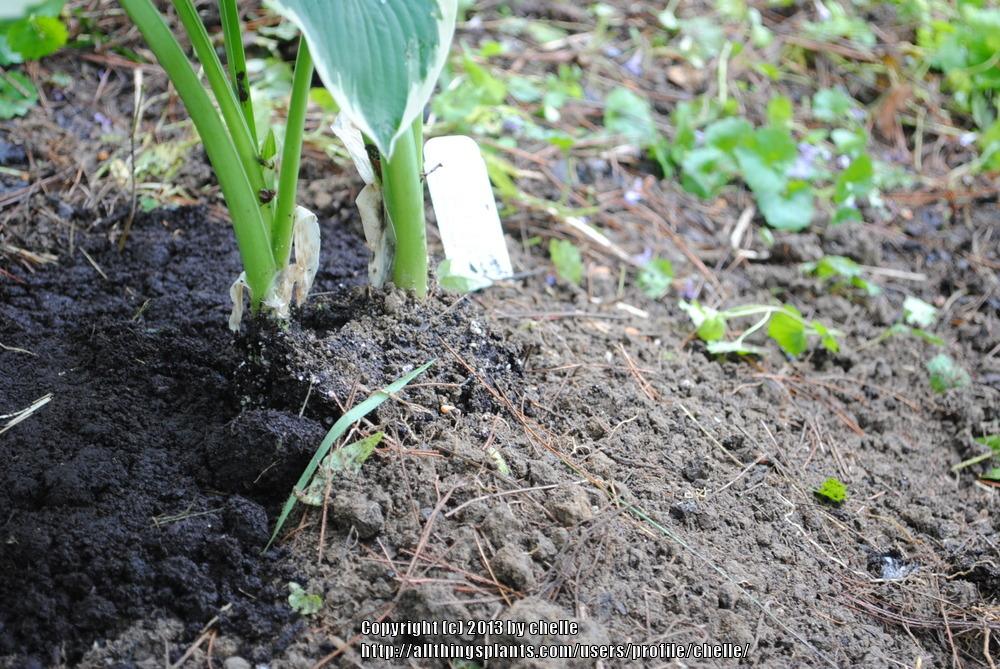
Since we know that water flows downhill, we'll back-fill the high side with compost to maintain absorbency. Back-fill the low side with native soil to reduce runoff.
Then water in and add retaining material. Angle the top retaining side from the point at which you see water will run off and downhill, toward the front center of the planting area, leaving space between sides and plant for additional fill that will be applied later.

(The angle of this image is misleading, the rock is actually at the lowest point.)
Pack native soil, stones, or twigs under the low sides of your retaining pieces for stability. Pegs driven in on the outside edges will work as well. Check for slow-drainage; this is what we need here in the thirsty tree zone. If water escapes too fast, pack in those gaps! (Picture taken from opposite side.)
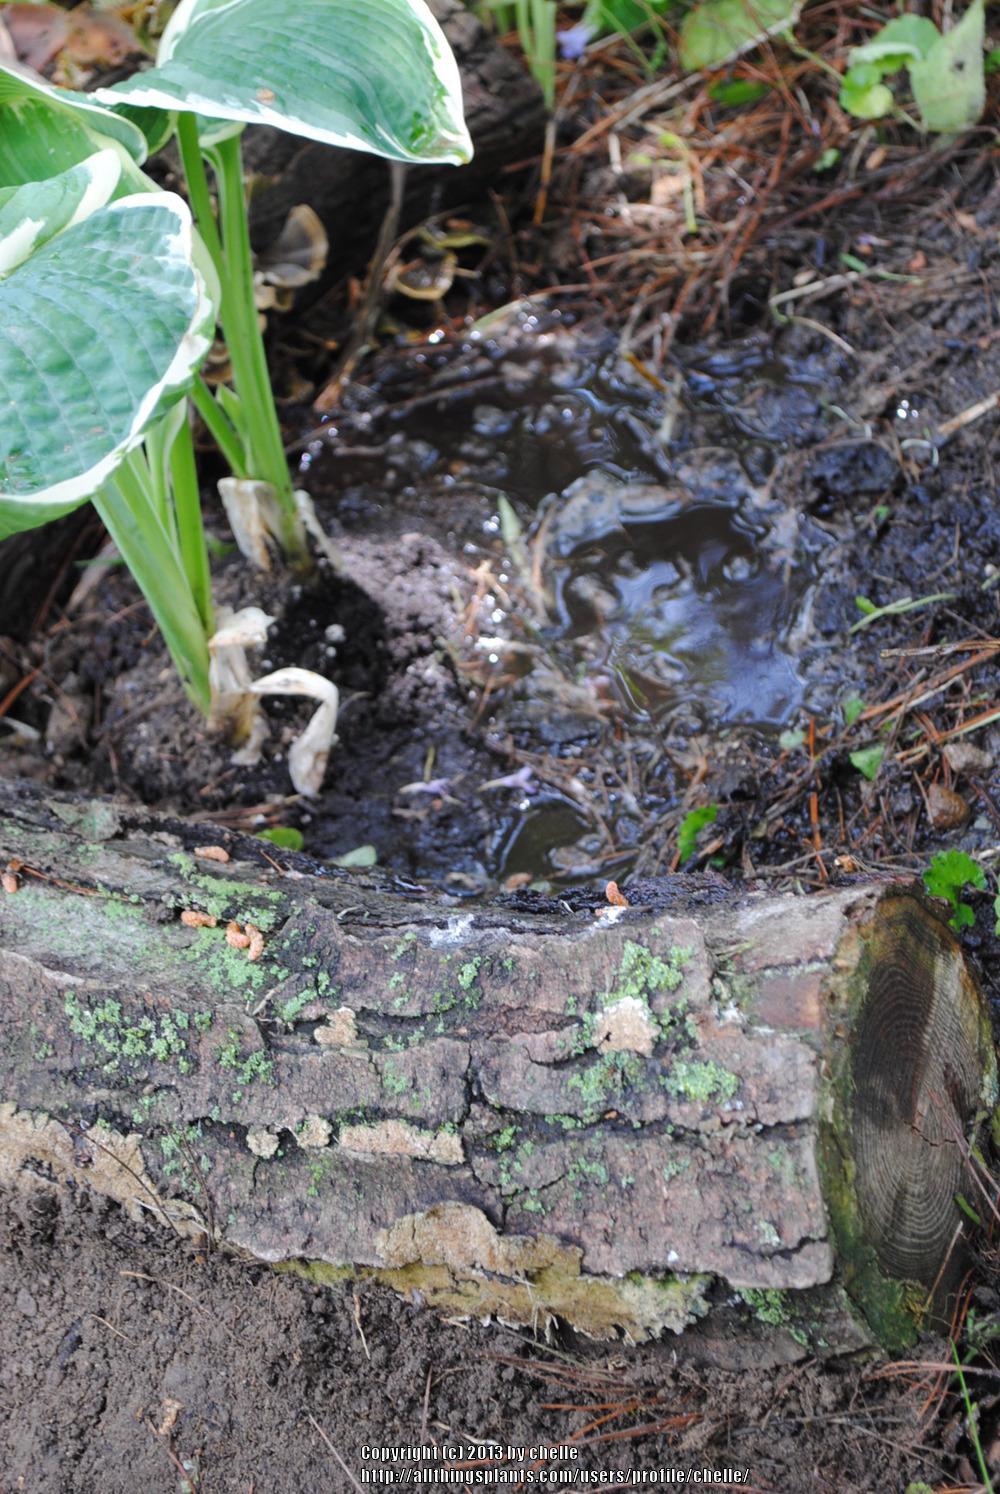
Once we're satisfied that our water-holding needs are met, it's time to top off to crown level with our favorite dry mix. (Picture taken from opposite side.)
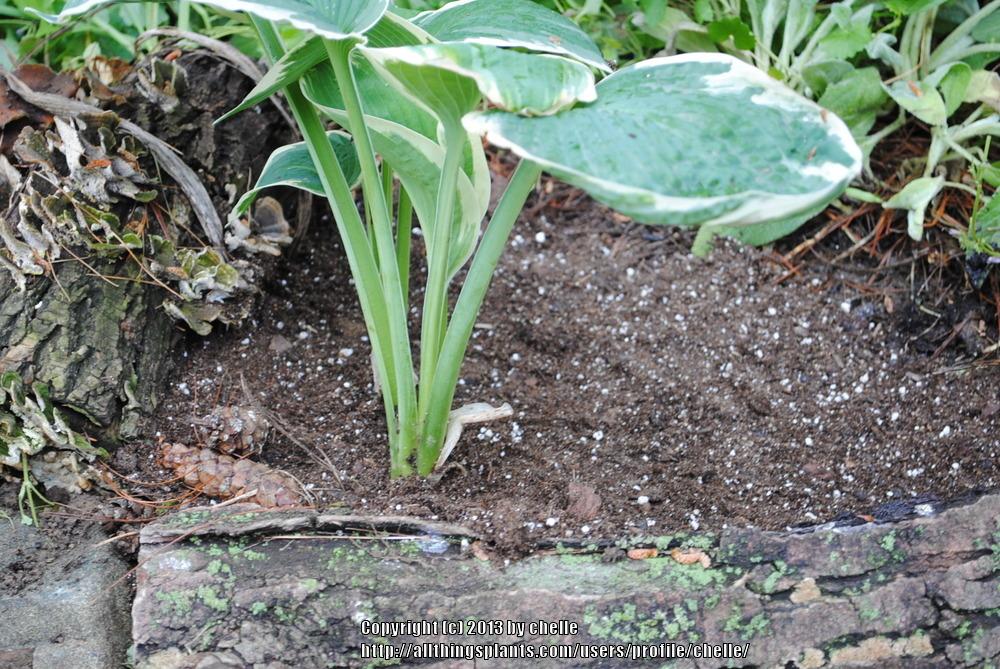
Scatter a bit of whatever you find in that area on top (in this case it's pine needles and cones), and other than its smaller size you'd never know that this plant hasn't always been here.
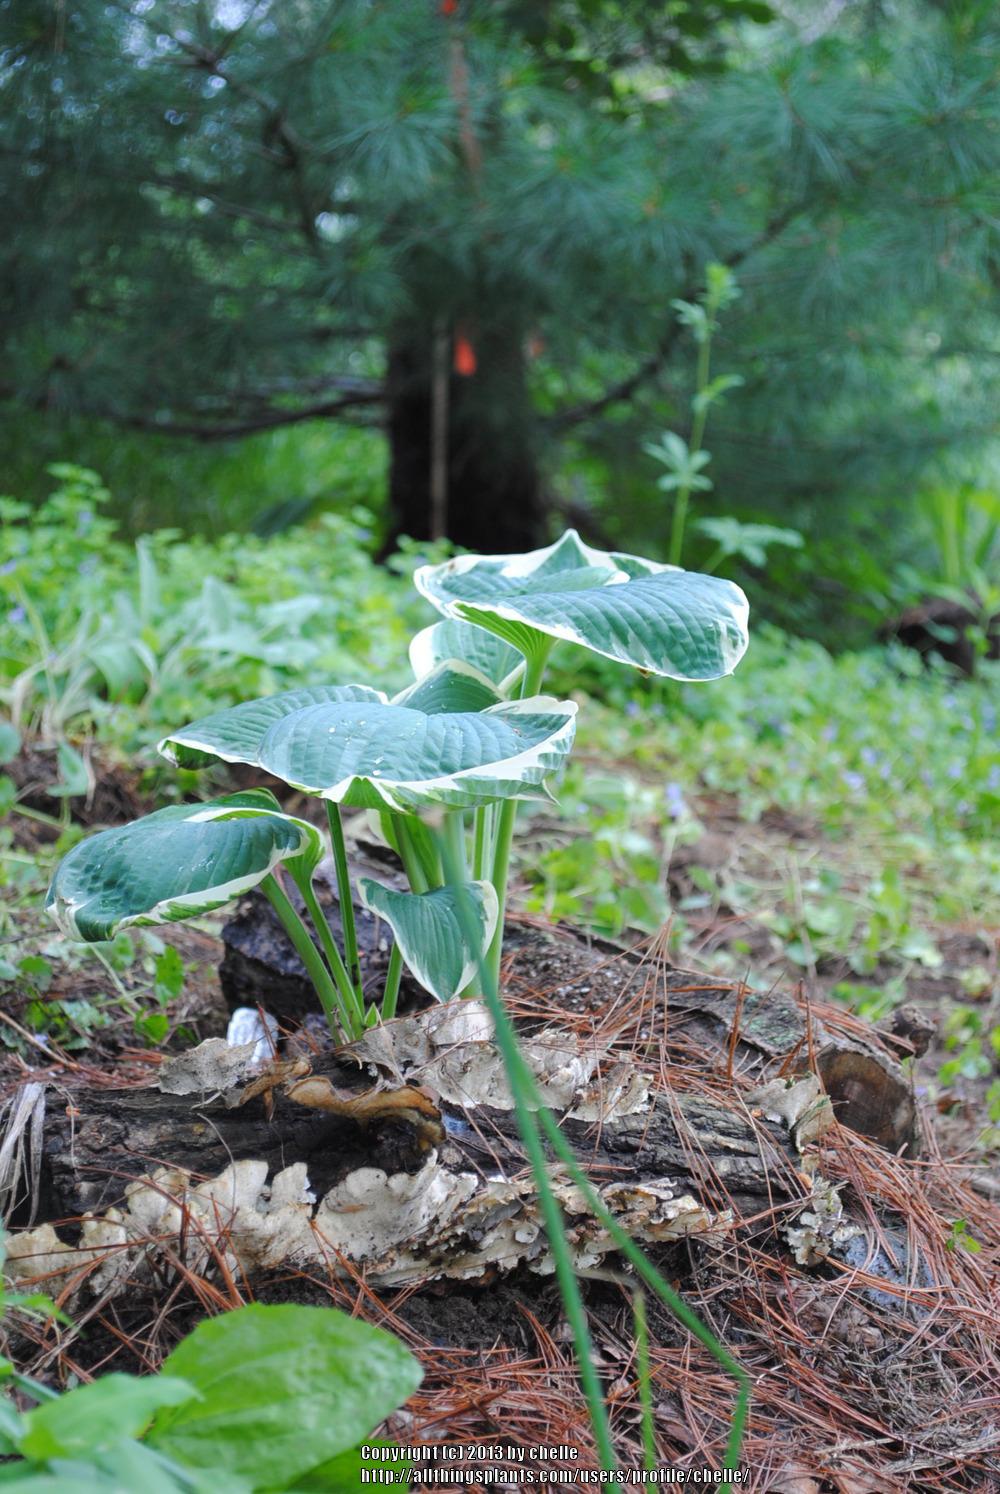
Finished planting area. Now, all the Hosta (Hosta 'Barbara Ann') needs is a bit more company, and for this gardener to do a bit more weeding!

A few additional examples:
Simple protection pocket with newly planted young Cottage Pink (Dianthus plumarius 'Velvet 'n' Lace').
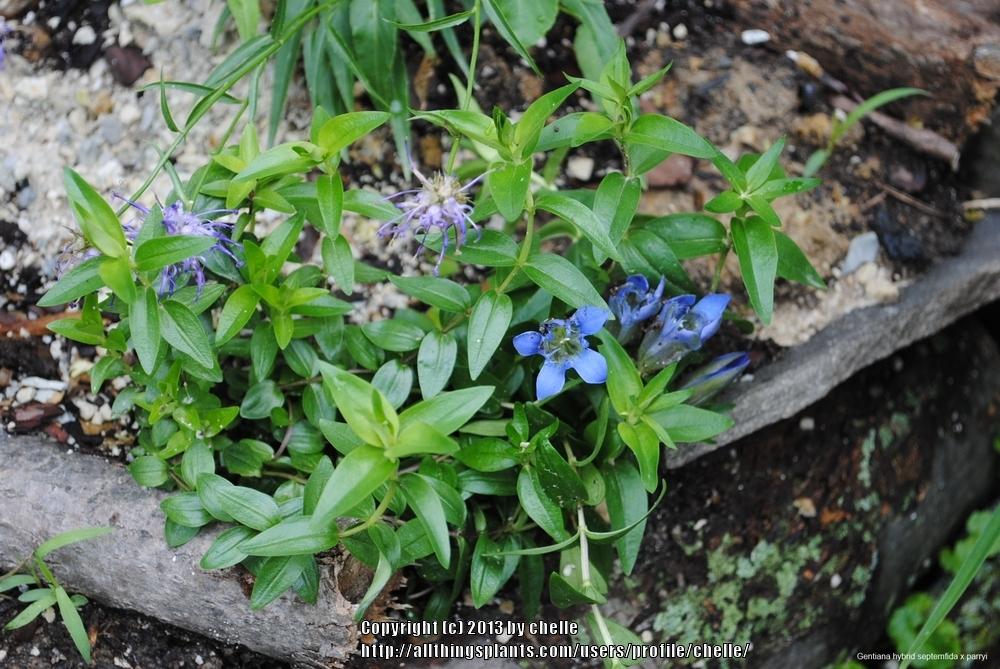
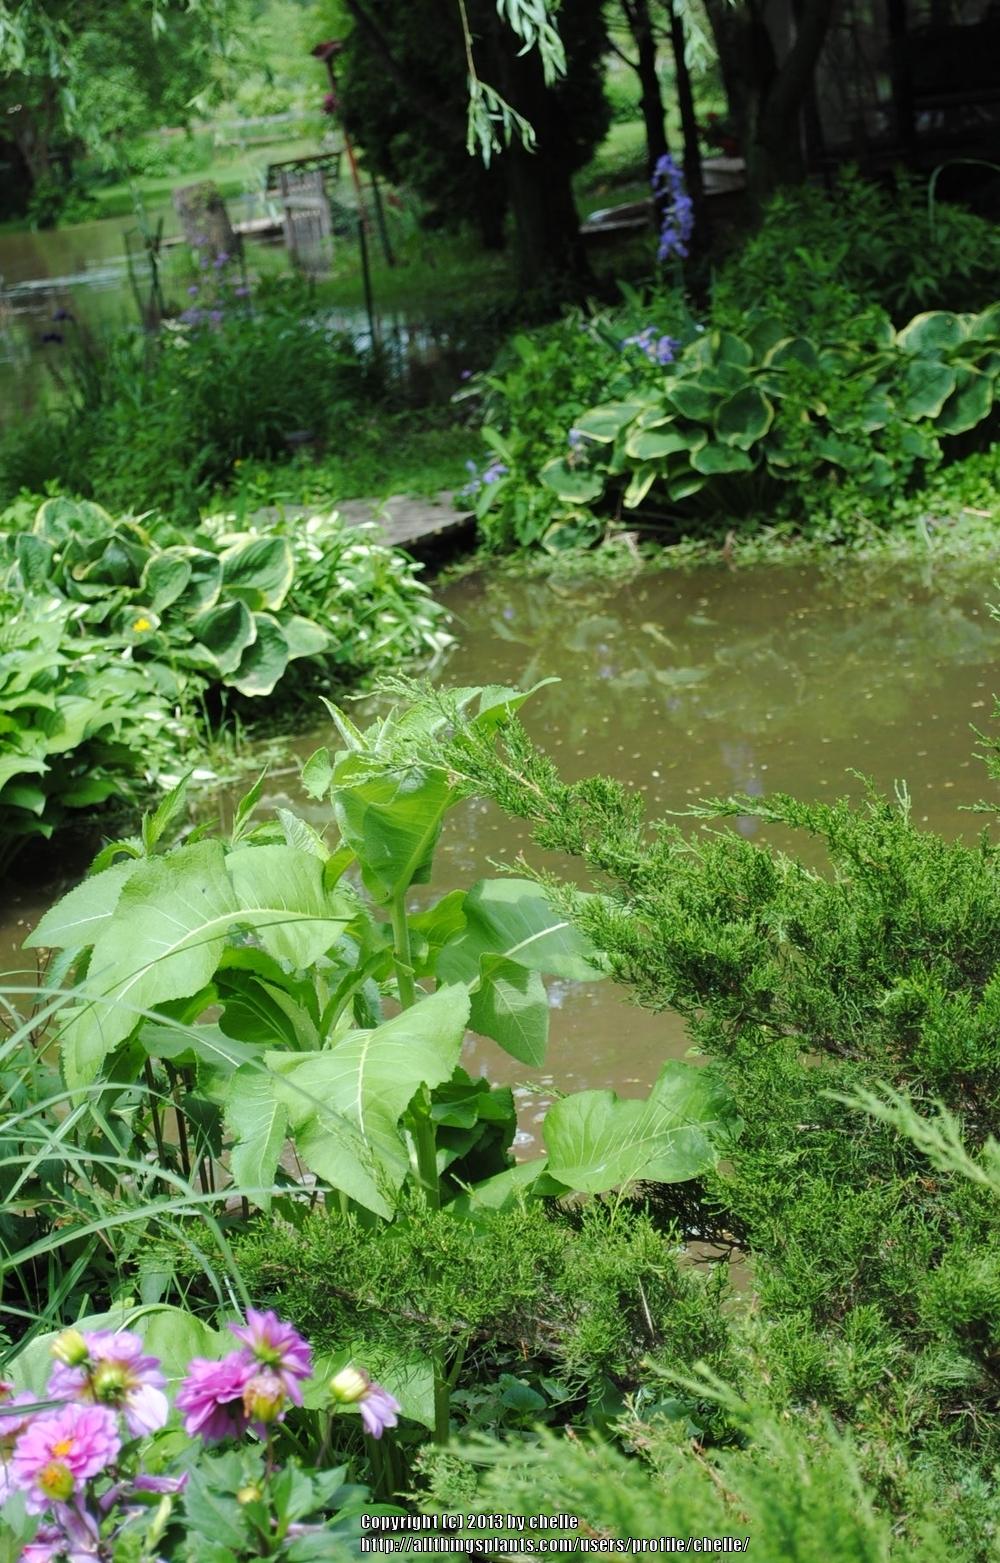
New plants Gentiana hybrid septemfida x parryi and Horned Rampion (Phyteuma scheuchzeri) in a planting pocket permanently positioned at just above the seasonal flood line. Picture taken immediately after a four-inch, hard-driven, overnight rainfall; all components of the planting pocket remained stable and secure.
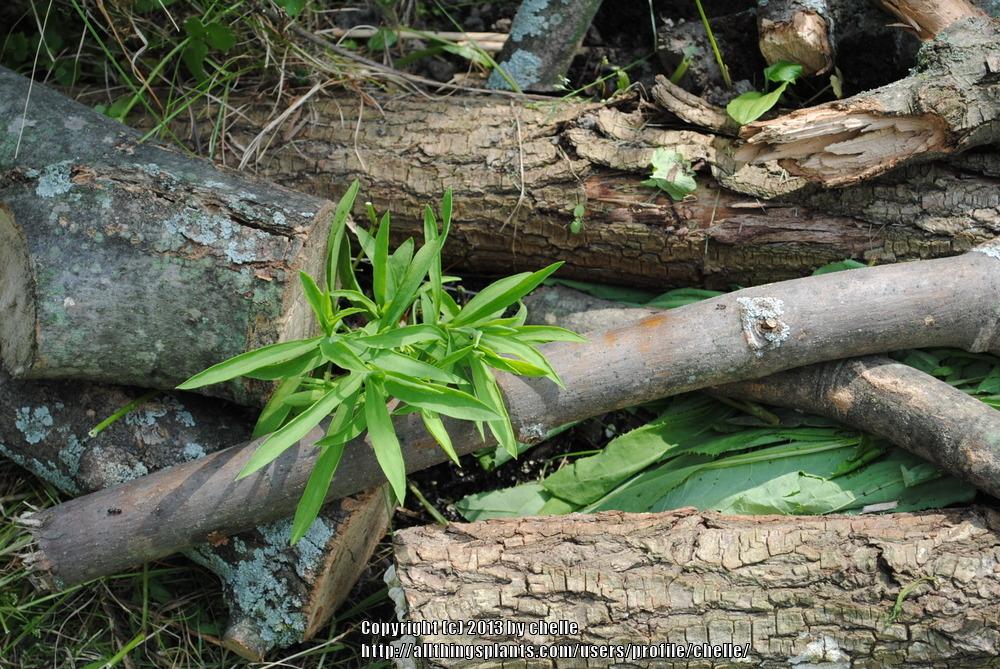
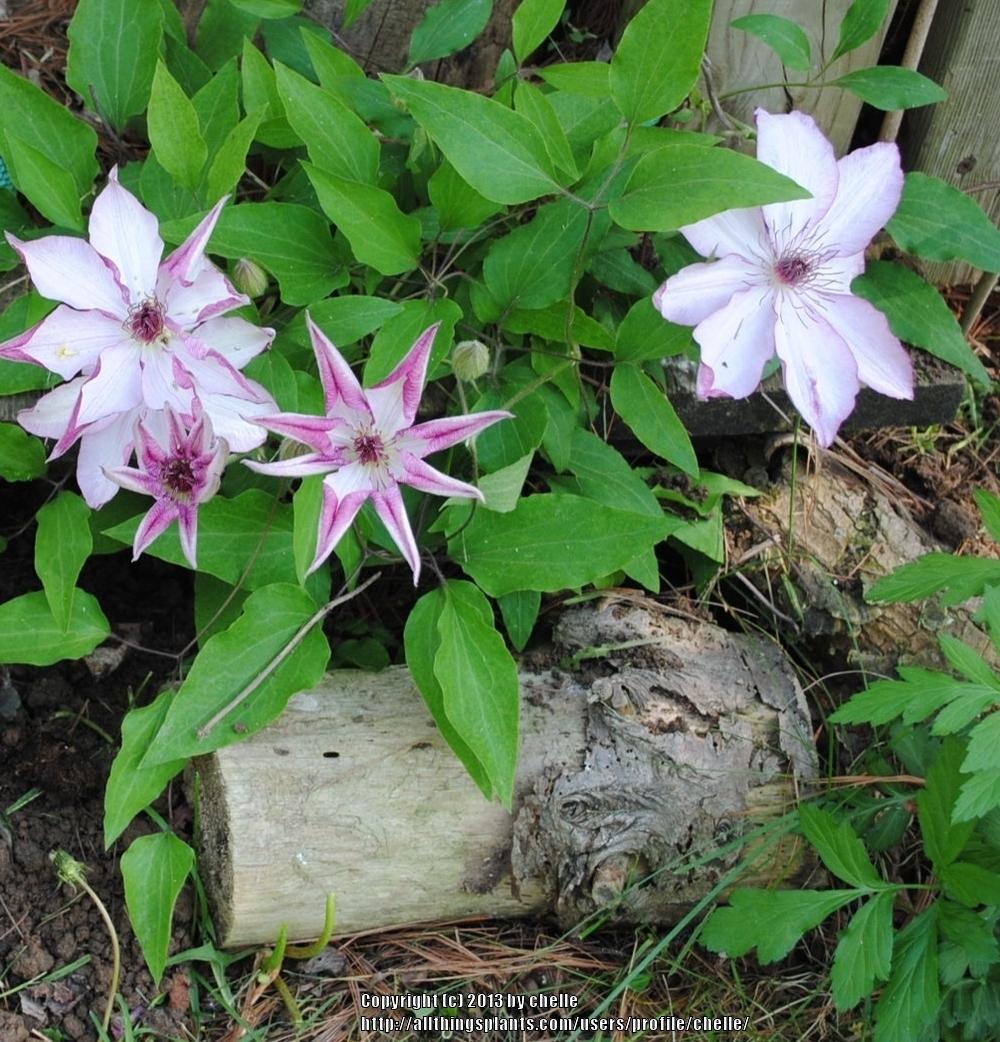
Three-year-old planting of Clematis (Clematis 'Omoshiro'); planted on a slope, and in a drainage runoff area. Small logs hold soil and top dressing in place and provide shade for the plant's roots from hot afternoon sun. Logs are positioned both downhill and southwest of the planting.
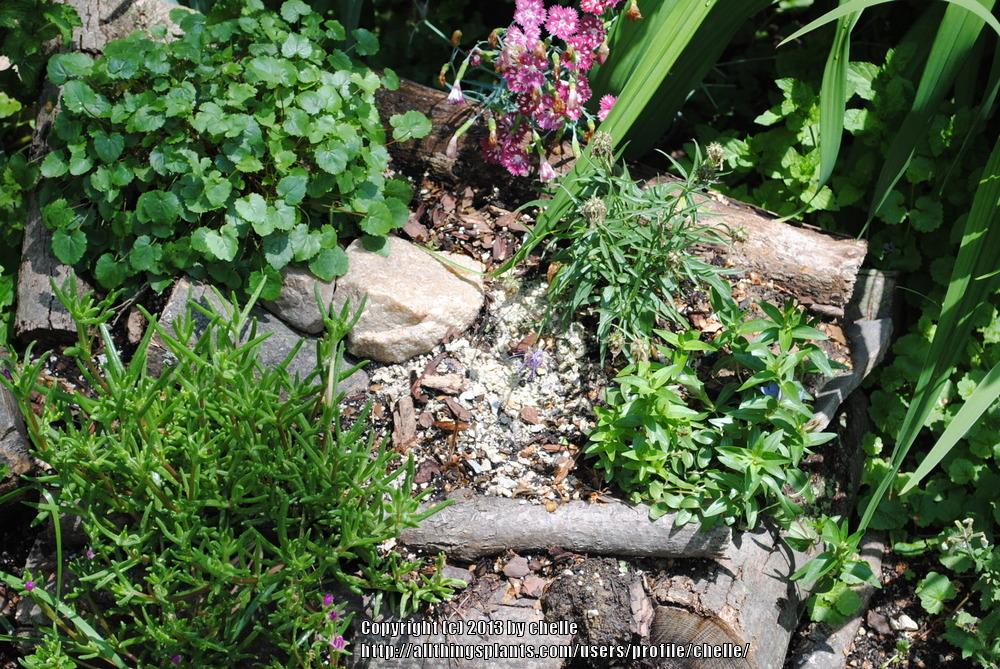
Rock garden perennials in a seasonal bog area.
Slope planting at a tree's drip line.
Third-year perennial geranium growing in a half-buried pot in the flood zone.

Had these been planted without planting pockets, they'd have washed away in their first season.
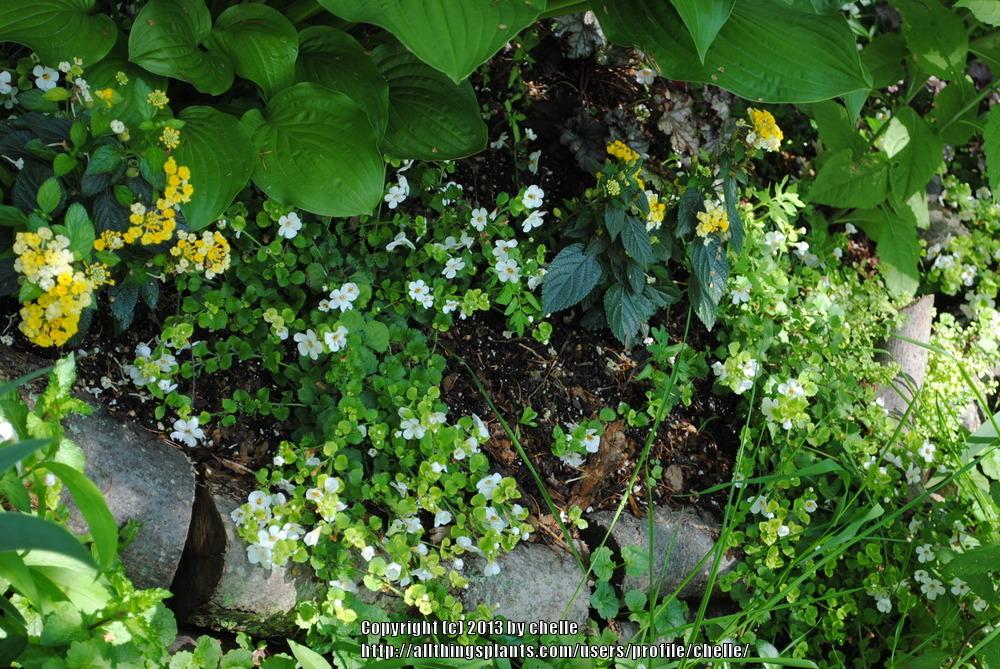
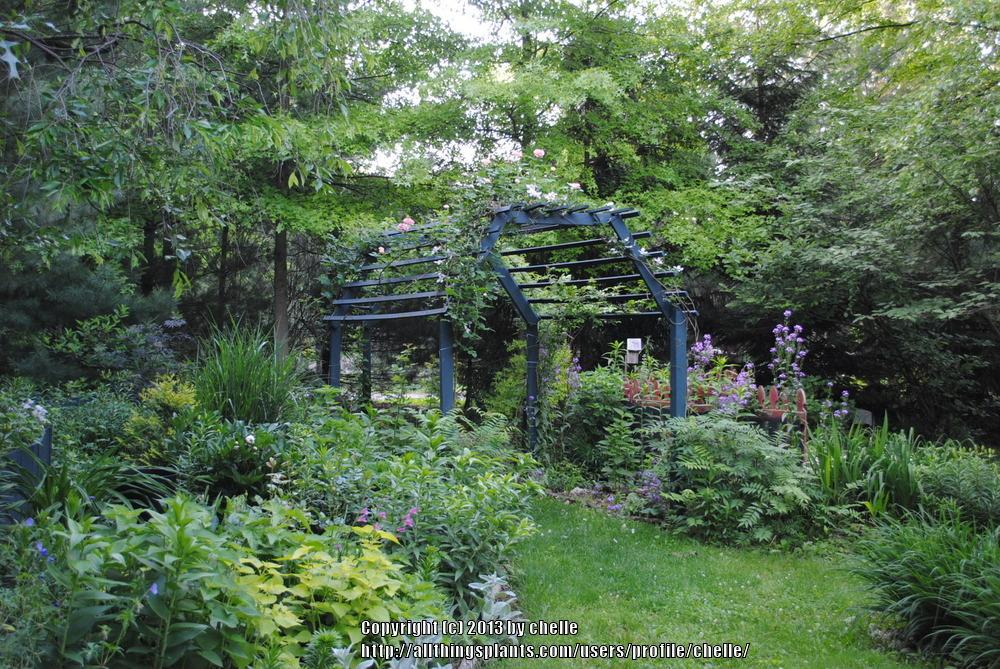
Even if planting pockets are never removed, a full and lushly growing garden can hide them wonderfully.
| Thread Title | Last Reply | Replies |
|---|---|---|
| This is my life! by foraygardengirl | Aug 6, 2014 2:09 PM | 6 |
| Enlightment by Anderwood | May 25, 2014 5:03 PM | 3 |
| Planting Pockets, my next project! by citysylvia | Jun 19, 2013 5:18 AM | 7 |
| Wow! by plantladylin | Jun 16, 2013 12:58 PM | 11 |