I was given several large containers, and I had an idea for how to arrange them, but I didn't want to create a mowing problem for the nice crew who come and mow the grass. So I decided to create a lasagna bed underneath the containers, removing any need for grass mowing there, and expanding the available garden space.
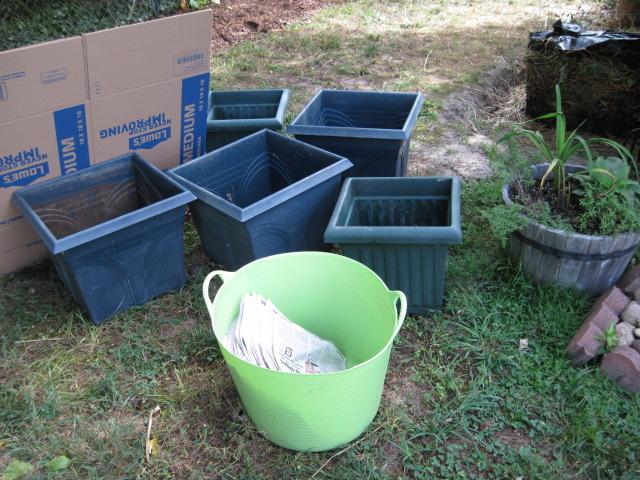
I had been assembling materials for a larger garden expansion and thinning some plants in existing beds, so I had cardboard and I had a number of potted plants that needed to go somewhere instead of being in the way next to my potting area.
I begged someone for a small stack of newspapers, to make working with the edges easier, and with that acquisition, all my pieces were in place: one cardboard moving box, a tubtrug for soaking, newspaper, and containers.
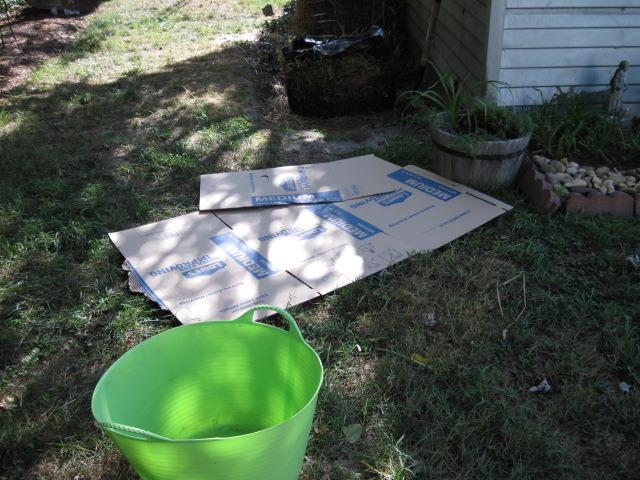
First, I made a very rough layout of the shape I wanted for the bed. I wanted an oblong shape that wouldn't be difficult to mow around, and would hold the containers in a nice arrangement, while leaving plenty of pathway to get to and from the compost on the far side of the bed. I was too lazy to go all the way upstairs for a cutting tool for the cardboard, so I ripped off the small piece.
I made many lasagna beds using cardboard as the bottom layer before some kind soul clued me in that it is much, much easier to create these beds if you soak the cardboard first, so that it is saturated, heavy, and pliable. No fighting the wind and no standing around with the hose while the water runs off the surface. I think the last time I did this I had a 13-gallon tub. This is an 11-gallon tub trug and it works fine.
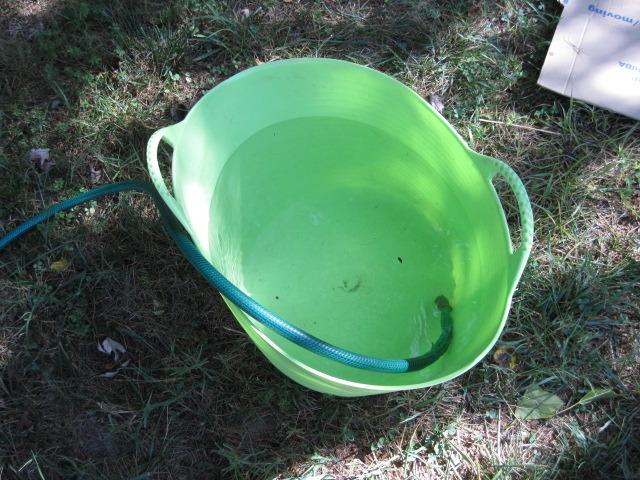 Filling the tub with water.
Here's all of the cardboard, soaked and laid down, and soaked newspaper sections around the outer edges, filling out the space. The newspaper is more flexible, so it can be shaped more easily.
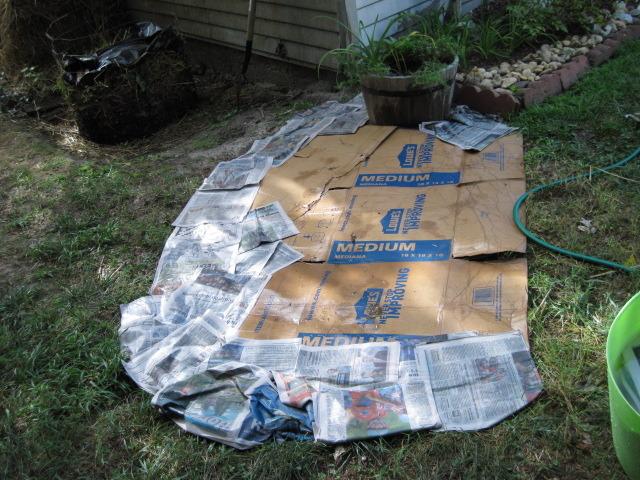
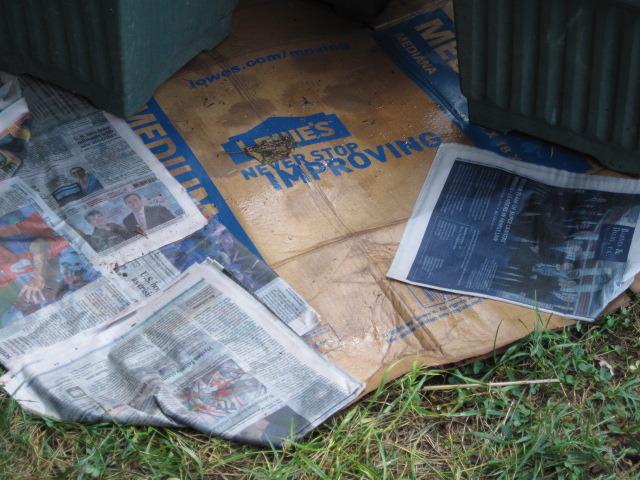
Once the newspaper is in place, it's nice to go around and tidy the edges a bit, covering cracks in the cardboard and making sure the edges are more or less smooth.
When the shape is acceptable, it's time to cover that first layer. This bed is going to be underneath containers and not initially used for planting, so all I did was layer straw on top and sprinkle some manure on that, watering it all really well. The straw layer is about two inches thick. If I were going to prepare this bed directly for planting, I would pile manure and soil on top of that straw and then mulch the top layer with more straw or a similar material; white pine shavings work really well also. As I only want to create a space for containers for the time being, those soil-building layers are not necessary. The containers will serve to help kill the grass, and any spillage from them will add to the tilth of the developing garden bed beneath. Also, self-sowing plants will begin to volunteer in the spaces between the containers. I've left enough room that I can pull out any weed material that volunteers there.

The existing grass under this area was already fairly thin, so it wasn't really necessary to do much about it before laying down the cardboard. I did take grass shears to one thick patch and cut it very short. Larger areas with more grass can be cut close to the ground before layering. In this situation, I decided it wasn't necessary.
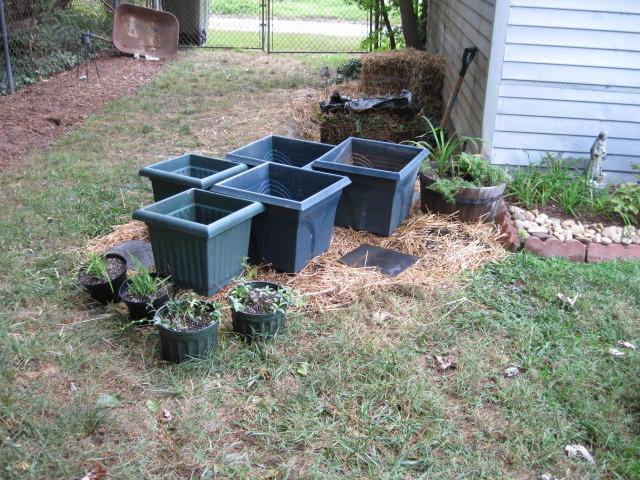
With the containers in place, it's time to fill them and plant. I have on hand a stack of slate tiles that were removed from a roof at one time. They make lovely stepping stones. I'll also, over time, create more of an edge to this new oblong bed, using stones, perhaps, to make the boundary clear.
Here is the bed, with containers planted.
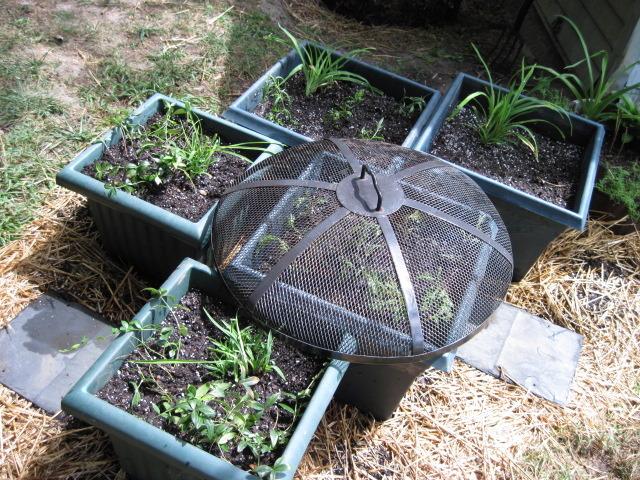
The screen over the center is shading seedlings just moved from a bed that needed thinning. All the rest of the plants should take to their new homes just fine. These containers can serve as more attractive storage for transplants and "extras," which can be given away or repositioned later on. I've left a little space for some winter kale in one. And at some point, the bed underneath will itself be ready to plant directly.
This entire project took no more than three hours, start to finish. I now have an attractive new bed, and I have moved a large number of plants into attractive, temporary -- or permanent -- homes where they can flourish and add to our enjoyment of the garden.
| Thread Title | Last Reply | Replies |
|---|---|---|
| Untitled by sbroadhead6 | Aug 13, 2020 2:46 PM | 0 |
| Super! by shelleymunger | Nov 15, 2014 10:54 AM | 0 |
| Great idea by ge1836 | Sep 27, 2014 6:25 AM | 19 |