
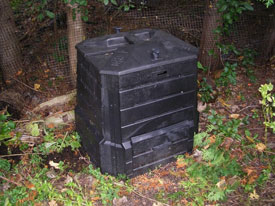
The traditional black, plastic box, compost bin is a good size to compost materials from a small yard or garden.
It's fall and at this time of year my mind automatically turns to compost. Okay, it's not the most glamorous gardening topic in the world, but it's an essential one. Adding compost to garden soil improves soil health by providing food for the organisms in the soil that help release nutrients to plants. Organic matter also makes sandy soil hold water better, clay soil drain water faster, and buffers soil pH levels.
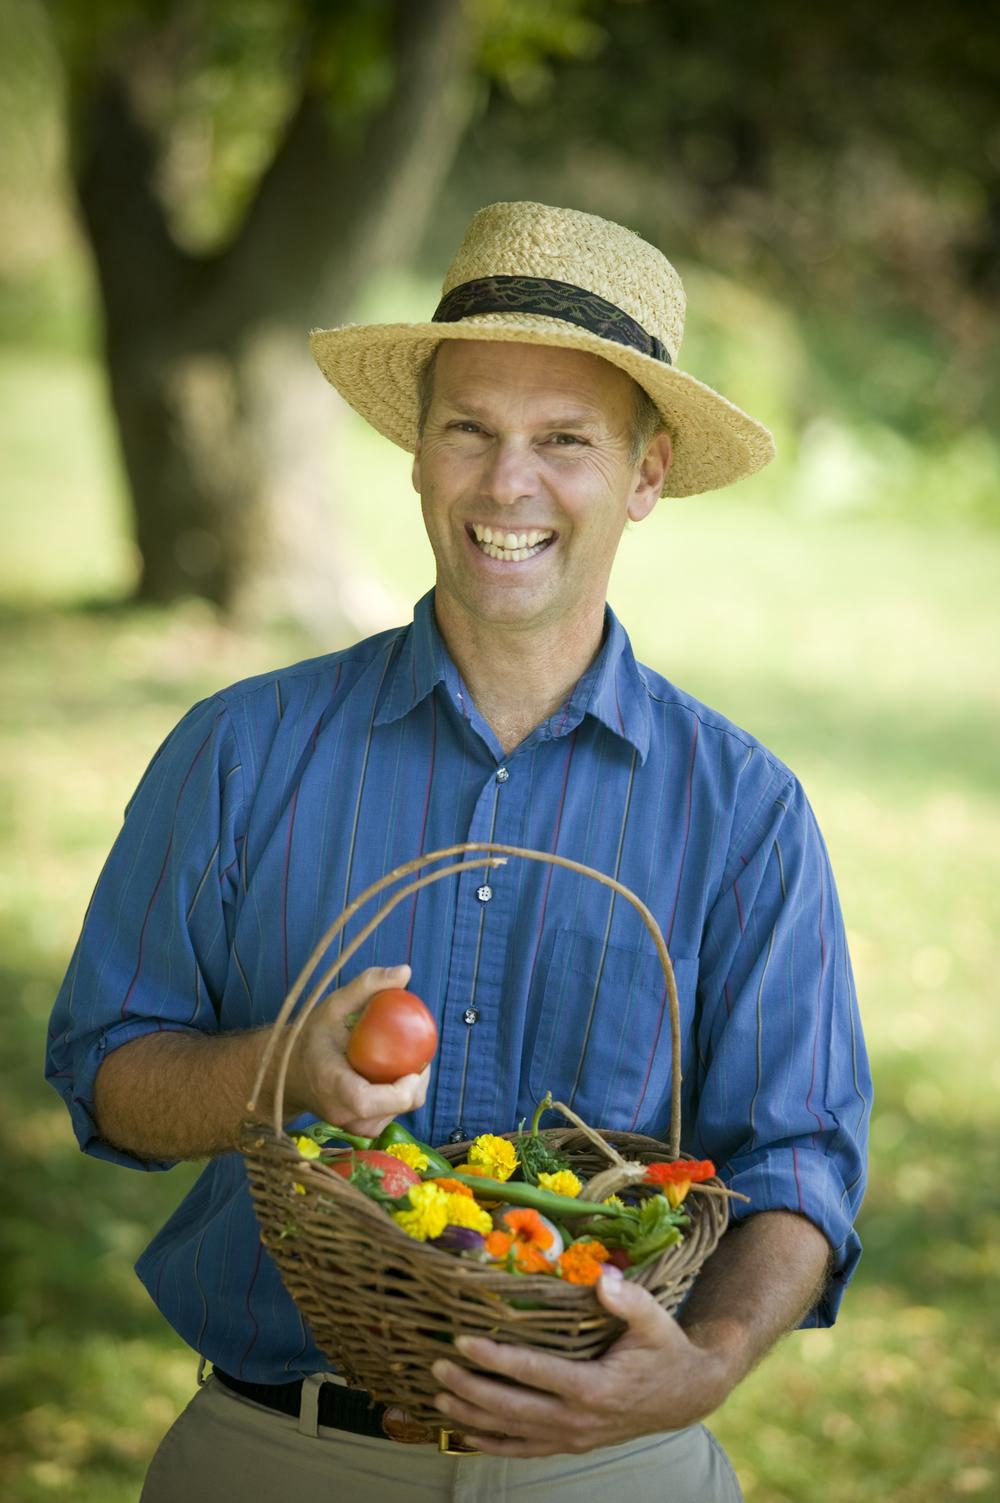
Compost is decomposed organic matter. Although you can add organic matter to the soil in its raw form, such as grass clippings, chopped leaves, hay, straw, pine needles, and peat moss, it's best to compost it first. Finished compost is organic matter that has decomposed into a dark, rich, earthy-smelling material. Use it to mulch trees and shrubs, to top-dress the lawn, to build up the vegetable or annual flower garden beds, or to improve the soil around perennial flowers. You can buy bulk and bagged compost in many localities, but why not make your own? You can recycle organic yard waste, such as grass clippings and dried leaves, save on the amount of material you send to the landfill, and save money. If you build the pile properly the soil bacteria goes into a feeding frenzy and the pile heats up. The end result is rich compost.
Building a Compost PileYou can build a compost pile in a variety of ways. The simplest technique is to buy or build a 3- to 4-foot wide container. These are great for gardeners who don't have room for big piles of compost. The bins are more visually attractive than large, open piles and they often compost faster. If you have the room, you can build a free-form pile or a series of piles to make lots of fresh compost. Whichever method you choose, the process is the same. You'll be mixing carbon- and nitrogen-rich organic materials with some water to make it heat up and break down. Here are the steps you should follow.

Finished compost should have a dark brown color, crumbly texture, earthy smell, and have little of the original organic matter still evident.
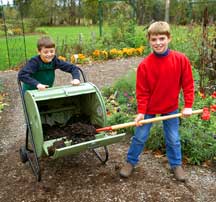
Even kids can get into the act of composting using a compost tumbler. Tumblers are easy to fill and turn and make compost fast.
The most common way to make compost is in a container or bin that sits on the ground, but you can use other methods, too. Compost tumblers are metal or plastic drums that sit on a stand. Place brown and green materials in the drum and turn it with a hand crank or roll the bin. Since it's easy to turn tumblers frequently, the materials mix and break down faster than in a stationary pile. However, tumblers don't hold as much material as a standard-sized compost pile.
If you want to compost kitchen scraps in winter in a cold climate, try setting up a worm bin composting system. You can place worm bin composters in the basement or even under the kitchen sink. Simply feed the worms fresh kitchen scraps and they will slowly turn them into worm juice and worm compost. The compost and worm juice (liquid from the compost) are great additions to houseplants and container plants. You can also make your own compost tea from finished compost. Check out our story It's Tea Time.

This science experiment is actually brewing compost tea. If the compost tea is aerated it will have more beneficial organisms which are reportedly better for plants.
Once you've created your compost you'll need to spread it. How much you use depends on the type of garden. For a new vegetable garden on poor soil add a 4- to 6-inch layer and turn it in before planting. For established vegetable or annual flower gardens add a 1- to 3-inch layer every spring. Around trees and shrubs add a 3-inch layer of compost around or beyond the drip line of the plant each spring. On lawns, top-dress with a 1/2-inch layer of compost in fall. Rake it in with an iron rake. While most container gardens use potting soil exclusively, you can add one-quarter compost by volume to add more fertility to the pot.
Other great composting stories:Composting: Sustainable Gardening
Don't Let the Leaves Blow Away
 Charlie Nardozzi is an award winning, nationally recognized garden writer, speaker, radio, and television personality. He has worked for more than 30 years bringing expert gardening information to home gardeners through radio, television, talks, tours, on-line, and the printed page. Charlie delights in making gardening information simple, easy, fun and accessible to everyone. He's the author of 6 books, has three radio shows in New England and a TV show. He leads Garden Tours around the world and consults with organizations and companies about gardening programs. See more about him at Gardening With Charlie.
 Victory Seed Company has all the seeds you want for your best garden in 2024.
For 25 years, the family-owned Victory Seed Company has provided the highest quality vegetable, herb and flower seeds to families across the country. We are passionate about providing you the best seeds available that give excellent germination, robust plants, and the harvest you want. With a catalog of over a thousand varieties, we have everything, and our prices are the kinds that we'd want to pay. We have hundreds of yesterday's heirloom vegetables, as well as today's award winning hybrid selections. Get to know us by visiting our website and browsing through our online vegetable seed catalog.