Now, this method is fairly new to me, but it's one that I'm using this year. I'd originally intended to link to an article posted on the website of an expert, but it's not available at the moment. Here's the short version, as I understand it.
Items needed:
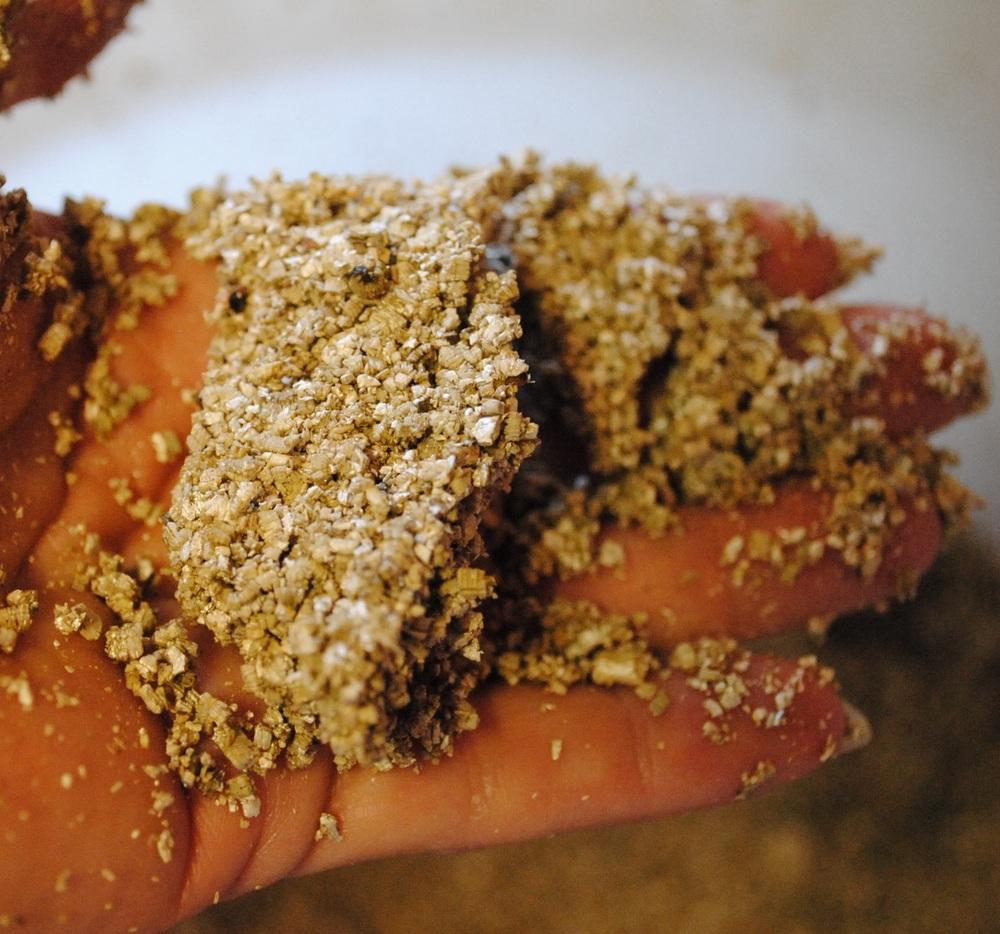
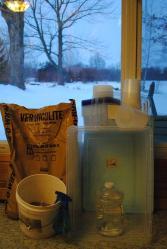
-Bag of vermiculite. I like to see the assurance that's it's asbestos-free on the label, but I think most brands are pretty safe these days.
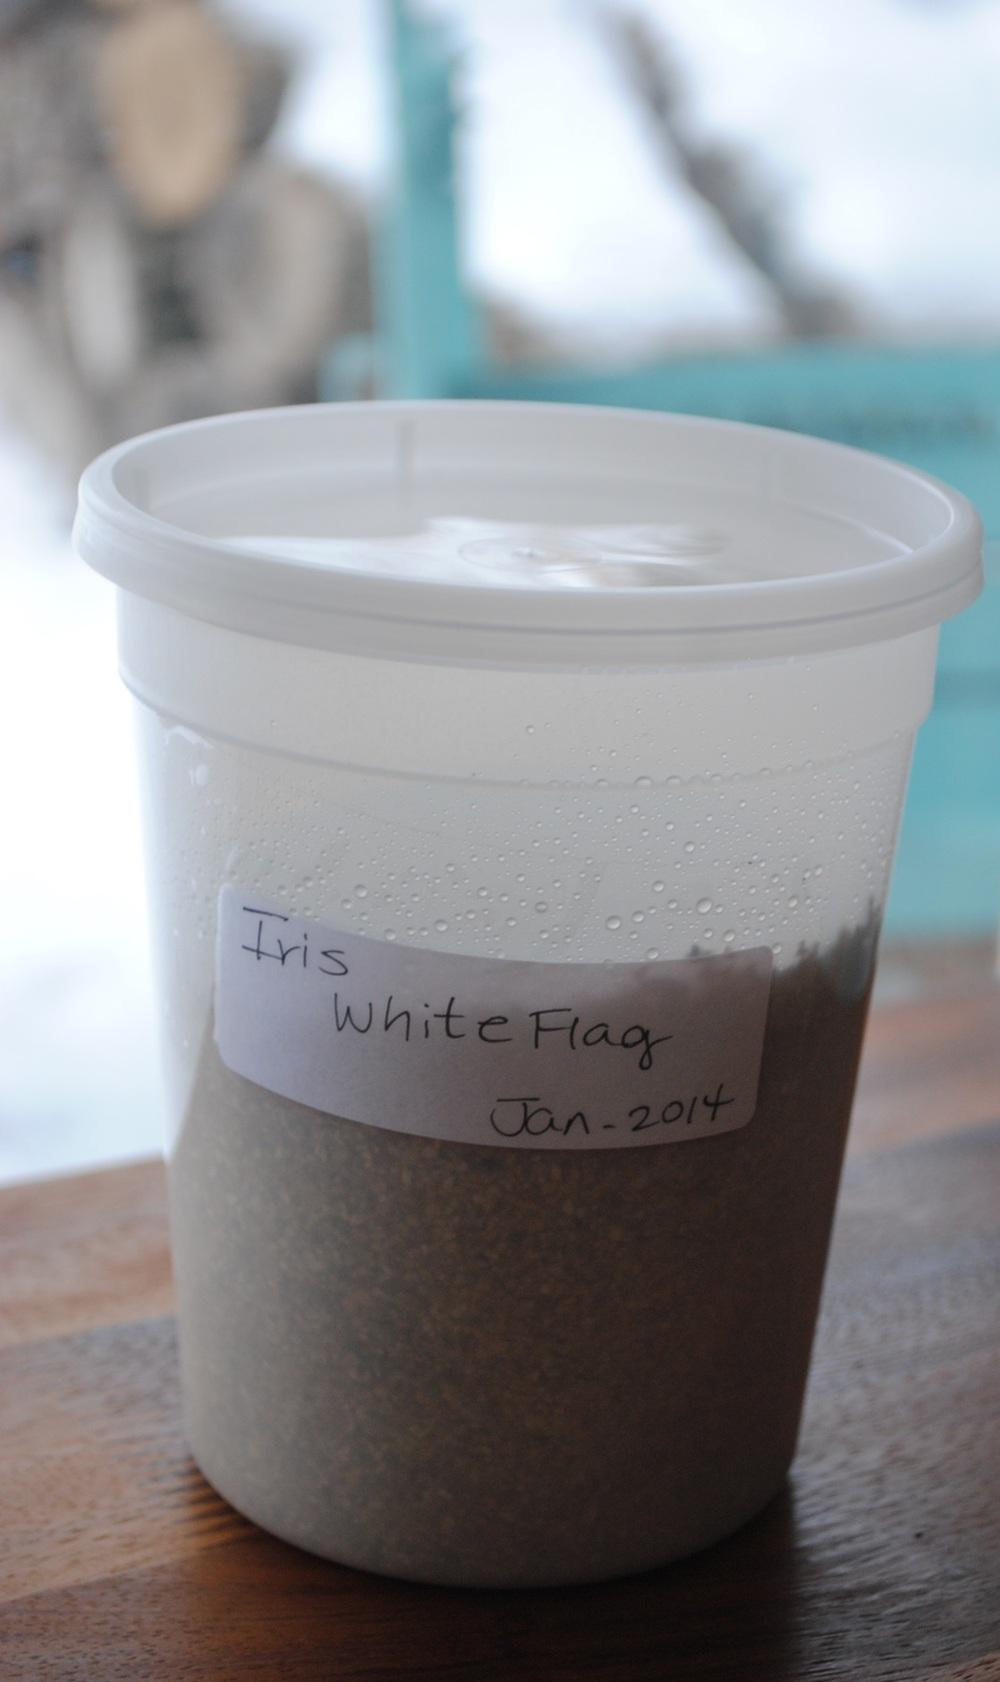
-Clear or opaque containers with lids, and without drainage holes. We won't be adding water after sowing, so drainage isn't an issue; we want to maintain moisture, not allow it to escape.
-A bucket or tub in which to stir and moisten planting mix.
-Labels or masking tape to mark the variety.
-Water. If you aren't mixing at the kitchen sink, a jug with a hole drilled in the plastic cap works well for directing a small stream of water right where you want it. I have many of these that I use to store rainwater. I much prefer the results I get if I don't use water from the softening system, but that's just personal preference.
Optional-
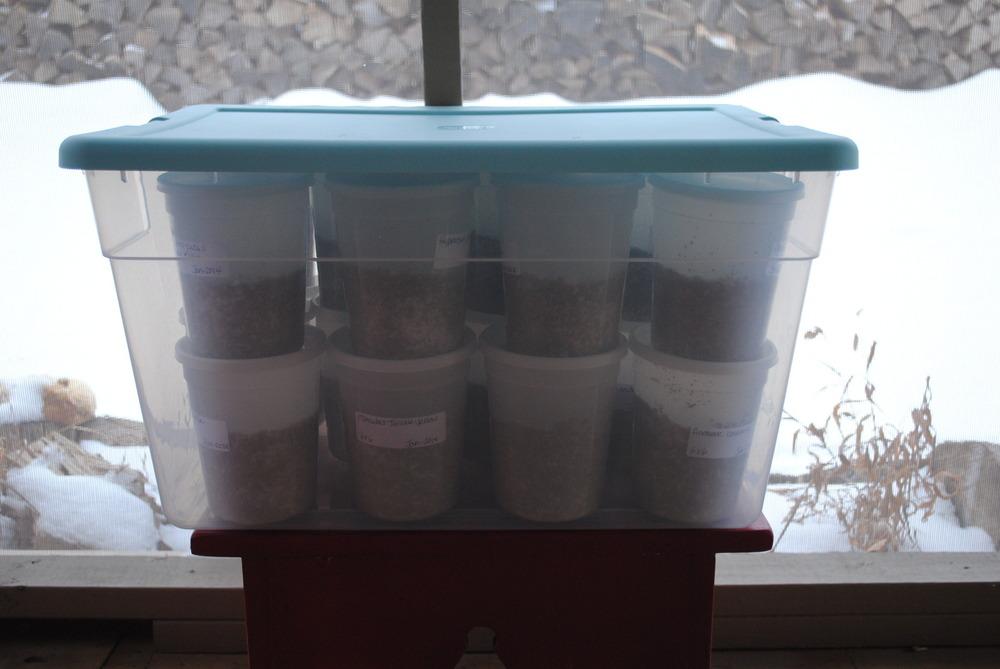
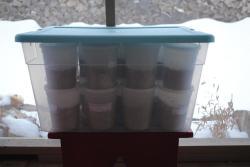
-Large, clear tub to store multiple varieties together in one place. Rocks or bricks may be added to it to help anchor it in windy storage conditions.
-A spray bottle for ensuring good surface contact for tiny unburied seeds; just a spritz or two will do it.
-Clear packing tape to water-proof your labels.
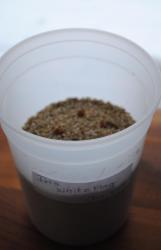
Fill your mixing container about halfway and stir in a bit of water at a time. You don't want to create a dripping planting medium, just one that will clump up momentarily, yet release when jiggled.


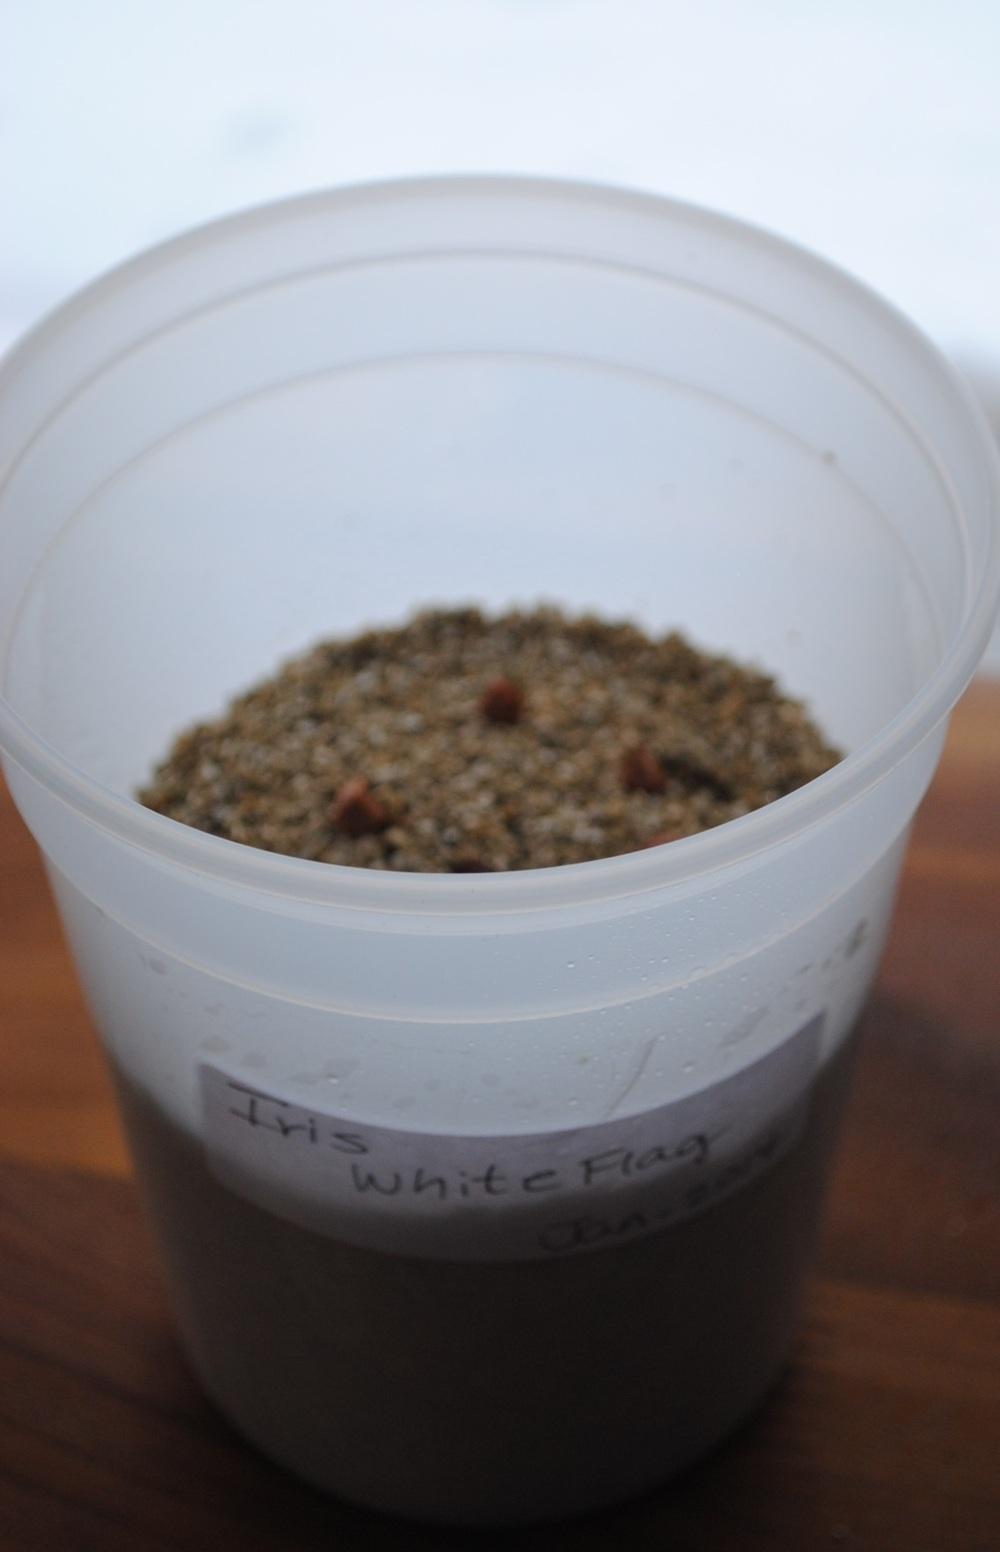
Fill your container about halfway with moistened vermiculite; at least three inches worth, but leave plenty of space between the surface and the lid for sprouted seedlings. I'd say that any container less than 5" deep may not be the easiest to use. You'd really have to be quick to get those sprouts out of there if there weren't enough headroom.
Use another container to firm the surface, add a few seeds and cover appropriately. A light sprinkling of vermiculite for small seeds, a bit more for larger varieties. Dust-like seeds won't need to be covered, but if you're concerned about good surface contact you might spritz these sparingly with your sprayer. Apply lid and label, and you're done.


Set your containers in a spot that offers protection from wind, yet still provides plenty of bright, indirect sunlight. A porch or unheated greenhouse would be ideal, but if those aren't available you might try setting your tubs in the lee of a building, under a group of conifers, or within a grouping of deciduous shrubs.
As spring shows signs of its imminent arrival, be sure to check your containers often, and be prepared to up-pot seedlings weekly as sprouts begin to appear.
The ideas behind this method of sowing originated from ATP member @JonnaSudenius. Thanks, Jonna!
Any and all mistakes in representation or misinterpretation herein are entirely my own. 
Currently, it's zero degrees where I am, and I'm sowing next season's hopes and gardening dreams in the comfort of my home; how great is that?!

Have fun sowing!
Wishing you all the best gardening season ever next year!
Chelle