Some try different things. Soaking seeds then fridging them to cool, some just pot and wait for a surprise... What ever works for you, great

I'm trying several ways, why, because I can

One way I'm try is a mini greenhouse or temporary greenhouse. I was gifted some nice modern seeds. I also heard there's a 93% germination rate, the first year. I just wanted to see. I have 1500+ seeds to play with, so I'm giving it a try and hoping for success. Here's my simple and CHEAP home for the seeds.
Here's a simple step by step:
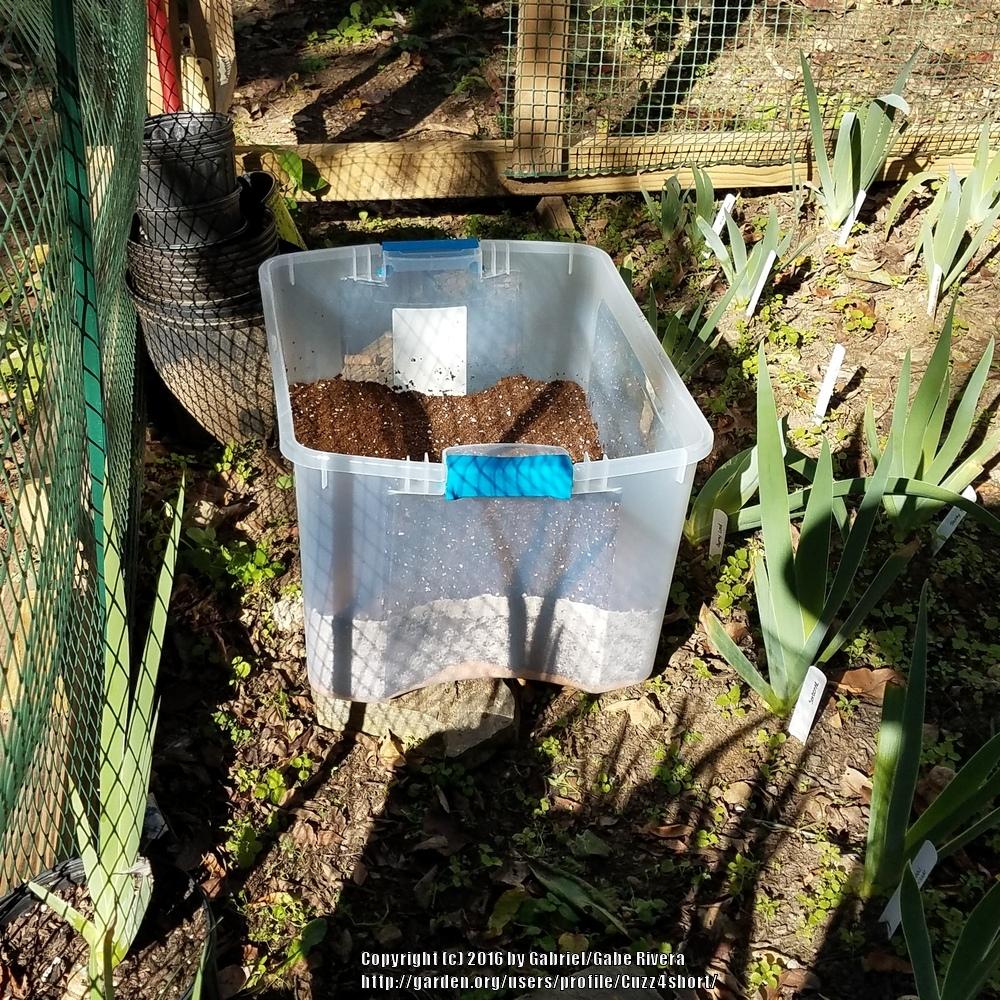
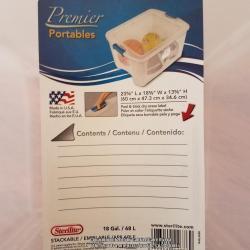
Grab a clear Sterrelite bin with a CLEAR lid. Preferably the low flat ones, like for Christmas wrapping paper. I chose a deeper one, it doesn't matter.
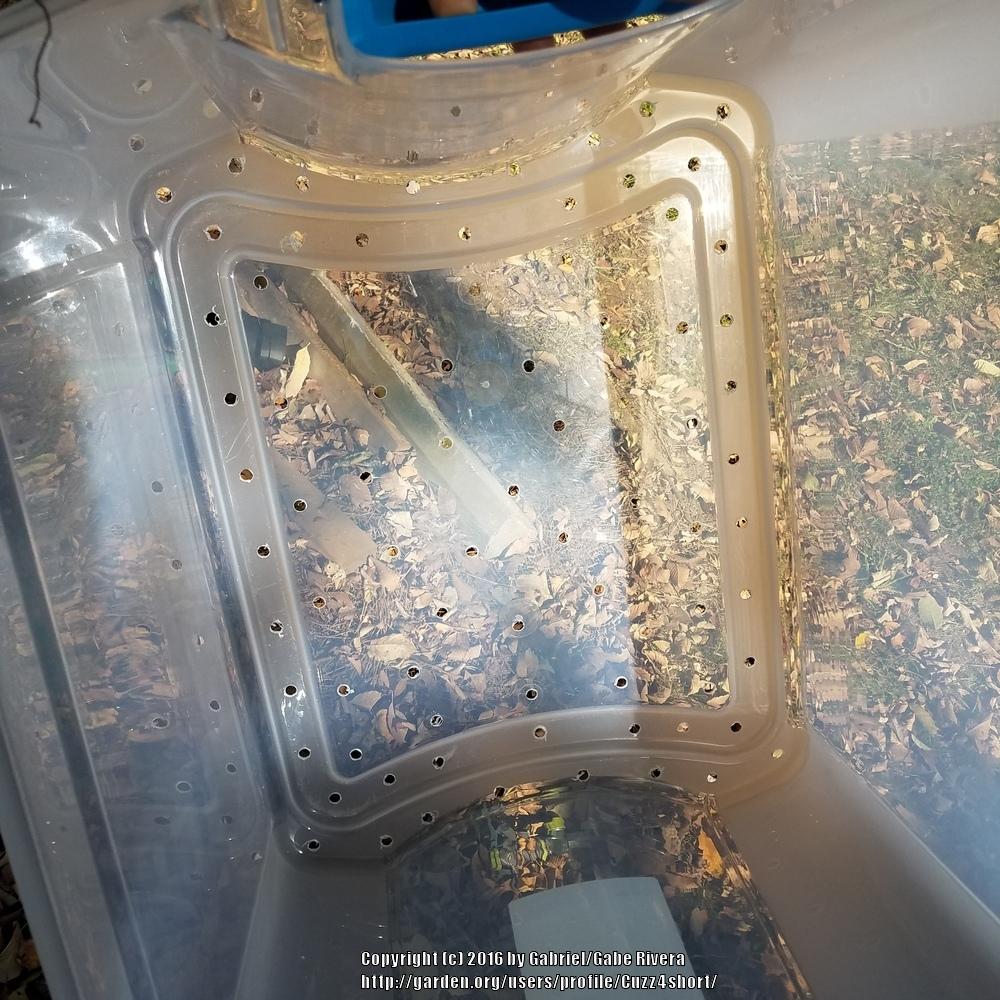
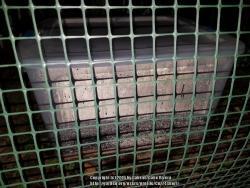
Next, drill drainage holes throughout the bottom. Don't press hard or the plastic will shatter! Let the drill do it's job. Anywhere in the mold of plastic where water would sit, drill a hole!!!

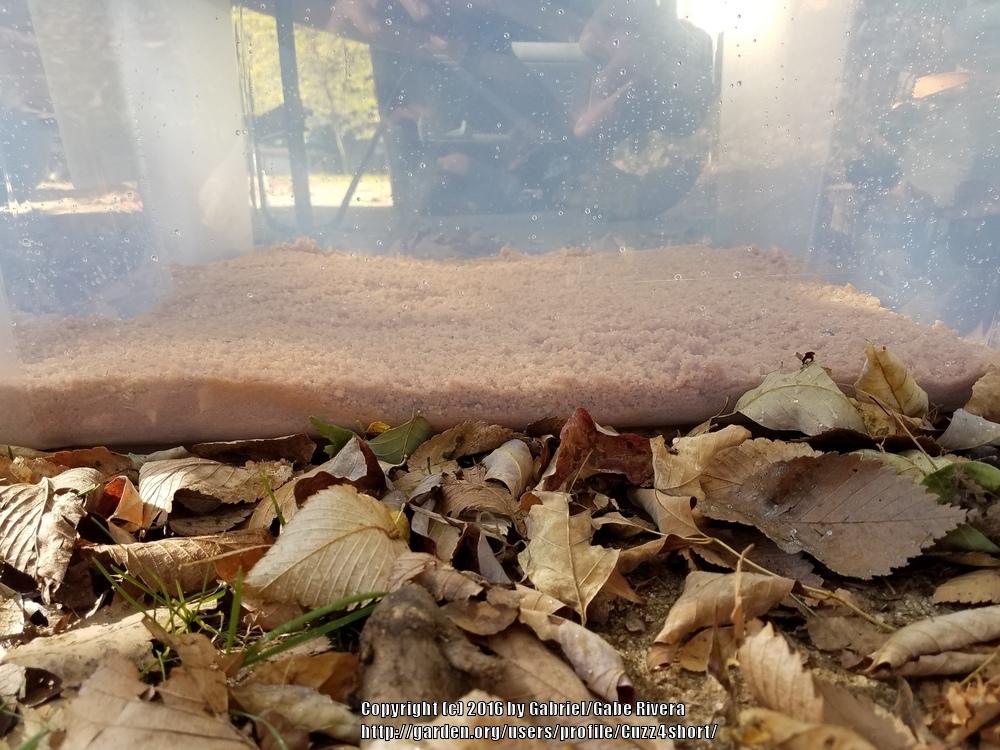
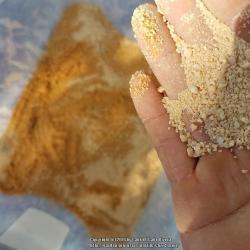
Add PAVER sand to the bottom, maybe an inch to 1.5 inches. You don't want to lose your precious nutrients from your soil. This will help save a little on that. Make sure it's wetted while applying or it'll just fall through the drainage holes.
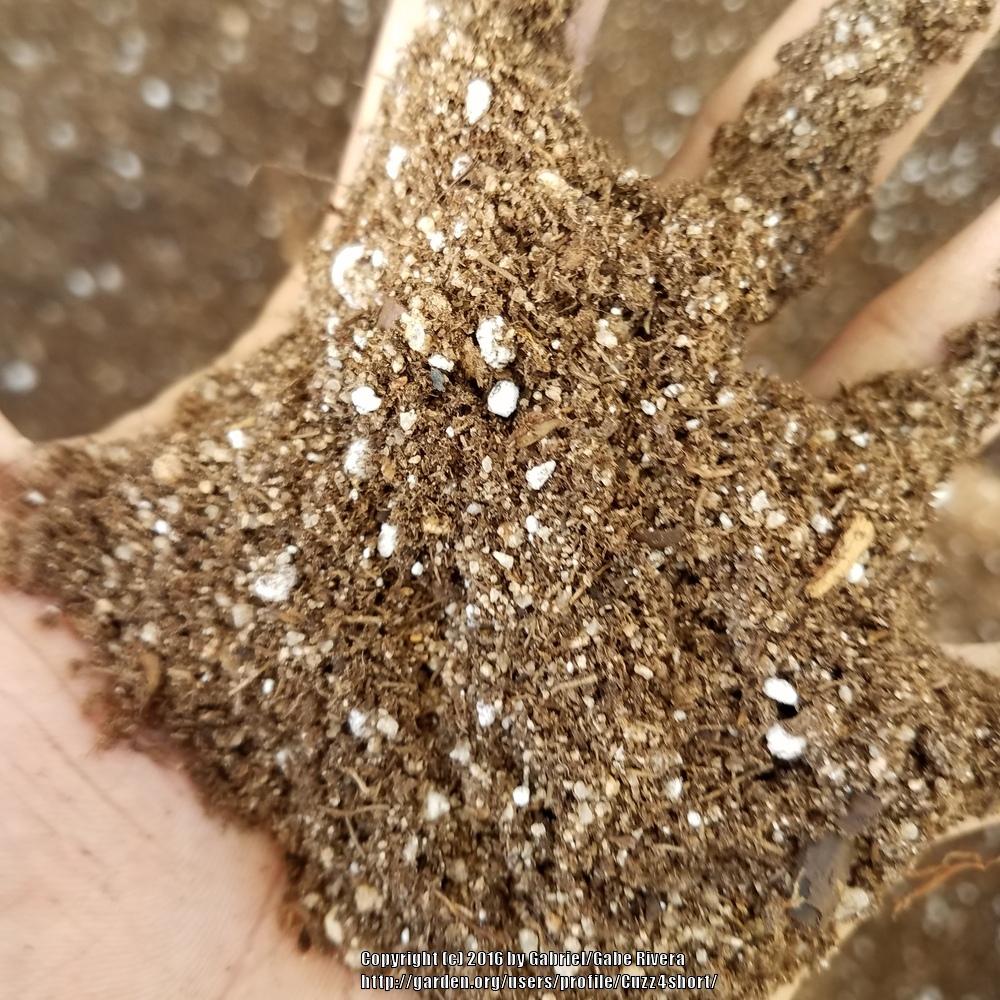
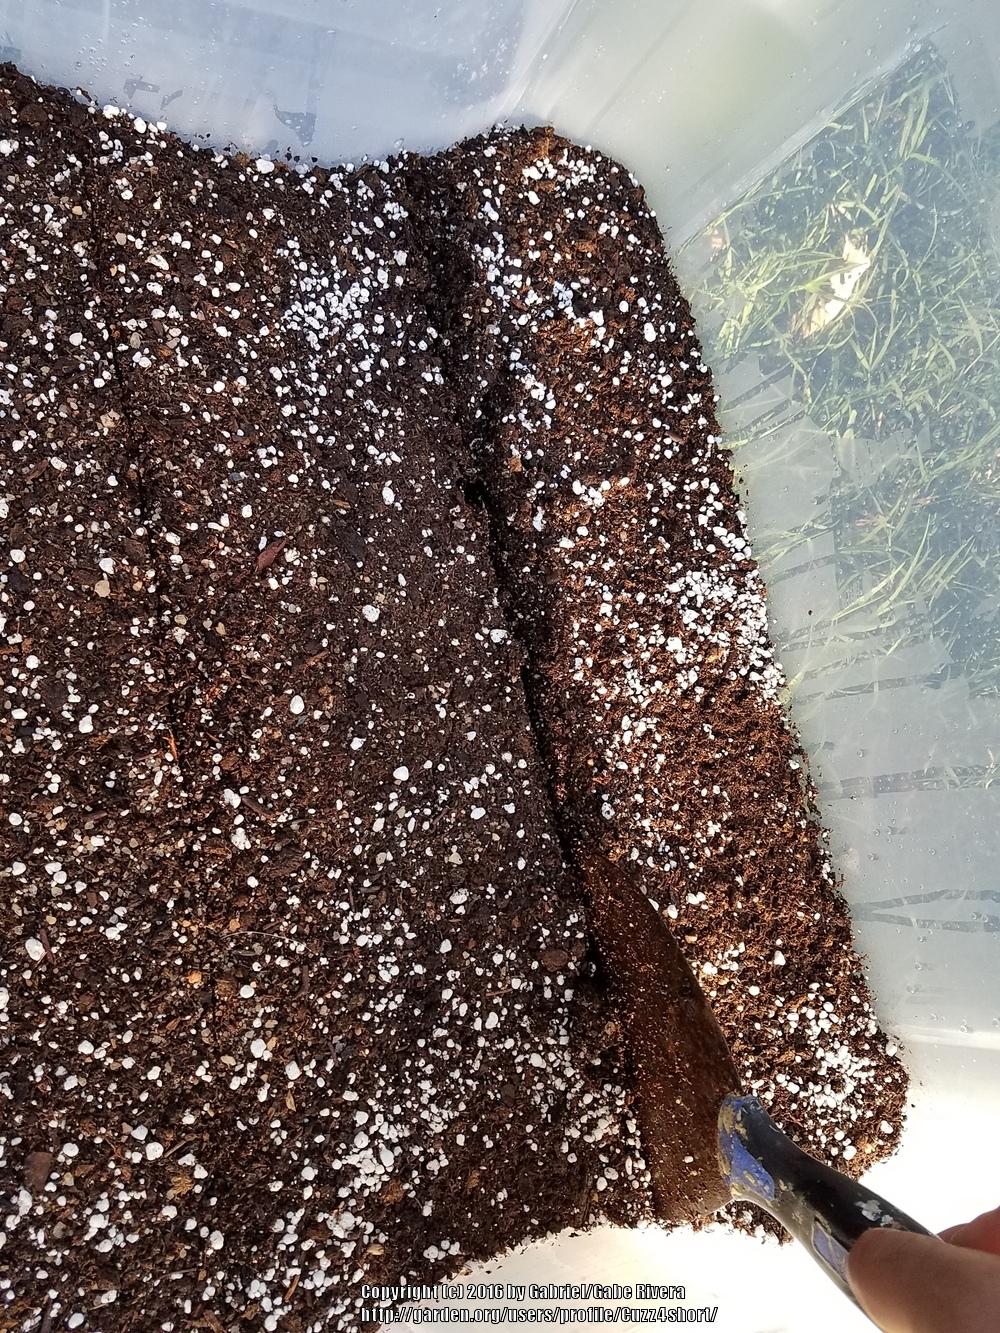
Now, start adding what ever POTTING MIX you want, doesn't need to be seed starter mix, but that's what I went with because I had some sitting. I add a bunch of sand and some perlite to it as well, maybe 6 inches worth of soil to the next layer

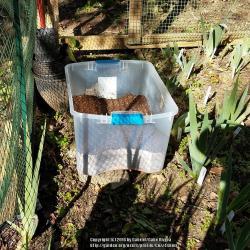
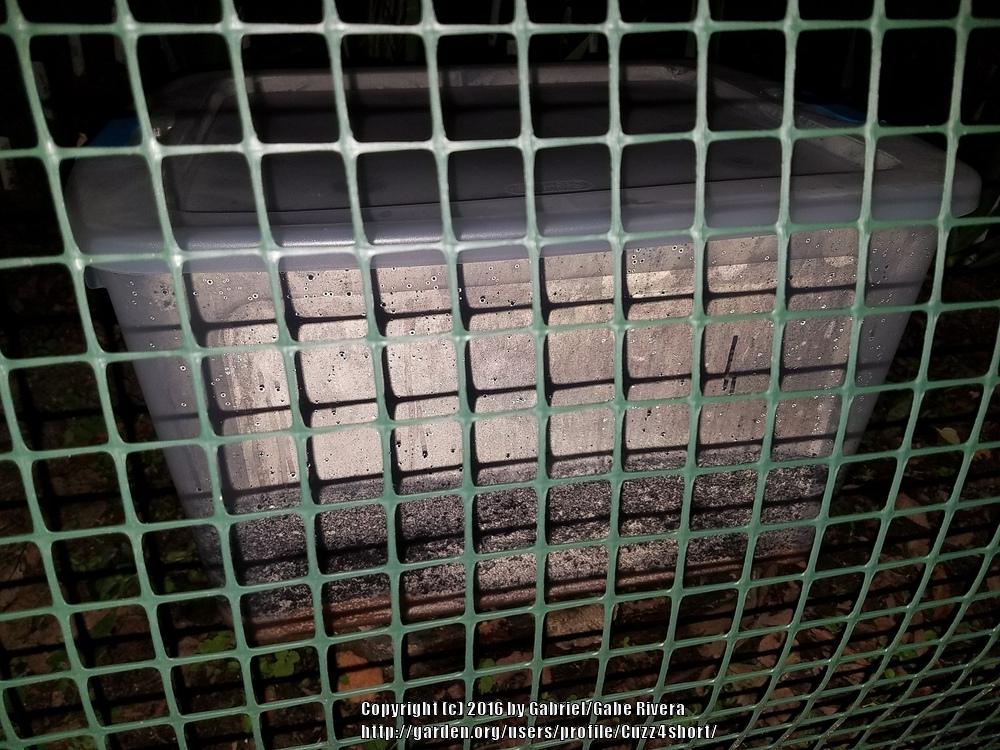
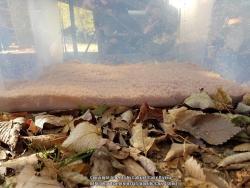
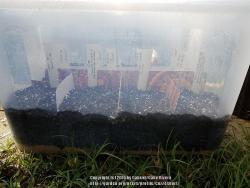
After that, find a place to put it. I chose on top of a wide Paver rock in the garden. Receives sun and shade there. Water it good to where you see great drainage and cover up and let sit for a day.Temps were low 50's yesterday morning and you can see the moisture built up inside from the flashed pic.
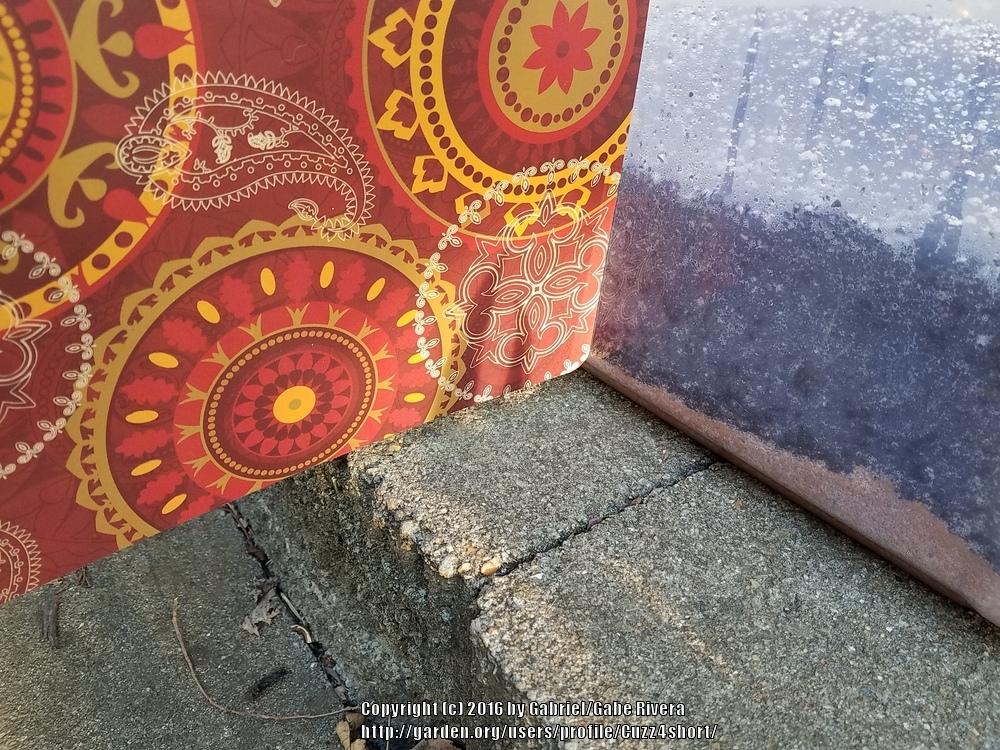
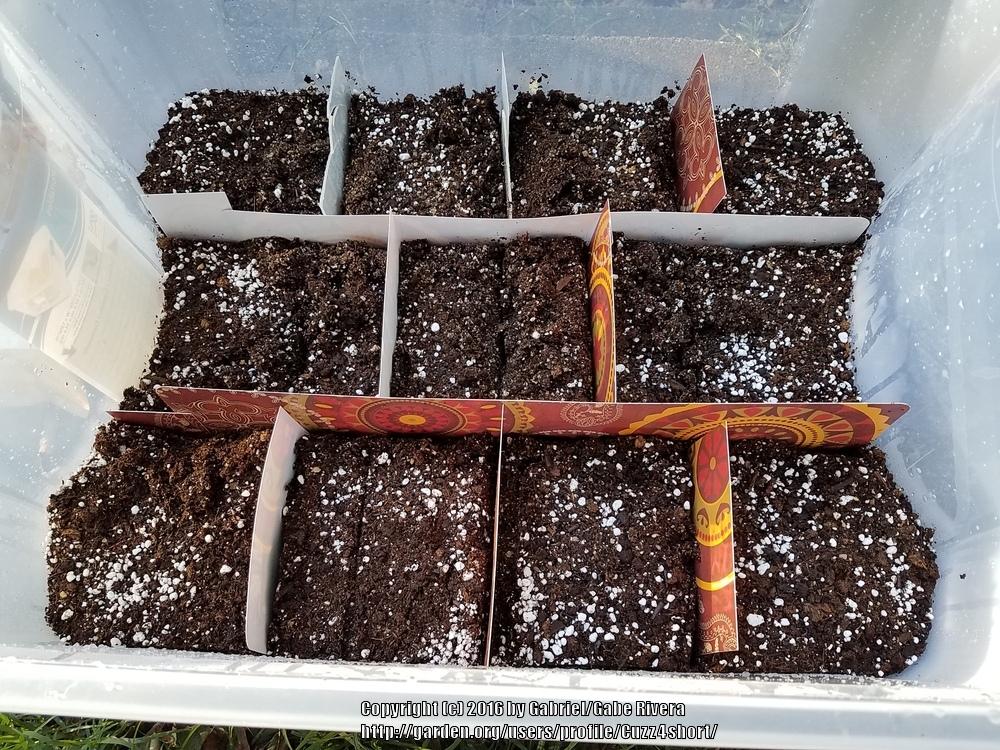
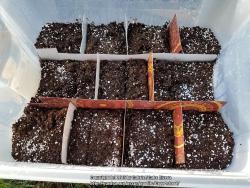
Now the fun part. I bought Wal-Mart poly placemats. For my bin I shoupd have bought three. Said $2 each, but rang up .75 at the register


Where the top of the soil line is, I cut the place mats the long way about 1.5 inches higher than that, with a scissor.
I next used a patching spade to cut through the soil and sand creating a line, to plate the place mats thru. Don't try to skip this, the mat is strong enough to just carve itself into place.

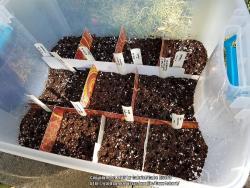
Place your mat pieces how you want. I chose 11 total sections. Bigger the section the more seeds you can place. Most of mine were in the range of 15 to 25 seeds.
Now, with DRY seeds, or you soaked ones, start counting and labeling first. Press down your soil, then take a pencil, stick, a Lazer beam, I don't care, and make your seed holes about half inch. After that's all done lay a little more soil covering all the holes evenly. Heavily mist and cover up. MAKE SURE YOUR SOIL NEVER DRIES OUT BETWEEN NOW AND EVER!!!! Germination inhibitors will kick in otherwise and reduce chances of future germination.
Stay Tuned to next year and we'll see if we have something to work with...