This is for Anjl and Vicki.
Turtle tutorial.
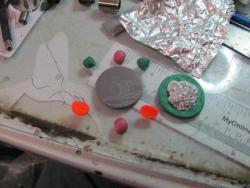
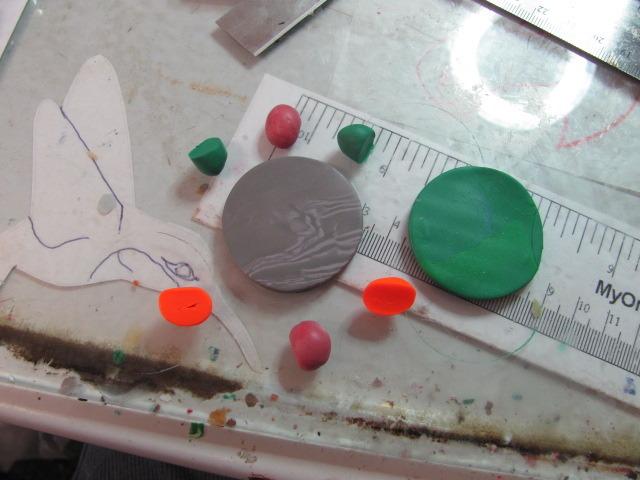
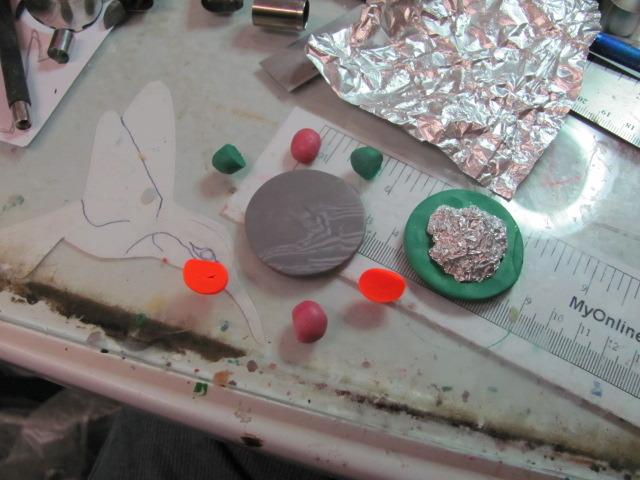
Turtles, Pick out the color of clay you want to make your turtle.
I picked out bright; so you could easily see what I was doing.
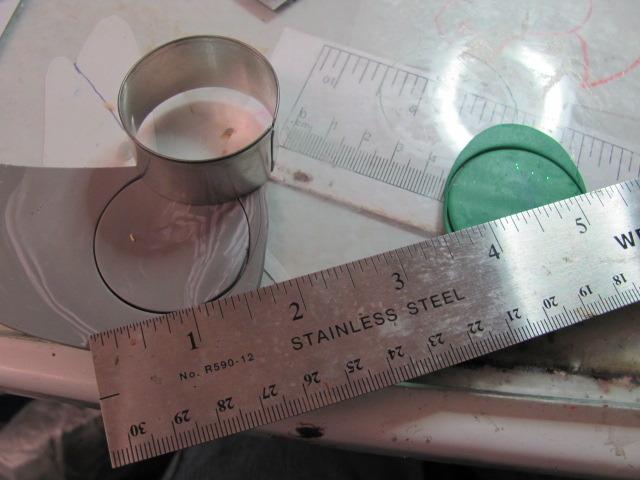
Condition your clay.

You got the bottm, the top shell , Head, tail and also front and back legs.
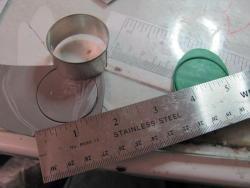
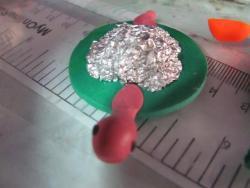
We are going to make this little critter into a Magnet turtle. So to take out some of the weight he will have a foil ball placed in the center of the botton shell. Got to look like this because the rest of the body will go inside the shell too.
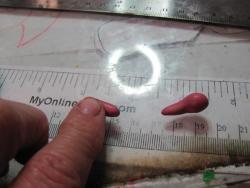
This is his head and tail. . roll a little ball and taper one end a little fuller, this is his head. The tail will take about half as much clay , make it long and tapered.
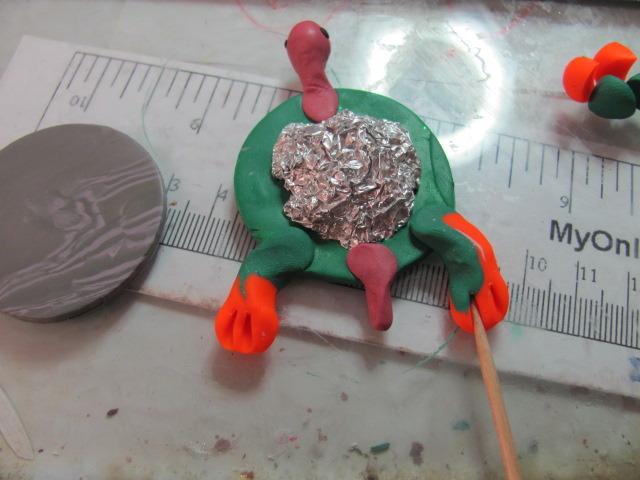
Here he is, with tiny black eyes and his tail. to make his mouth just cut a slit. The eyes are tiny snakes with a tiny piece cut off. If you want; you can carefully roll them into teeny tiny balls to place on his head..

got to do his legs. He isswimming away so we got to make them a little shapely. Use another little long snake for each leg. I like to flatten his feet, then I take a toothpick and make indentations for his toes.
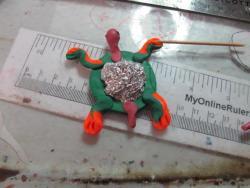
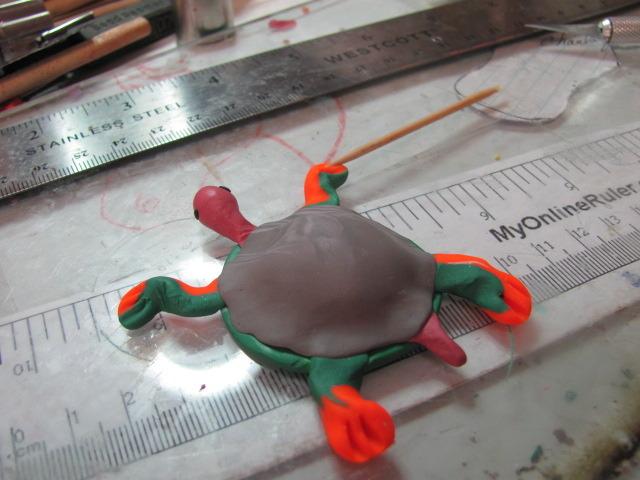
Gurgleley, gurgle. We are ready for the top shell.

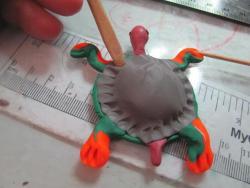
Gently fit the top shell to bottom and you make gently stretch clay to fit top shell to bottom. Get that toothpick we are going to scrimp his shells together.
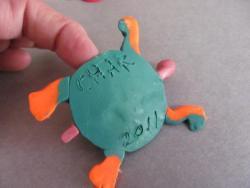
I like to put my name and year I made it.
Try to locate it so you won't cover the space for the magnet..
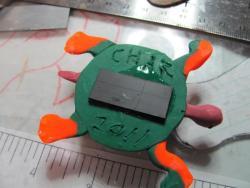
I like to add glue to be sure that the magnet stays on.
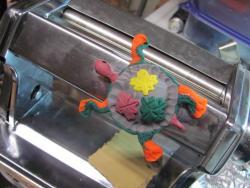
I fancied it up a bit with cutouts. Sometimes I use beads too, you can use little gems too.
Your turtle, dress it up.
I got these neat little cutters that have some nice little shapes then, I score the edges in to make it leaf like. This is same leaf I have used on Greenmen., I love the shape.
I use a satin or aclear glaze . Have fun and show me what you have done. You can make these even smaller and put them into mini gardens.


 We are going to make this little critter into a Magnet turtle. So to take out some of the weight he will have a foil ball placed in the center of the botton shell. Got to look like this because the rest of the body will go inside the shell too.
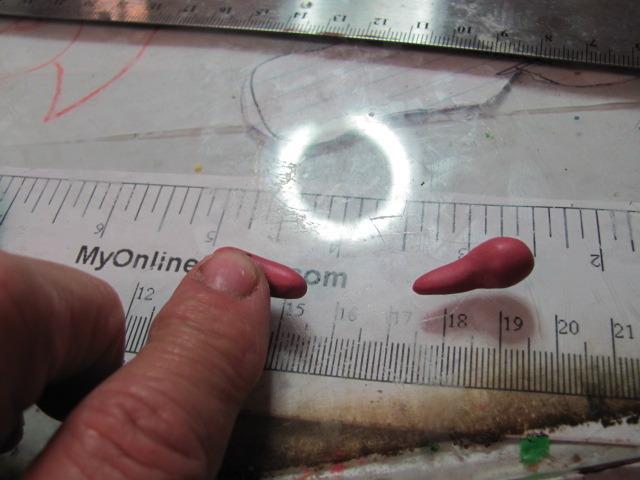

 Gurgleley, gurgle. We are ready for the top shell.