Post a reply

Growing Pains

By valleylynn
January 1, 2010

A plant clinic for Sempervivum, Jovibarba and J. heuffelii. This is a companion article for the Sempervivum and Jovibarba forum.

[View the item]

Image
Jun 16, 2010 9:52 PM CST
Thread OP
Name: Lynn
Oregon City, OR (Zone 8b)
Charter ATP Member Garden Sages I helped plan and beta test the plant database. I helped beta test the Garden Planting Calendar I was one of the first 300 contributors to the plant database! Plant Database Moderator
Forum moderator I helped beta test the first seed swap Million Pollinator Garden Challenge Celebrating Gardening: 2015 Plant and/or Seed Trader Garden Ideas: Master Level
Can you please tell me how to deal with a plant that is showing rot from wet weather?

Thumb of 2010-06-17/valleylynn/00a9e3
Avatar for twitcher
Jun 16, 2010 10:38 PM CST

Charter ATP Member I was one of the first 300 contributors to the plant database!
1) Immediately but gently dig the plant out of the ground and remove all of the excess dirt. This should be done as soon as you identify you have a problem with rot. If the plant is in a pot, at least move the pot to a dry, but warm, area until you can follow this procedure. Always dry any sempervivum or jovibarba that starts to rot. If caught soon enough, you can usually save the plant. Literally, hours count - this is a time sensitive procedure.

2) Gently dunk the whole plant in clean water to remove any remaining dirt on the plant. Drain the plant on dry towels or paper towels. A microfiber towel works great for this. Be gentle but get the excess water off as soon as possible and don't wait for simple evaporation after washing.

3) Next perform preparation for surgery. Using fingers and eventually tweezers, carefully remove any leaves that show signs of rot anywhere on the leaf. Start from the bottom of the plant and work up. Try not to damage any of the exposed roots while doing this. Grasp the leaf firmly and pull horizontally to the plane of the leaf, which will be perpendicular to the direction of the root/stem that the leaf is attached to. The leaf should separate cleanly from the stem or root. Do this for all of the damaged leaves. You will expose something that looks a lot like a "carrot", but in the case of heuffelii, the carrot will have multiple tops, where the rosettes attach.

4) Immediately dry the "carrot" and associated rosette top. Remember, the rosettes might be very small after all the damaged leaves have been removed. Place the carrot in a warm, dry place, preferably with bright light for a few hours, until you are sure all the excess moisture from the dirt and washing procedure have evaporated.

5) When removing the leaves, you may have noticed a soft or squishy area of the "carrot-like" root/stem. That probably the rotted area. Visually inspect the plant looking for this area. The entire exposed stem may show or not show a soft discolored area.

6) Now the surgery. You will need a sharp knife and place to work. If you found a squishy area, then you will need to cut the plant in half vertically. Start at the base of the rosette and cut through the stem downward through the "carrot" trying to divide the carrot in half, straight thru the soft area so that you have two halves of the carrot. Reverse the cut direction and cut up through the rosette. If there is more that one rosette, choose your cuts so that you end up with one or more rosettes for each half of the roots, just as if you are going to divide the plant.

7) The purpose of the surgery was two-fold. a) It lets you actually see any damage that may be present in the stem of the plant (crown). and b) It divides the plant into two pieces, better increasing the chance that one may survive.

8) Inspect the cut area of the stem, crown and root for both pieces, keeping in mind that you are looking for the spot where the rotting leaves emerged from the plant. You should expect to see a damaged area extending into the stem, crown and/or root. One piece of the plant may be free from damage or not.

9) If the piece of the plant you are looking at is free from damage, then dry for a day and replant.

10) If the piece of the plant you are looking at shows damage from the rot, then you will need to completely cut out the damaged area from the healthy plant. If you cannot clearly see the damaged area and if the size of the plant 1/2 is big enough, cut the plant 1/2 into halves again to better see the damage. I do not recommend cutting smaller pieces that one quarter of the original plant.

11) Once the rot has been cut out, allow the plant pieces to dry and callous for a day, then plant in dry potting mix. After a few days, mist the plant for a week or two, then begin watering again.

If all goes well, that damaged plant can be saved and, its likely you'll end up with multiple plants where you had one before.

Remember, at the first sign of progressing rot, immediately dry the plant. I do not know why rot continues to progress until it kills the plant, but have had good success saving plants by drying rotting plants and cutting out the rotting pieces.

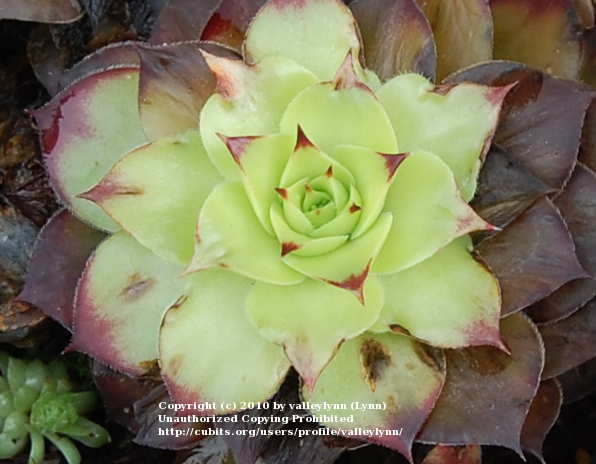
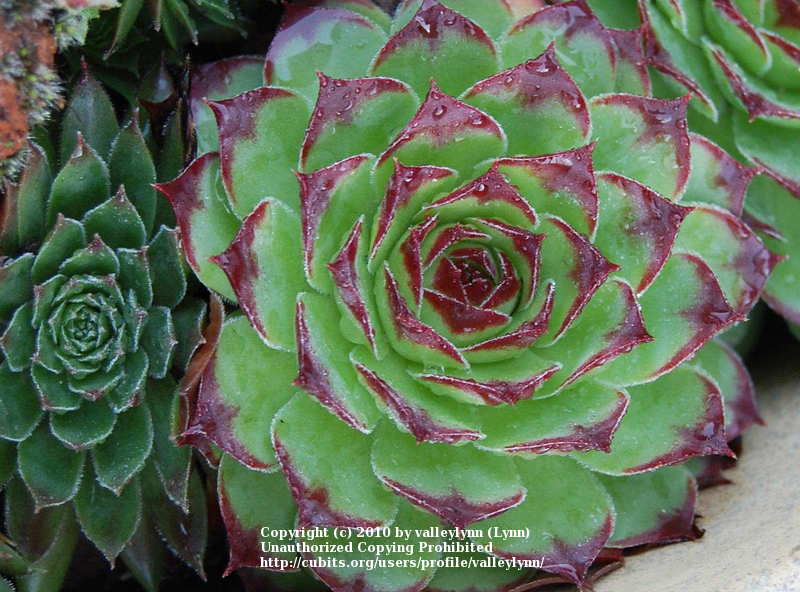
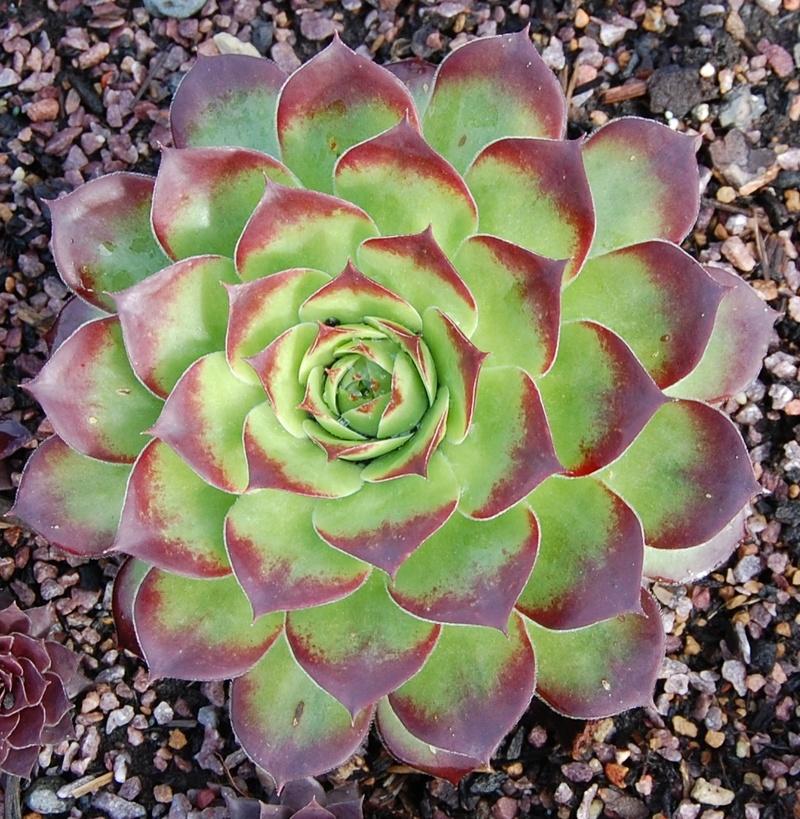
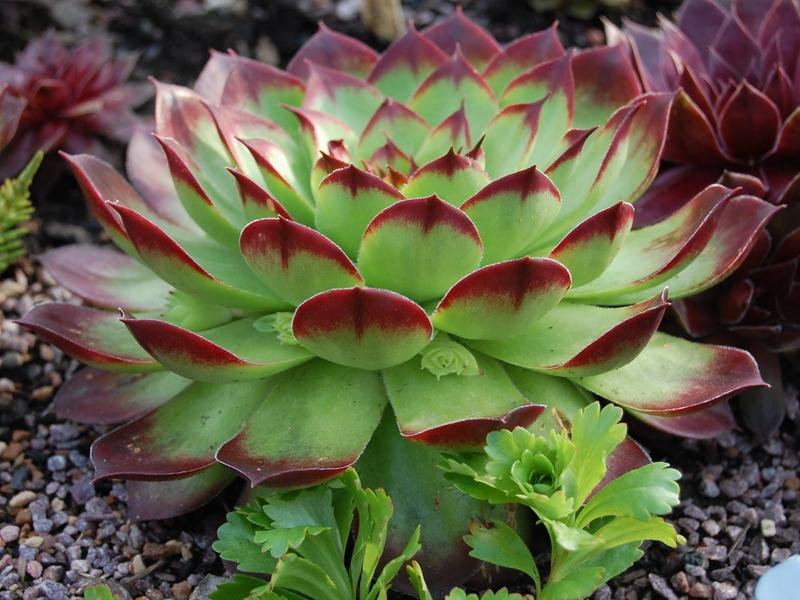
I had to do this with one of my heuffelii recently and took some pictures of the rot and the process. I'll post some pictures here to show this procedure in the next day or two.

-t
Image
Jun 16, 2010 10:52 PM CST
Thread OP
Name: Lynn
Oregon City, OR (Zone 8b)
Charter ATP Member Garden Sages I helped plan and beta test the plant database. I helped beta test the Garden Planting Calendar I was one of the first 300 contributors to the plant database! Plant Database Moderator
Forum moderator I helped beta test the first seed swap Million Pollinator Garden Challenge Celebrating Gardening: 2015 Plant and/or Seed Trader Garden Ideas: Master Level
This is a picture from last year of the above rain damaged plant. One of my favorites.
Thank you for your help twit, I really appreciate it.

Thumb of 2010-06-17/valleylynn/dde445
Image
Jun 17, 2010 1:20 AM CST
Name: Chris
Ripon, Wisconsin
Charter ATP Member I was one of the first 300 contributors to the plant database! Garden Sages Garden Ideas: Master Level Seller of Garden Stuff I sent a postcard to Randy!
Sempervivums Sedums Region: Wisconsin Hosted a Not-A-Raffle-Raffle Celebrating Gardening: 2015 Avid Green Pages Reviewer
Great directions Twit. We were in a drought here in May, now we've had weeks of rain almost every day and it's supposed to continue through at least next week. Everything is so saturated. I've been keeping a close eye on my semps. Some seem more prone to rotting than others.

Bummer Lynn, that is such a pretty one.
Image
Jun 17, 2010 4:46 AM CST
Thread OP
Name: Lynn
Oregon City, OR (Zone 8b)
Charter ATP Member Garden Sages I helped plan and beta test the plant database. I helped beta test the Garden Planting Calendar I was one of the first 300 contributors to the plant database! Plant Database Moderator
Forum moderator I helped beta test the first seed swap Million Pollinator Garden Challenge Celebrating Gardening: 2015 Plant and/or Seed Trader Garden Ideas: Master Level
I will see how this one does planted in an open raised bed with gravel top dressing. If it still has a problem I would just as soon not have it, even though It is one of my favorites. : (
Image
Jun 17, 2010 4:53 AM CST
Name: Chris
Ripon, Wisconsin
Charter ATP Member I was one of the first 300 contributors to the plant database! Garden Sages Garden Ideas: Master Level Seller of Garden Stuff I sent a postcard to Randy!
Sempervivums Sedums Region: Wisconsin Hosted a Not-A-Raffle-Raffle Celebrating Gardening: 2015 Avid Green Pages Reviewer
I agree - I don't have time for fussy plants either.
Image
Jun 17, 2010 5:10 AM CST
Thread OP
Name: Lynn
Oregon City, OR (Zone 8b)
Charter ATP Member Garden Sages I helped plan and beta test the plant database. I helped beta test the Garden Planting Calendar I was one of the first 300 contributors to the plant database! Plant Database Moderator
Forum moderator I helped beta test the first seed swap Million Pollinator Garden Challenge Celebrating Gardening: 2015 Plant and/or Seed Trader Garden Ideas: Master Level
In this case the pot soil had compacted, drain hole plugged up and the pore plant was drowning. Hope that is the only reason. I will soon find out, as I managed to rescue two of them. Same thing happened to my Pink Pearl. I adore that plant. I rescued 4 of those. So I will try planting in a better situation and see how that goes.
Avatar for twitcher
Jun 17, 2010 10:26 AM CST

Charter ATP Member I was one of the first 300 contributors to the plant database!
I am finding Pink Pearl to be a bit fussy as well. Try making your potting mix faster draining or raising the plant up onto a small hill so it cant sit in the water at all. If you are using pots and having rot issues, you can also try to move to taller pots.

We have had rain almost every day now for more than a week and my plants have stayed continually wet. Most are taking it OK, but I've had to rescue a few. That's where raising in pots comes in handy. The few fussy ones I have get moved to the porch (sheltered from rain) until they dry out.
Image
Jun 17, 2010 10:40 AM CST
Thread OP
Name: Lynn
Oregon City, OR (Zone 8b)
Charter ATP Member Garden Sages I helped plan and beta test the plant database. I helped beta test the Garden Planting Calendar I was one of the first 300 contributors to the plant database! Plant Database Moderator
Forum moderator I helped beta test the first seed swap Million Pollinator Garden Challenge Celebrating Gardening: 2015 Plant and/or Seed Trader Garden Ideas: Master Level
Good idea twit. That is what I ended up doing with the few I was able to save. I have them in a very fast draining mix using Al's potting recipe with a little modification. It seems to be working.
Image
Feb 23, 2011 2:37 PM CST
Thread OP
Name: Lynn
Oregon City, OR (Zone 8b)
Charter ATP Member Garden Sages I helped plan and beta test the plant database. I helped beta test the Garden Planting Calendar I was one of the first 300 contributors to the plant database! Plant Database Moderator
Forum moderator I helped beta test the first seed swap Million Pollinator Garden Challenge Celebrating Gardening: 2015 Plant and/or Seed Trader Garden Ideas: Master Level
Here is an update on the above Isella semp and also the S. 'Pink Pearl' that was rotted so bad this spring. I went by your above instructions Dr. Houseleeks.
Here is the results with both varieties.
-Isella 2/23/2011-S. 'Pink Pearl' 12/31/2010
Thumb of 2011-02-23/valleylynn/6ce818


And this has been a very wet winter. In the fall I transplanted them into the raised beds, they came through winter in beautiful condition. Just needed much faster draining soil. The Miracle Grow potting mix compacts starting about the second year, and these were in the same pot for about 5 years. It's a miracle I had any of them survivu.
Last edited by valleylynn Jul 29, 2011 10:05 AM Icon for preview
Avatar for m1ll3r
Feb 23, 2011 6:27 PM CST
Name: cynthia wilhoite
indianapolis in Zone 5
plant geek, soulesgarden.com
Charter ATP Member I was one of the first 300 contributors to the plant database!
those are two real beauties. i spent some free time the other day reading all of the Dr.' s previous column and looking at the pictures. i think i am much more ready to be a good semp mom.
Image
Feb 23, 2011 7:28 PM CST
Thread OP
Name: Lynn
Oregon City, OR (Zone 8b)
Charter ATP Member Garden Sages I helped plan and beta test the plant database. I helped beta test the Garden Planting Calendar I was one of the first 300 contributors to the plant database! Plant Database Moderator
Forum moderator I helped beta test the first seed swap Million Pollinator Garden Challenge Celebrating Gardening: 2015 Plant and/or Seed Trader Garden Ideas: Master Level
Oh Cynthia, we will help you in every way we can. Hey everyone, Cynthia wants to be a semp mom. Hurray!
We would love to help you adopt some. Big Grin

I forgot to add in the above post that the Isella is 4 1/2 " across. Wonder if it will get larger when the warmer weather starts?
Last edited by valleylynn Jul 29, 2011 10:06 AM Icon for preview
Image
Feb 24, 2011 7:58 AM CST
Name: Chris
Ripon, Wisconsin
Charter ATP Member I was one of the first 300 contributors to the plant database! Garden Sages Garden Ideas: Master Level Seller of Garden Stuff I sent a postcard to Randy!
Sempervivums Sedums Region: Wisconsin Hosted a Not-A-Raffle-Raffle Celebrating Gardening: 2015 Avid Green Pages Reviewer
They look fantastic Lynn! Twit, you da man!!! Thumbs up I tip my hat to you. Oops, I mean doctor.
Image
Feb 24, 2011 8:53 AM CST
Thread OP
Name: Lynn
Oregon City, OR (Zone 8b)
Charter ATP Member Garden Sages I helped plan and beta test the plant database. I helped beta test the Garden Planting Calendar I was one of the first 300 contributors to the plant database! Plant Database Moderator
Forum moderator I helped beta test the first seed swap Million Pollinator Garden Challenge Celebrating Gardening: 2015 Plant and/or Seed Trader Garden Ideas: Master Level
He certainly is Chris. But we've know that all along. Big Grin
Image
Mar 15, 2011 6:13 PM CST
Name: Linda
M'boro, (Middle)TN (Zone 6b)
I was one of the first 300 contributors to the plant database!
This is another good visual for me. Beautiful heuff's Lynn! Smiling
Image
Mar 15, 2011 6:34 PM CST
Thread OP
Name: Lynn
Oregon City, OR (Zone 8b)
Charter ATP Member Garden Sages I helped plan and beta test the plant database. I helped beta test the Garden Planting Calendar I was one of the first 300 contributors to the plant database! Plant Database Moderator
Forum moderator I helped beta test the first seed swap Million Pollinator Garden Challenge Celebrating Gardening: 2015 Plant and/or Seed Trader Garden Ideas: Master Level
Our twit is very wise indeed. Lovey dubby
Image
Apr 17, 2011 6:54 PM CST
Name: Linda
M'boro, (Middle)TN (Zone 6b)
I was one of the first 300 contributors to the plant database!
Ok...I need some help from the Doc. Sad My S.'Purdy's Big Red' has started to rot. I really love this one too. I have followed the above instructions, but I have not cut it in half yet. It has at least six offsets that are very small. It had grown to 4" and started the offsets. This last rain must have really hurt it. Will the offsets survive and how should I handle this since it does have the offsets?
Image
Apr 17, 2011 8:42 PM CST
Thread OP
Name: Lynn
Oregon City, OR (Zone 8b)
Charter ATP Member Garden Sages I helped plan and beta test the plant database. I helped beta test the Garden Planting Calendar I was one of the first 300 contributors to the plant database! Plant Database Moderator
Forum moderator I helped beta test the first seed swap Million Pollinator Garden Challenge Celebrating Gardening: 2015 Plant and/or Seed Trader Garden Ideas: Master Level
Do you have a photo for him Linda? It will help him make a diagnosis and recommend a treatment.

The plant in the photo above from last year not only survived but is now making offsets. I pretty much followed Dr. Houseleeks instructions above. After removing it from the soil and cleaning it, I removed all signs of rot by carefully removing all the rotting leaves until all I had left was a topknot of healthy leaves (see the very center healthy leaves in the first post?). They I let the plant dry out for several days and replanted into the raised bed with very good drainage. She did not produce offsets last year so I was really concerned she might bloom and die this year. But look what she is doing today. Hurray!

Isella 4 17 2011
Thumb of 2011-04-18/valleylynn/8e977a
Last edited by valleylynn Jul 29, 2011 10:08 AM Icon for preview
Image
Apr 17, 2011 9:13 PM CST
Name: Linda
M'boro, (Middle)TN (Zone 6b)
I was one of the first 300 contributors to the plant database!
I've taken the rotted leaves off, washed it, cut off some rot, and now it is in front of a fan that's on low to help it dry out. Three of the tiny offsets came off and there's four still on it. I'm headed to bed, so I'll check back tomorrow. Group hug
Avatar for twitcher
Apr 17, 2011 9:40 PM CST

Charter ATP Member I was one of the first 300 contributors to the plant database!
It's OK to leave the plant out of the ground for an extensive time. Let it dry, but remove it from the fan on Monday - you don't want to overdo it. These days I just put the plant on a small, dry towel for a day. Don't plant until you know that you have removed all of the rot. Leave the remaining offsets on the mother. Put the mother and offsets where they will get really bright light, but avoid direct hot sun. A week after you are sure the rot is not progressing and is gone, start misting the plant once a day and wait a couple of weeks to make sure the rot is gone. The offsets attached to the mother should still grow. OK to plant once you are sure the rot is gone, but that delay should be at least a week to be sure.

The offsets separated from the mother plant can still survive. I don't know how big they are, but if very small (1/4"?) they will be much more susceptible to drying out. Plant remaining stolon in dirt (I'd use a pot for now) and be sure to give enough water so they don't dry out. I'd start off with normal dirt without a lot of water in it, mist the surface well, then enclose in a plastic bag and seal it. Check daily to adjust conditions if necessary. Bright light, no sun, especially when in the bag.

You must first create a username and login before you can reply to this thread.
Member Login:

( No account? Join now! )

Today's site banner is by RootedInDirt and is called "Botanical Gardens"

This site is protected by reCAPTCHA and the Google Privacy Policy and Terms of Service apply.