Flower pounding as a craft has been around for a long time. It's used mainly to decorate fabric. Now and again you'll find a paper pounding but, again, mostly as a decorative craft. My goal was to raise this process to a legitimate art form. To my great delight, the Cedar Rapids Museum of Art agreed that my prints were art and invited me to submit some for permanent display and for sale. I also have an exhibit at an art gallery in Mount Vernon (Iowa, not Washington's home!)
I began my efforts by experimenting with different kinds of paper, to see which ones produced the kind of image I was after. One of the interesting things I discovered was that chemicals in the paper react with plant pigments, sometimes in interesting ways. I once did a print of a yellow rose, and the petals came out pink! The paper that seemed to work best was a 400 lb. cold pressed watercolor paper made by Arches of France. And, wouldn't you know it, it was the most expensive of all the papers I tried. Arches has been in the paper business--incredibly--for over 500 years!
The process begins with the selection of live plant material from our gardens. Before it's incorporated into a print, I create a proof of each piece of material to determine its water content. This step is absolutely essential. If the material contains too much moisture, the result is generally a nondescript, unusable blob of color on the paper. If it contains too little moisture, there is little or no transfer of color from the material to the paper. The water content of the same piece of material may vary from day to day, so that it may work for you one day, but not the next.
Both proofing and actually creating a finished work involve the same process. I select my material and position it on the watercolor paper. Then I tape it down with masking tape. I've found that the cheapest tape works the best. It tends to be almost transparent, so that I can see what's going on under the tape. The cheaper tape also comes off the paper easier, so there is less risk of tearing it when you pull it off. I keep several widths of tape on hand and use them according to the size of the material I want to hammer.
Using a small tack hammer, I begin hammering the tape-covered material to release its color and create an image on the paper. Proofing also helps determine how hard I need to pound to produce the desired image.
Then I carefully remove the tape and, with it, the plant material, being careful not to smear the image nor to create inadvertent blotches from dripping or falling debris. If, while removing the tape, I discover that transfer is not complete, I simply put the tape back down on the paper and hammer the area in question some more. After allowing the paper to dry for a few minutes, I hammer more material into the paper until the desired image is complete. When the paper is dry, I spray it with an acrylic fixative to protect the print and to make sure that any desired plant residue will adhere to the paper permanently.
The Final Step
All natural plant pigments will eventually fade. The speed of this process is determined by the nature of the color and by how much light the print is exposed to. In order to preclude the possibility of any fading, I now render all my prints in a colorfast ink, using an Epson Artisan 725 printer.
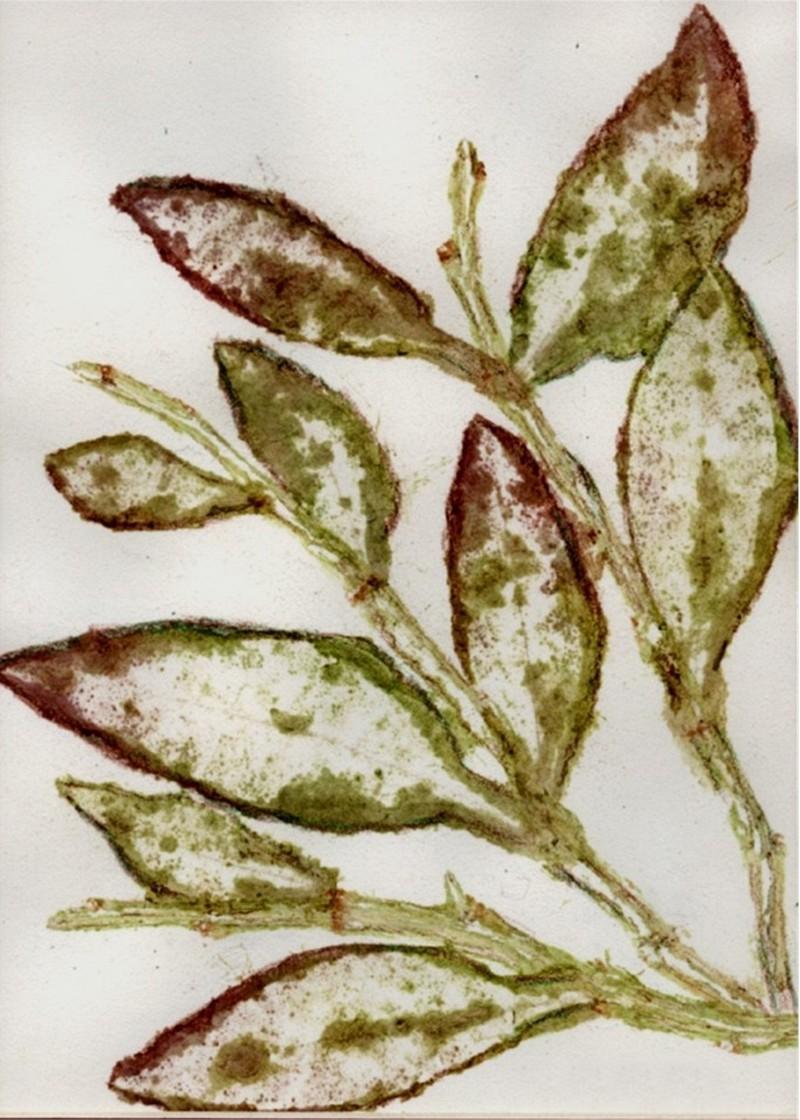
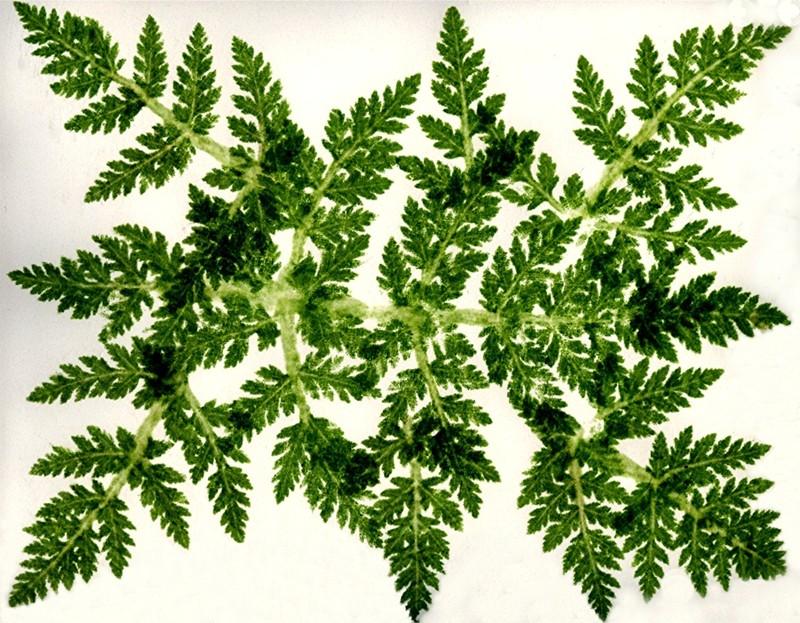
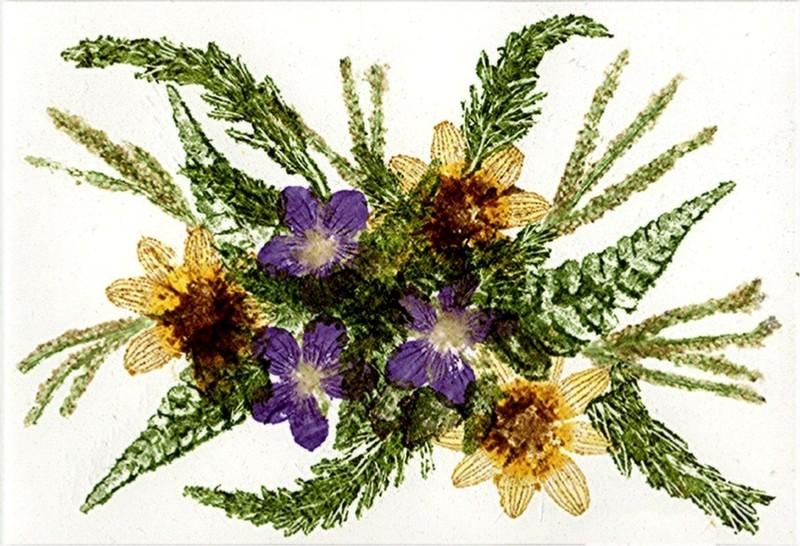
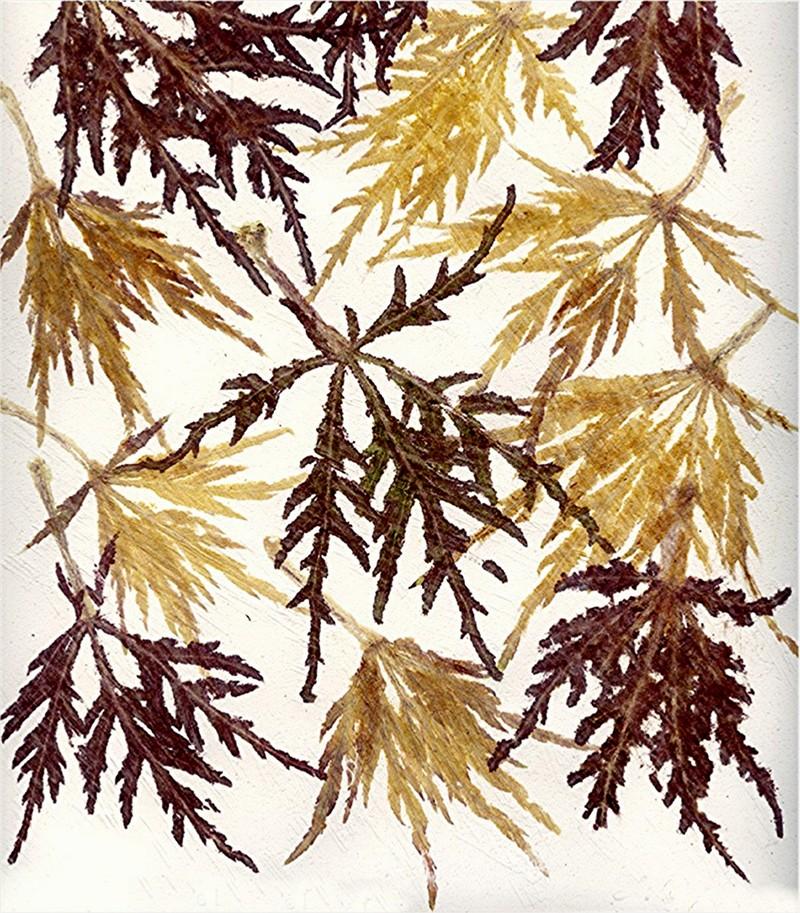
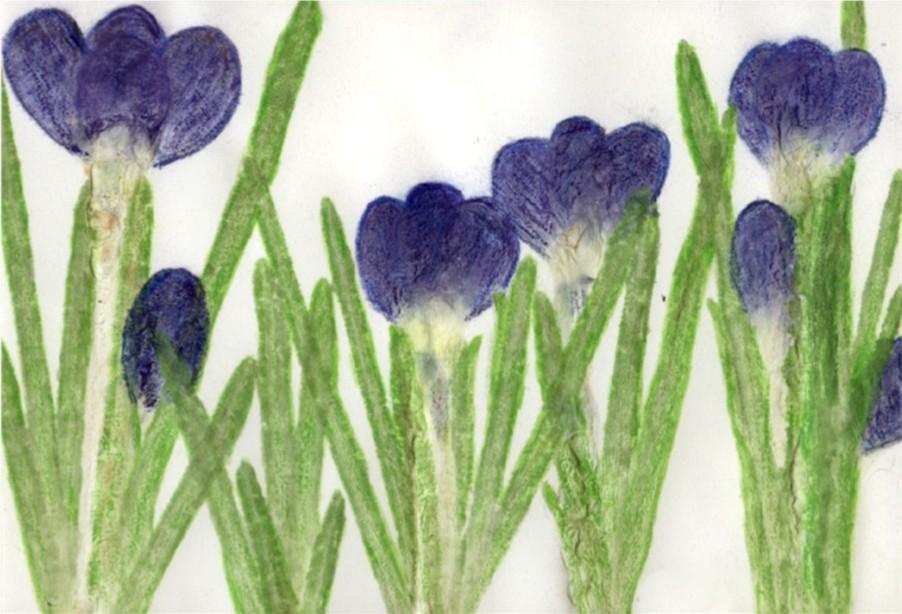
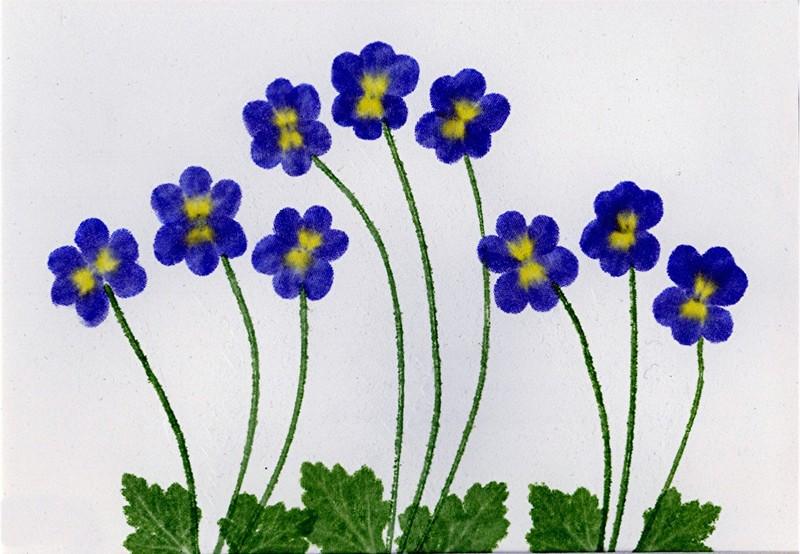
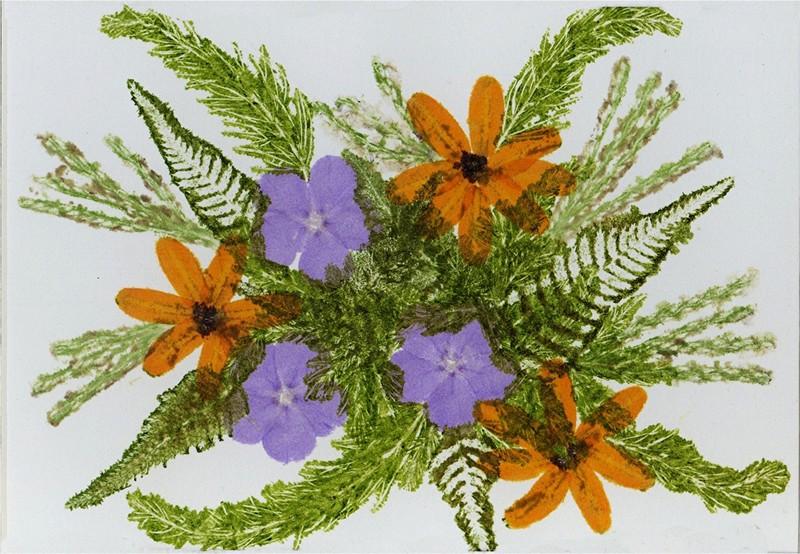
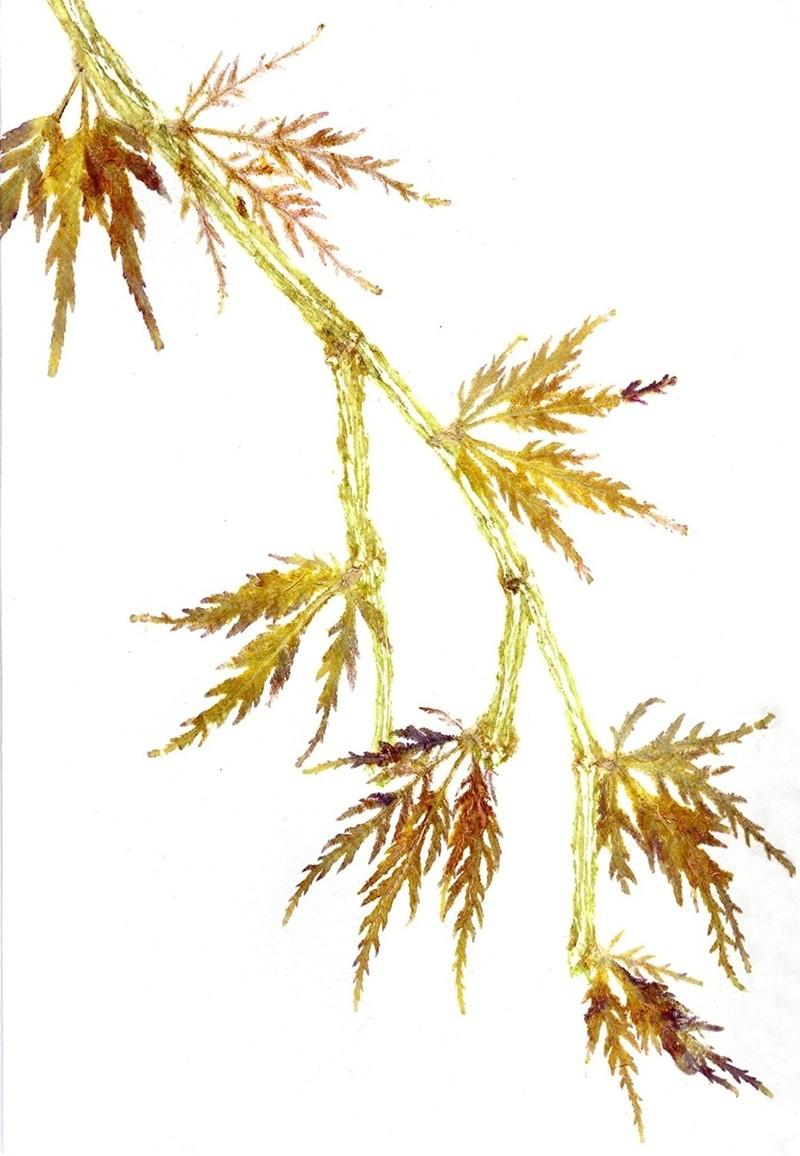
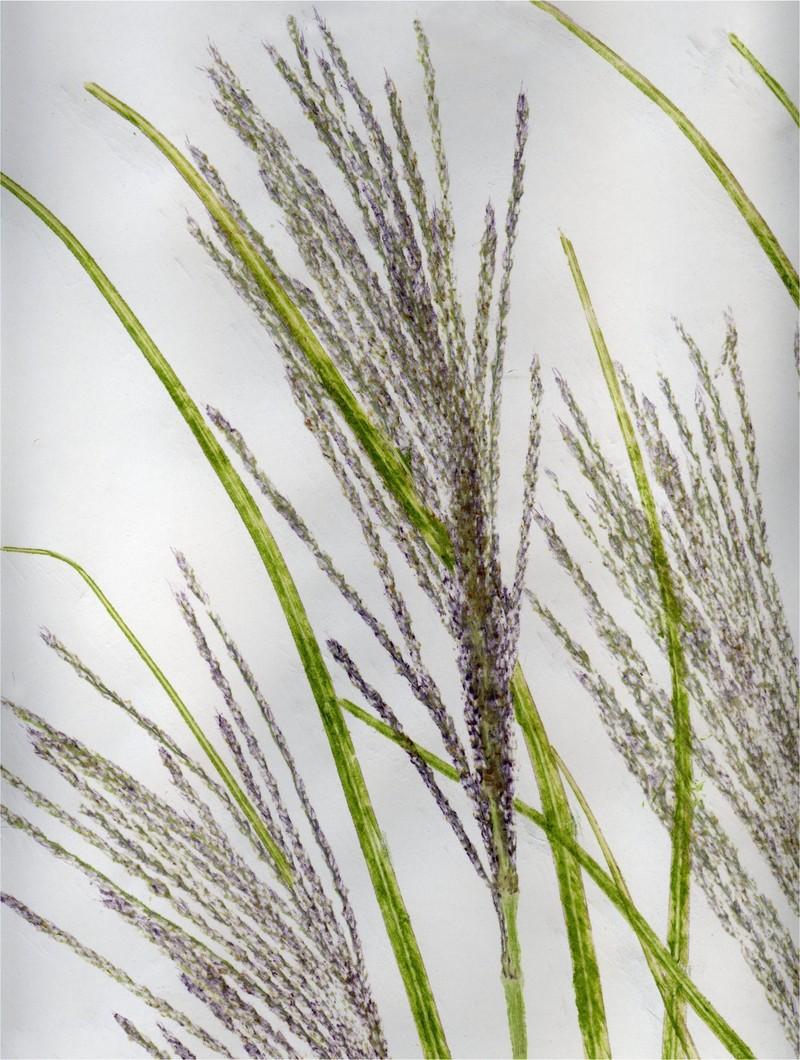
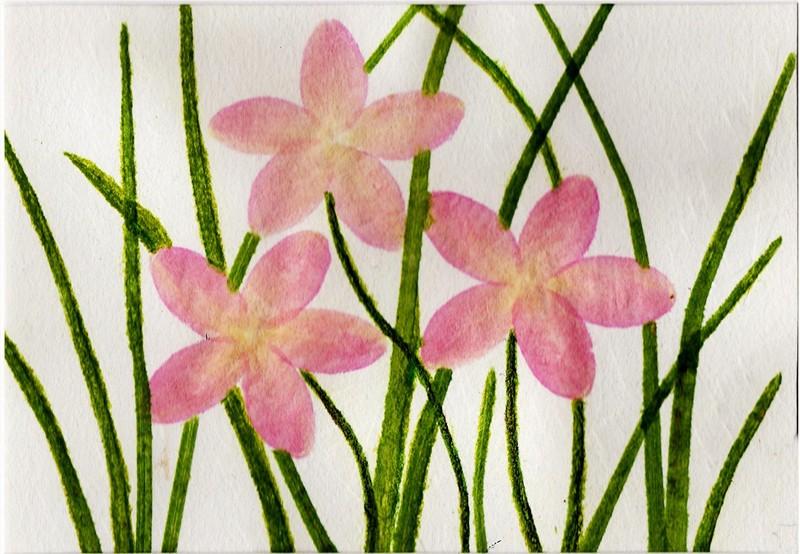
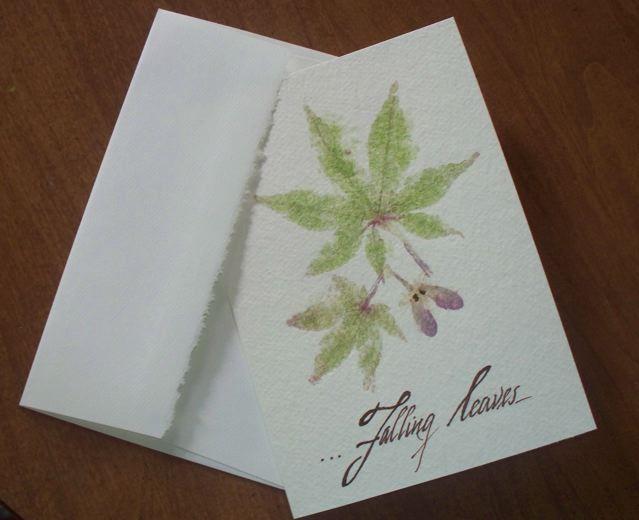
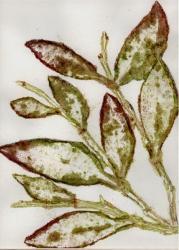
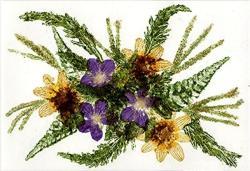
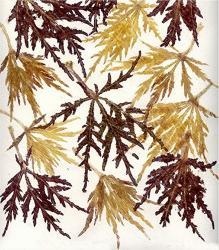
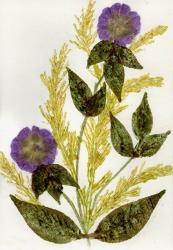
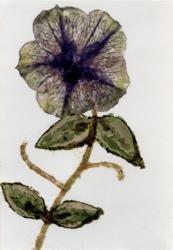
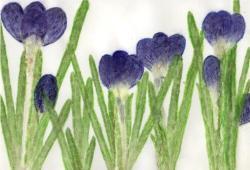
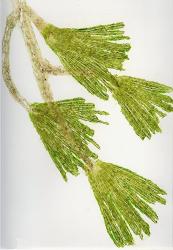
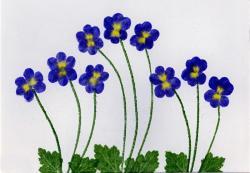
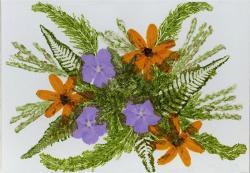
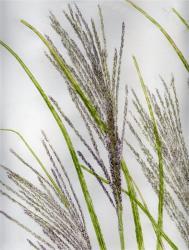
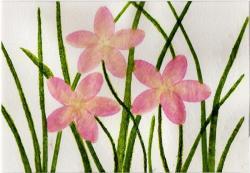
Here is a sampling of some of my prints (all of which are copyrighted):


Edited to correct a typo