Viewing post #108676 by Boopaints

You are viewing a single post made by Boopaints in the thread called Turtle Rock Paint Project Tutorial.
Image
Jul 23, 2011 1:18 AM CST
Name: Becky (Boo)
Phoenix, AZ 85022
finding joy one day at a time!
Charter ATP Member Forum moderator I was one of the first 300 contributors to the plant database! Garden Art Purslane Garden Ideas: Master Level
Region: Southwest Gardening Enjoys or suffers hot summers Region: United States of America Birds Hummingbirder Container Gardener
(9).
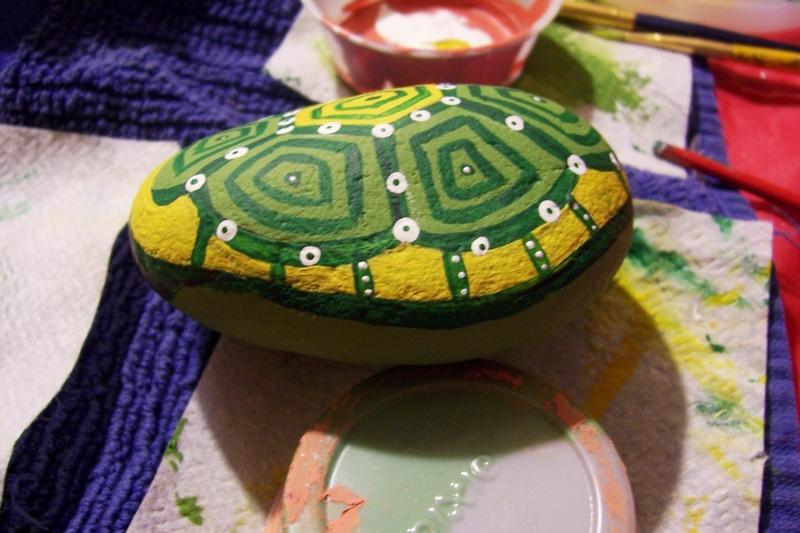
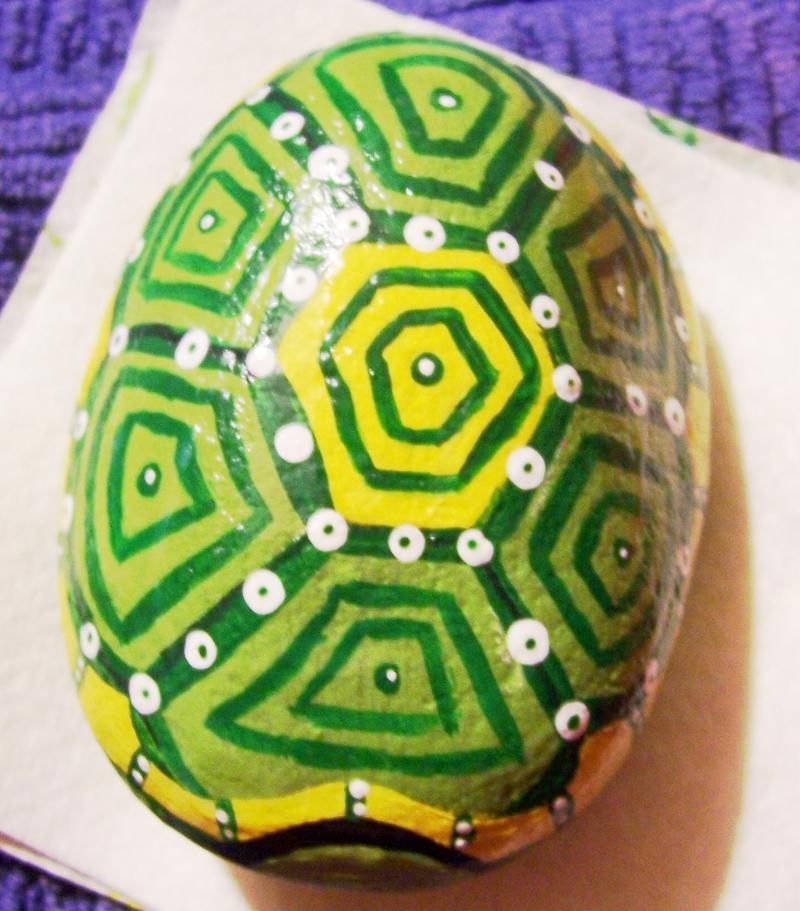
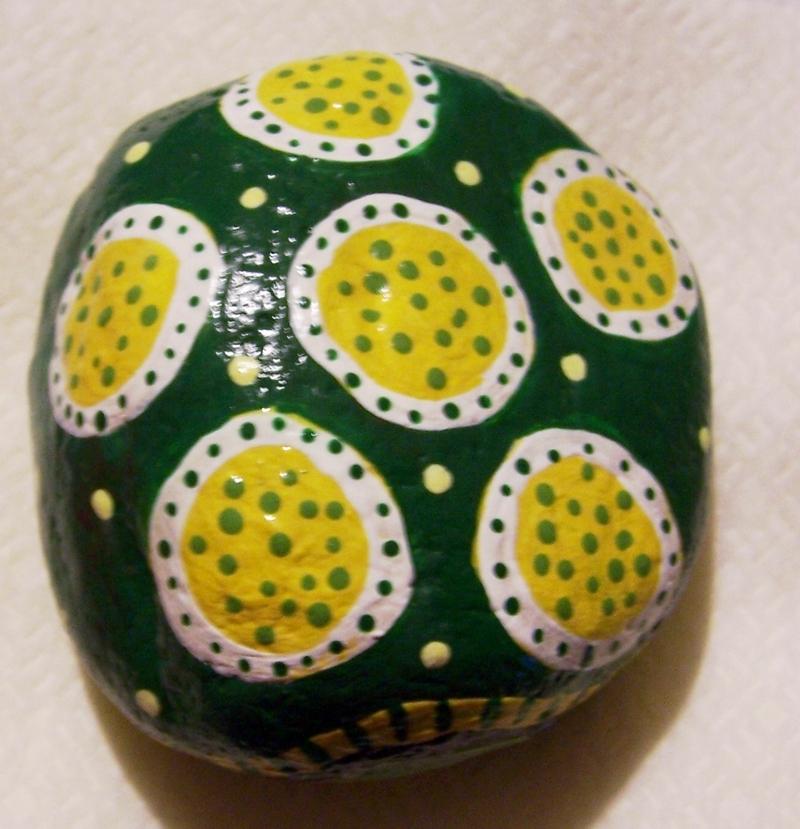
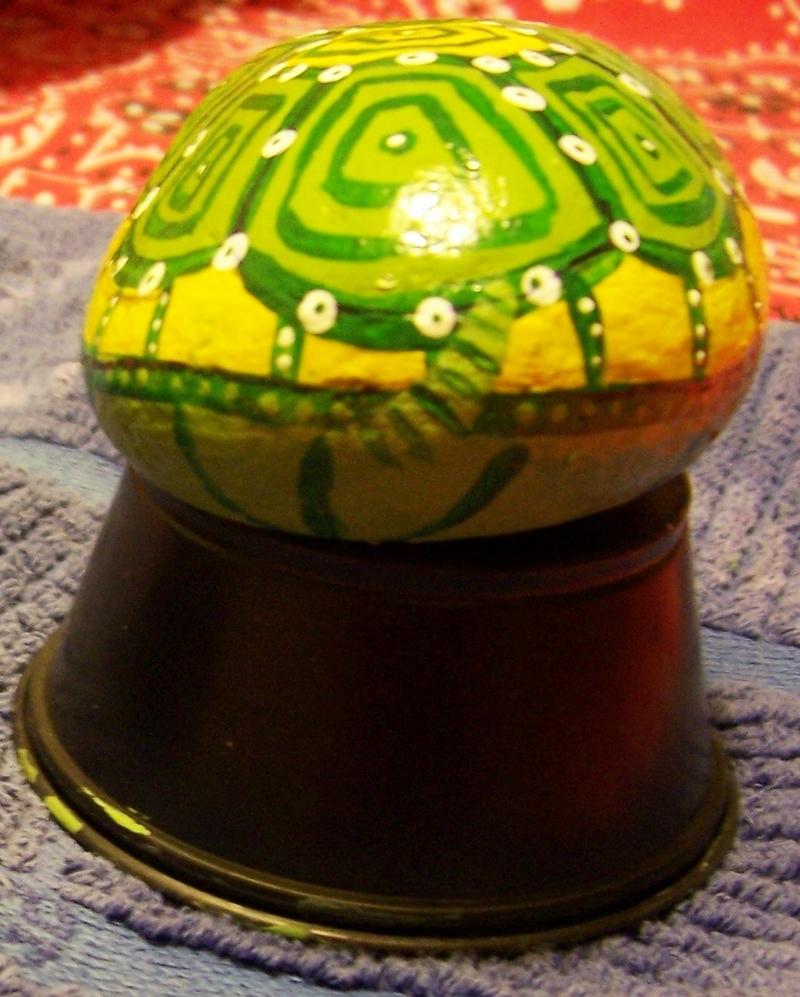
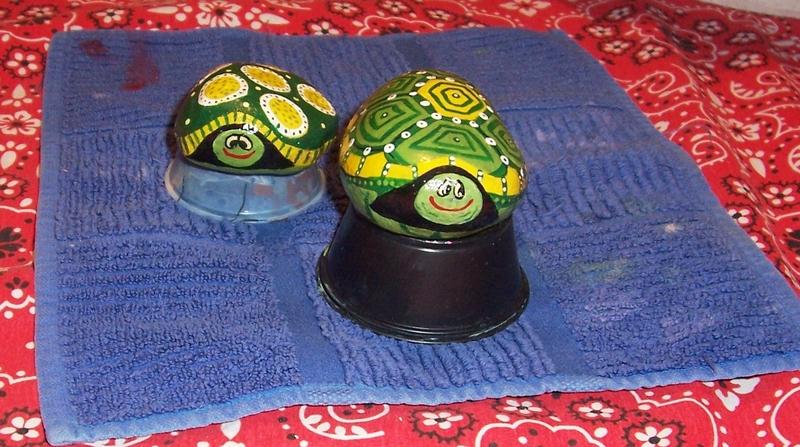
Step nine is detail time. This is the best part...it takes a basic turtle to a special one with a personality. I use a stylus to make dots (I love dots!) but an old ball point pen works well too if the ink is dried up. Look at the green bars on the left and compare them to the ones on the right. Dots make things pop. Big Grin Let dry.

Thumb of 2011-07-23/Boopaints/353cf7 Thumb of 2011-07-23/Boopaints/12c5fc
Thumb of 2011-07-23/Boopaints/9fc2bd

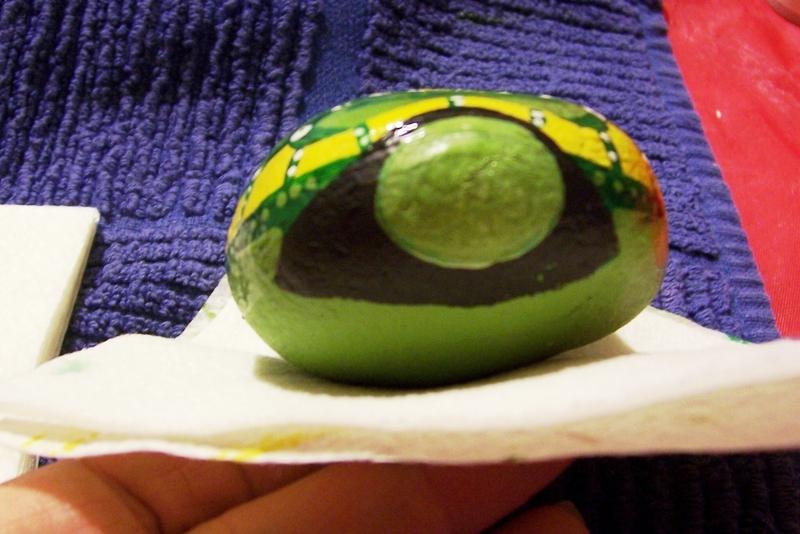
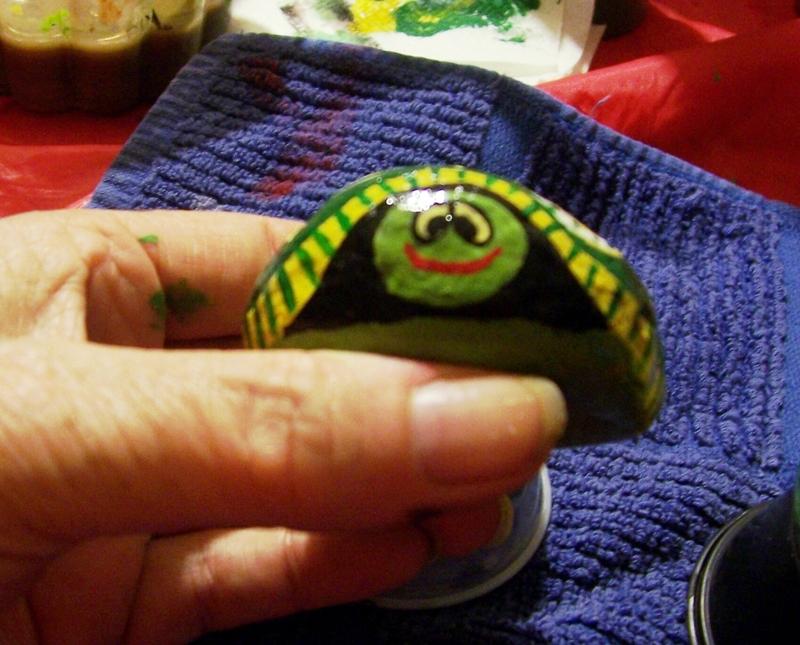
Next, paint the inside of the turtle’s shell very dark green or black and let dry. When dry, add the turtles face. When the head is dry, paint the eyes, mouth and any extra lines you want. The tail is last and now you have your first turtle!

Thumb of 2011-07-23/Boopaints/b1e463 Thumb of 2011-07-23/Boopaints/621c90
Thumb of 2011-07-23/Boopaints/864681 Thumb of 2011-07-23/Boopaints/7334fd
ALL THINGS PLANTS ~ Garden Art ~ Purslane & Portulaca ~
MY CUBITS ~ Trust in the Lord ~
MY WEB SITE ~ Joyful Times Today
Last edited by Boopaints Aug 7, 2011 11:44 AM Icon for preview

« Return to the thread "Turtle Rock Paint Project Tutorial"
« Return to Garden Art forum
« Return to the Garden.org homepage

Member Login:

( No account? Join now! )

Today's site banner is by mcash70 and is called "Hybrid nemesia"

This site is protected by reCAPTCHA and the Google Privacy Policy and Terms of Service apply.