

Raised beds help keep vegetable gardens neat while maximizing the planting space.
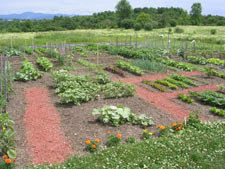
Plan your vegetable garden to have maximum space for vining vegetables, such as cucumbers, and clearly defined pathways.

Place stepping stones in a large raised bed veggie garden so you don't compact the soil when working.
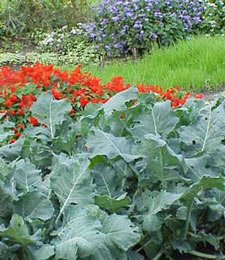
Mix and match colors and textures of flowers and vegetables to create a stunning visual effect.
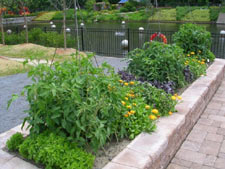
Tepee trellises let tomatoes grow in their natural form, yet keep them upright, making more room for herbs and flowers to grow.
My first memories of vegetable gardening were following my Italian grandfather around his farm in Connecticut and helping him hill potatoes and tie up tomatoes. Probably the fondest remembrances were harvesting and eating the produce in July when the garden seemed to overflow with vegetables. Luckily these memories have overshadowed recollections of weeding on hot, humid summer days.
That was 40 years ago and I'm still vegetable gardening. However, I've learned a bit since then. Now I experiment with new varieties, plant combinations, and techniques to make my vegetable garden a productive, fun, and attractive part of my yard. Vegetable gardens can be as beautiful as any flower garden while also providing food for the table. All it takes is a little planning. While I tuck vegetables here and there in flowerbeds, I also like having a main vegetable garden area to concentrate the food production. The main vegetable garden doesn't have to be all veggies, though. Feel free to include herbs, edible flowers, and fruits.
While I make discoveries every season, I've settled on a vegetable garden layout using raised beds. For me, it's the key to a beautiful and productive garden. First, let's review the basics of vegetable gardening, then we'll talk about building raised beds.
Choose a Sunny LocationIt's critical to choose a sunny spot for growing vegetables. Most fruiting vegetables need 6 to 8 hours of direct sun a day for best results. Leafy greens, such as spinach and lettuce, can thrive with a bit less direct sun. If you assess your yard in winter, remember that deciduous trees that are then leafless will cast shadows as the growing season progresses.
The best location for the vegetable garden is close to the kitchen so it's easy and convenient to visit. In addition, it helps if you can view the garden from a window. When the garden is easy to see and reach, you are more apt to notice what needs to be tended and to take full advantage of the harvest.
While the ideal garden location has loose soil that drains well, don't fret if your soil is less than ideal. You can improve it over time by adding organic matter, such as compost, or create raised beds on top of poor soil by bringing in the amount of topsoil and compost you need.
The Right Size GardenA 20- by 20-foot garden will give you room to grow a wide range of crops, including some that need a lot of space, such as sweet corn and winter squash. A 10- by 12-foot plot is sufficient for a garden sampler with a variety of greens, herbs, a few tomatoes and peppers, beans, cucumbers, basil, parsley, and edible flowers such as nasturtiums. I always include flowers in my garden, even if they aren't edible, because they are beautiful to cut and bring indoors. Flowers also attract pollinating and beneficial insects to the garden. By growing plants in succession and using 3-foot-wide beds with 18-inch paths, you should have plenty of luscious vegetables for fresh eating and extras for sharing.
To design your garden from scratch, plot it on graph paper. Use paper with a grid of 1/4-inch squares, with each square representing 1 foot in the garden. Outline the beds in pencil, then fill in the plant names.
Preparing the Garden SpaceOnce you have a plan, you're ready to measure out the garden. You'll need a tape measure, plenty of string, 1-foot-long wooden stakes, and a hammer to drive the stakes into the ground.
For best sun exposure, orient the garden so the beds run east to west, with the tallest plants on the north end. This will reduce the chance of one vegetable shading another. Following your plan, drive a stake in each of the four corners of the garden.
At this point you'll need to remove any sod and rototill or turn the soil by hand to loosen the soil and remove weeds. If you're starting in the fall to get a garden ready for spring planting, you have an option that will save you some hard work. Mow the area close to the ground and lay three to four layers of black and white newspaper over the garden area. Cover the newspaper with a 4- to 6-inch-thick layer of straw, and cover that with a 1- to 2-inch-thick layer of compost. The newspaper/straw/compost combination will kill the grass and weeds and provide a great habitat for earthworms to work the soil. By spring the grass will be dead and decomposing and you can work the soil.
Before you plant, have the soil tested to determine the soil pH and nutrient levels. Most vegetables require a pH between 6.0 and 6.8. Add limestone to raise the pH in high-rainfall areas; add sulfur to lower the pH in the arid West. Your state university's cooperative extension service or local garden center will have information on obtaining a soil test kit.
Lay Out the BedsNow it's time to lay it all out. Measure, stake, and outline each bed with string. To make a raised a bed, first loosen the soil using a shovel or a garden fork, then shovel soil from an adjacent path onto the bed.
Keep adding soil until the bed is about 8 to 10 inches tall. Smooth the soil on the surface of the bed by raking it flat with an iron rake. Draw the soil evenly between the string boundaries, letting excess soil fall off the edge of the bed outside the string. The object is to end up with a flat-topped raised bed that extends fully to the string boundaries about 8 inches above the pathway. Raised beds can be any shape you want as long as they aren't wider than 3 feet. The center of a bed is hard to reach if it's any wider than that.
Feed the SoilIt's easier to address the soil's long-term nutrient needs before planting rather than after veggies are already growing. I build up the soil with natural fertilizers and compost. It may take time to build fertile, rich soil using organic fertilizer and amendments, but the nutrients from organic products are released into the soil slowly, providing weeks of nutrition to the plants. Once each bed is formed, add a 1- to 2-inch-thick layer of compost over the surface and work it into the soil with your rake. Use supplemental organic fertilizers to correct nutrient problems discovered in the soil test and to side-dress vegetables during the growing season. These fertilizers can be in granular or liquid form.
What to Eat?Now comes the fun part -- deciding what to grow. The simplest, and seemingly most obvious, way to decide what to grow is to think about what vegetables you like to eat. Even though beans are one of the easiest vegetables to grow, if you hate beans, don't grow them! That being said, if you love peanuts and live in Minnesota, you may want to pass on trying to grow this heat-loving crop. Beans, squash, tomatoes, lettuce, and greens such as Swiss chard and arugula, are probably the easiest vegetables to grow. Once you decide on your favorite veggies, then you need to know how to plant them.
Many vegetables are best started from seeds sown directly in the ground (direct-sown); others go in as seedlings. You can grow your own seedlings indoors or buy them. In early spring, a week or two before the last frost, direct sow crops that grow best in cool weather, such as beets, carrots, parsnips, peas, radishes, spinach, Swiss chard, and turnips, as well as the many delectable exotic greens such as arugula, Asian mustards, and mesclun mix. These greens grow particularly fast from seed. After the last frost, direct-sow warm-weather vegetables, such as beans, cucumbers, corn, and squash. Among herbs, dill, basil, and cilantro are sure bets from direct-sown seed.
TransplantsSome vegetables need to be planted outside as transplants because they take so long to mature. Others just grow better from seedlings versus seed sown in the ground. Broccoli, Brussels sprouts, cabbage, and cauliflower can be started either way but setting transplants outside usually works best. Eggplants, leeks, peppers, and tomatoes need to be started from transplants because they need such a long growing season.
Right Time to PlantThe average date of frost in spring is the key date to use in garden planning. If you don't know the date for your region, look it up using our frost calendar, or check with your local cooperative extension service or garden center.
You can safely plant the cool-season vegetables, such as broccoli, Brussels sprouts, cabbage, celery, parsley, peas, radishes, and spinach, a few weeks before the last frost date. In mild-winter climates, these crops are usually planted in fall for a winter garden. Arugula, beets, leaf lettuce, parsnips, potatoes, and Swiss chard are a bit less frost-hardy but still grow well in cool weather. Plant warm-season vegetables, such as green beans, corn, cucumbers, eggplant, melons, peppers, summer squash, and tomatoes only after the threat of frost has passed.
For a complete list of when to plant each vegetable, enter your zipcode into our amazing garden planting calendar.
Special Tips and TechniquesThere are special tips and techniques that can make your veggie garden more efficient and productive. One of my favorites is succession planting. A good example of succession planting is growing a warm-season crop such as beans in the same spot where you just harvested a cool-season crop such as spinach. In most areas the spinach is finished early enough in the season to allow you to plant a mid-season crop of green beans that will mature before frost.
Interplanting is another way to maximize your planting space. Plant quick-maturing crops, such as lettuce, around slow growers, such as broccoli. The lettuce will be harvested by the time the broccoli needs the space.
When growing more than one of any type of vegetable -- tomatoes, for instance -- plant several different varieties. This increases the chance of success, since some varieties will perform and taste better than others. It also extends the harvest season if you plant early, mid- and late-season varieties.
The Miracle of Raised BedsIn general, raised beds are the best way to grow the most vegetables with the least amount of work. That's my kind of gardening. The only times I'd recommend not using raised beds is if you have sandy soil, live in a very dry area, and are growing crops that need hilling and mounding, such as potatoes. Otherwise, raise the soil!
The Benefits of Raised BedsSee also: Planning Your Landscaping 101
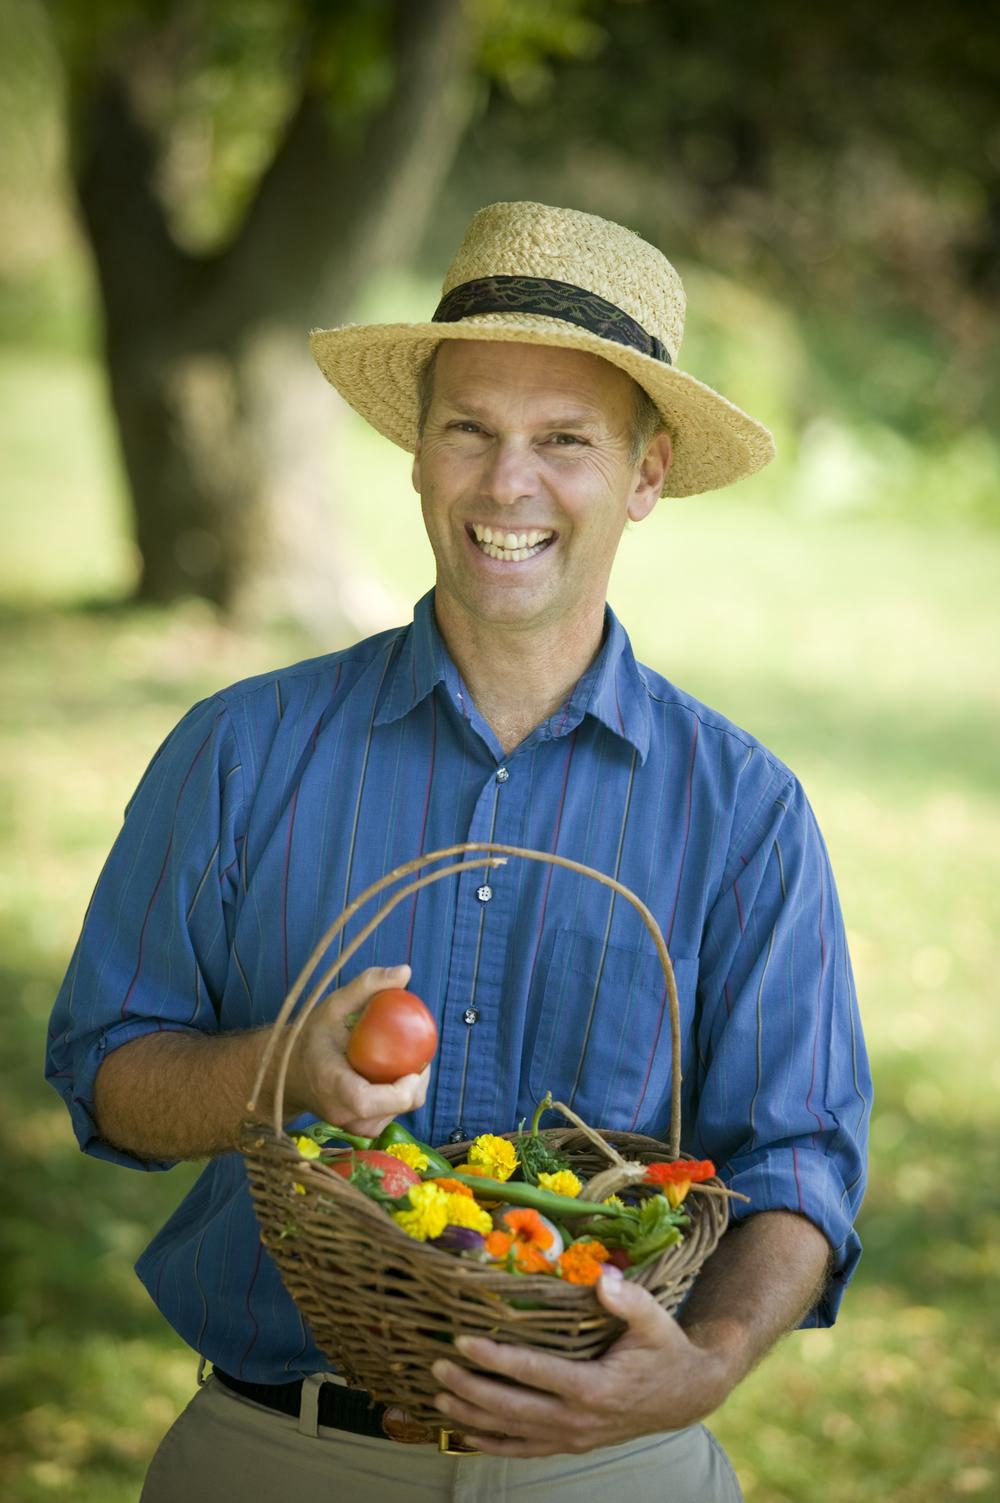 Charlie Nardozzi is an award winning, nationally recognized garden writer, speaker, radio, and television personality. He has worked for more than 30 years bringing expert gardening information to home gardeners through radio, television, talks, tours, on-line, and the printed page. Charlie delights in making gardening information simple, easy, fun and accessible to everyone. He's the author of 6 books, has three radio shows in New England and a TV show. He leads Garden Tours around the world and consults with organizations and companies about gardening programs. See more about him at Gardening With Charlie.
 Victory Seed Company has all the seeds you want for your best garden in 2024.
For 25 years, the family-owned Victory Seed Company has provided the highest quality vegetable, herb and flower seeds to families across the country. We are passionate about providing you the best seeds available that give excellent germination, robust plants, and the harvest you want. With a catalog of over a thousand varieties, we have everything, and our prices are the kinds that we'd want to pay. We have hundreds of yesterday's heirloom vegetables, as well as today's award winning hybrid selections. Get to know us by visiting our website and browsing through our online vegetable seed catalog.