I've been looking at drip irrigation systems for a while because it takes over an hour to deep-water my very small garden patch. Once a drip system is in place, you just make sure the water turns itself on or gets turned on once in a while and you're pretty much set to go!
BUT, drip systems can get pretty expensive pretty quickly, especially if your plot is large.
Here's how to make one that is VERY effective, yet pretty inexpensive.
Materials:
~Hose, purchased at a box store or a dollar store.
~Connectors or adaptors also purchased at a box store or a dollar store. Even Home Depot has them for pretty low prices! How many? As needed (you might not need any at all.)
~Handheld grommet puncher or olive pitter, other type of punch kit, ice pick or a hammer and a large-ish diameter nail OR, just a plain-ol' drill.
~A few landscape staples (stakes). The cheaper the better. Again, dollar store! I got a pack of 10 there for $1!
Process:
1. Measure out how much hose is needed. Take into consideration that you might want to create a circle around one or more of your plants. Cut the hose about 5 or 6 inches longer than your measurement.
2. Use your punch tool or drill to punch two holes at a time into the hose. i.e., poke the hole through the hose on one side and allow it to go through the other as well. Do this every 4 to 7 inches according to your need. Don't worry about whether the holes are on the "top" or "side." You'll notice that when you remove the tool, the hole seems to close up. That's fine!
NOTE: If you're using a grommet punch, this might not happen. That's fine too, just know that the diameter of your hole will determine how much and how quickly water runs out. Larger holes=more water and less pressure. I'm a fan of smaller holes. I hammered in a philips-head screwdriver that is about 1/4 inch in diameter and the holes closed up very nicely when I removed the screwdriver. The resulting holes allow water to drip through very nicely while maintaining pressure throughout the entire hose.
3. Lay your hose on the soil exactly where you want it. Use your landscape staples to hold it in place.
4. Fold the end to crimp it and place one of the staples over the crimped part to hold it in place.
5. Turn the water on and jump up and down when you see how well it works!

6. Run into the house to tell your DH or DW about what a cool thing you just did!
7. Take some pictures and post them here!
Here are mine:
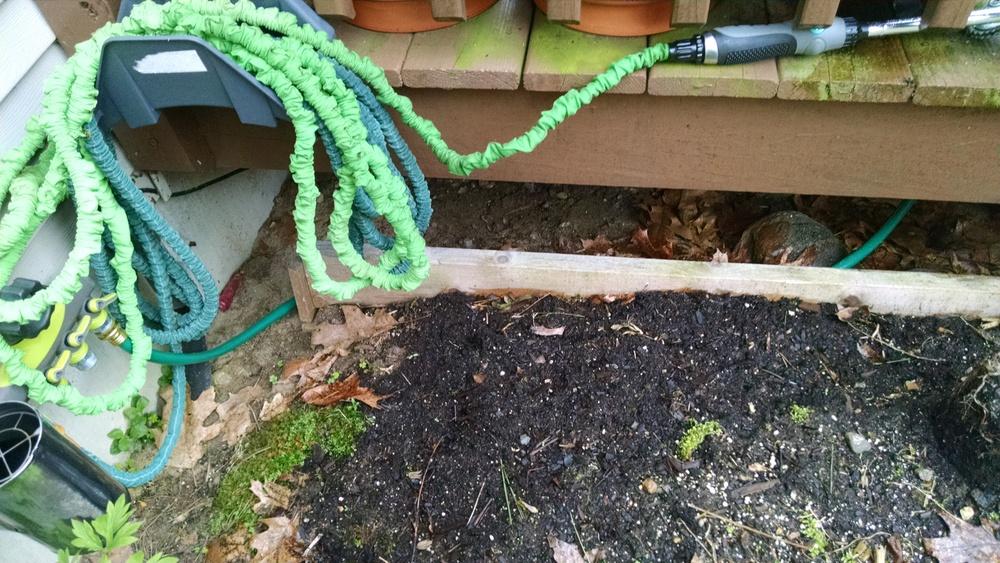
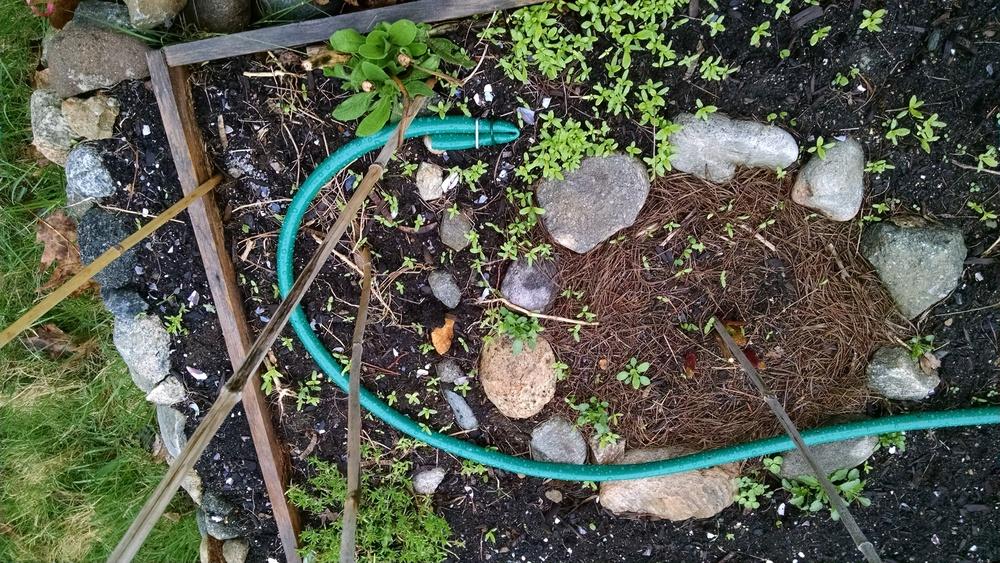
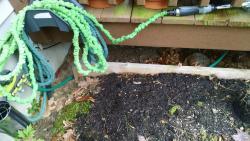
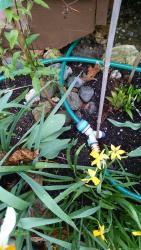
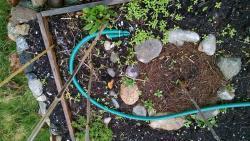
I ran the hose from the water faucet, under my deck.... (obviously, no holes in this part)
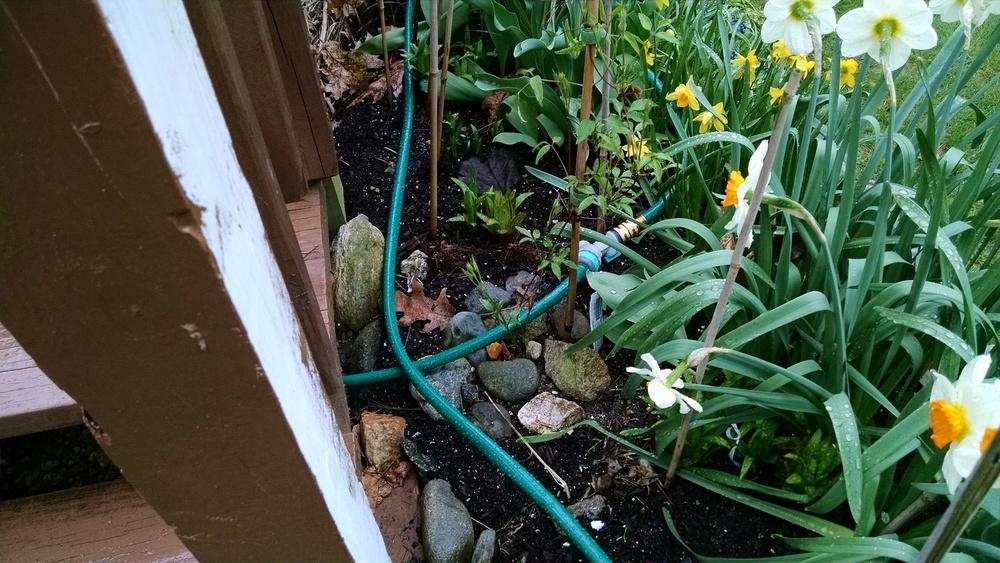
....to the little garden area.

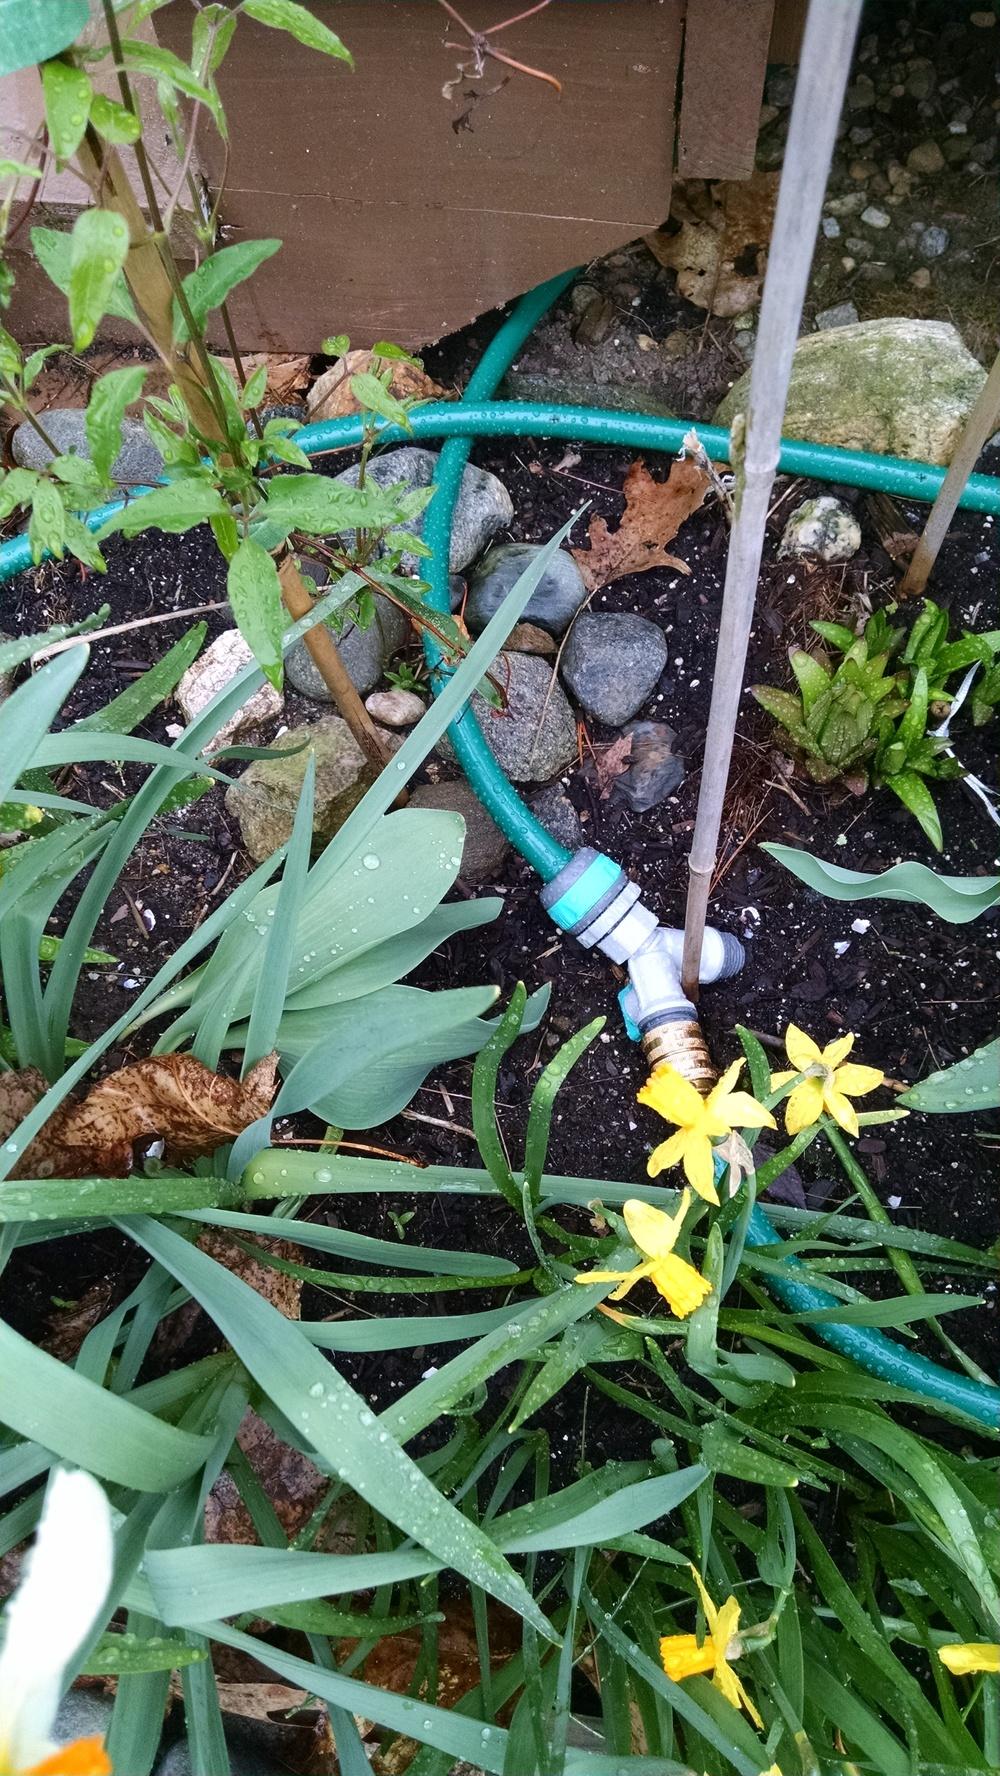
Here, you can see the connector I attached so that I can add another extension later, and also stop the water flow to either as needed:
Positioning:
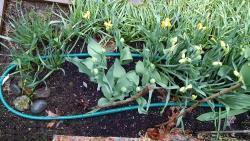
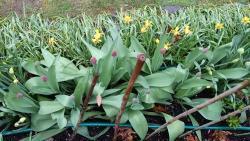
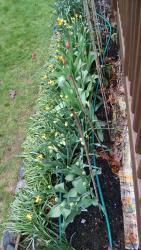
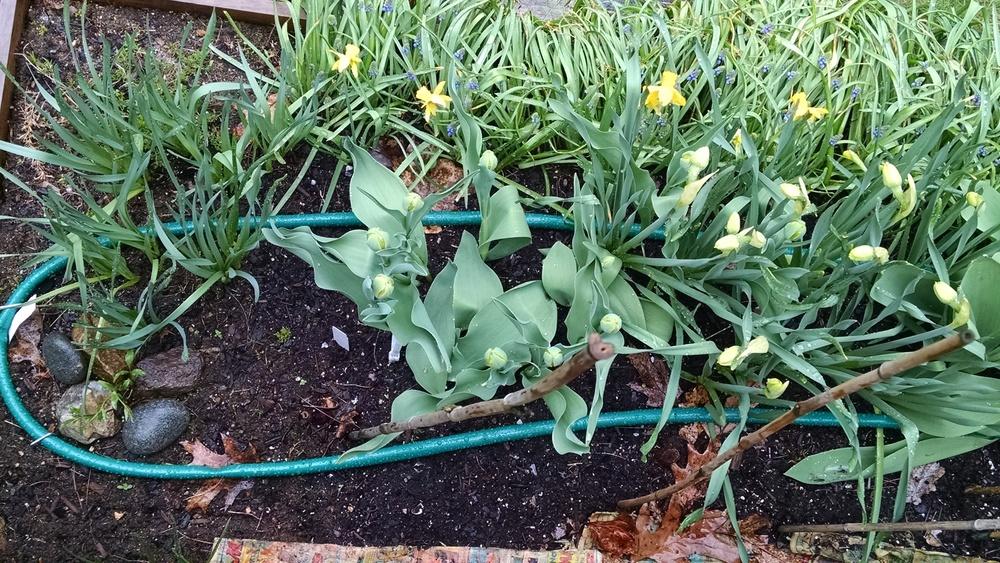
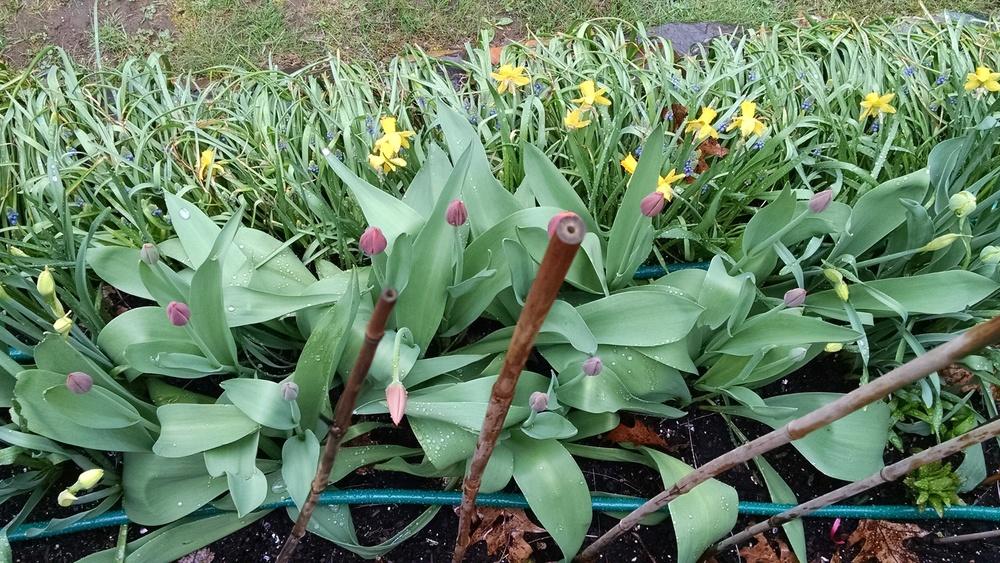
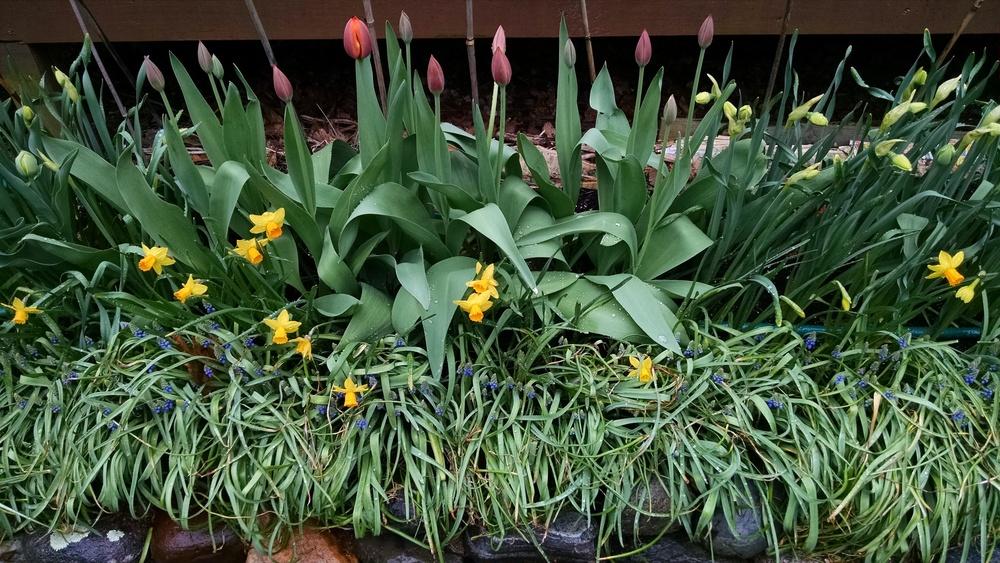
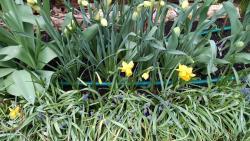
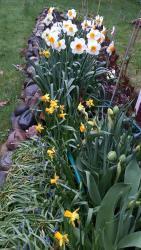
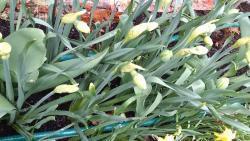
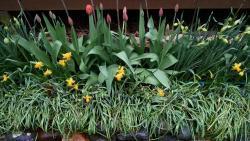
I think it would be easier to do all this before your spring plants start to grow but even if you don't, the hose can be well hidden from view:

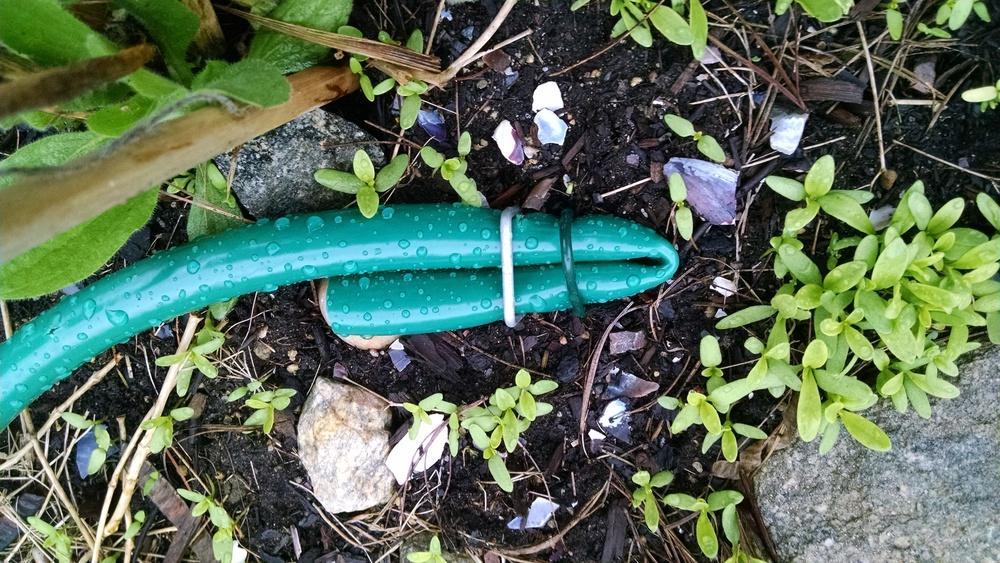
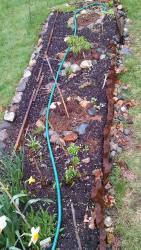
Here is what the crimped end looks like. The staple holds it well in place and the simple crimping is very effective.

This entire system cost me just over $10! If you want, you can add a timer to make this even better. I like turning the water on and off though.
Hope this is useful!