

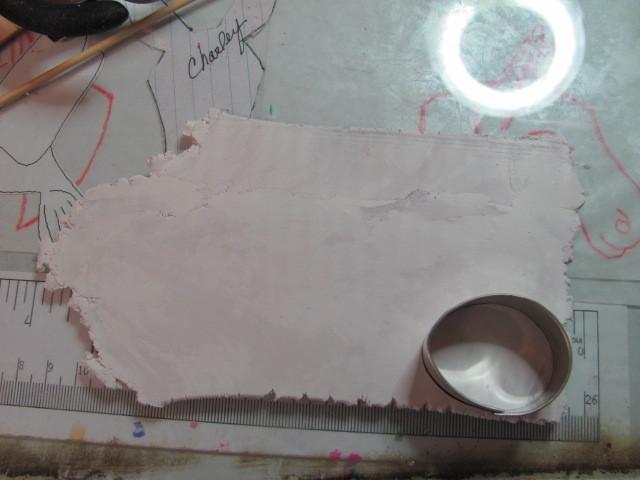
 I have an oval cutter I cut out two circles
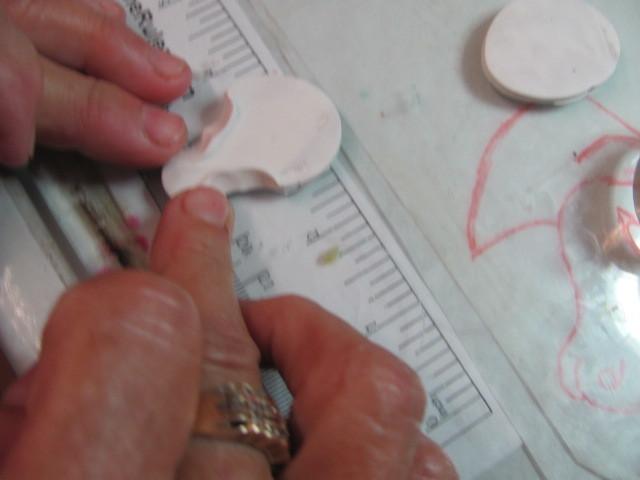
 You will have two. One for top and one for bottom. You also have to make indentations for the place for the horns.
 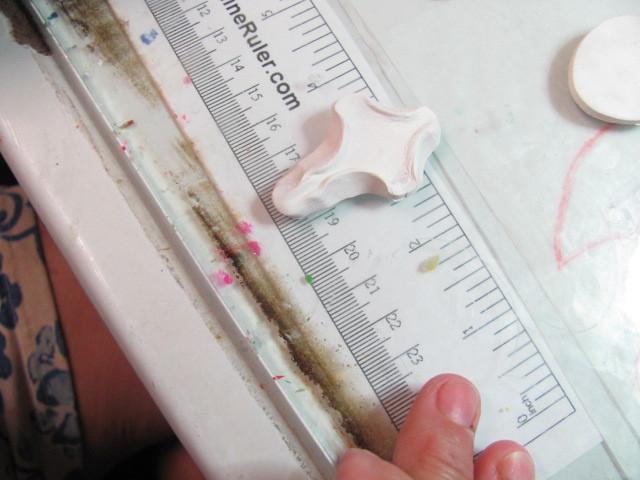 You will have two pieces that look like this.
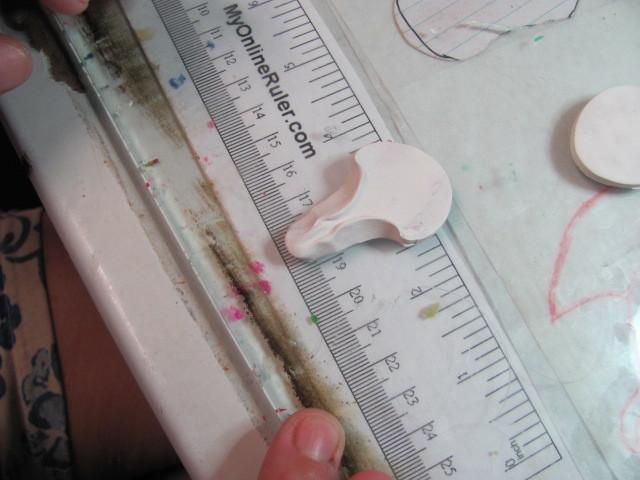
 This shows how to create top of head.
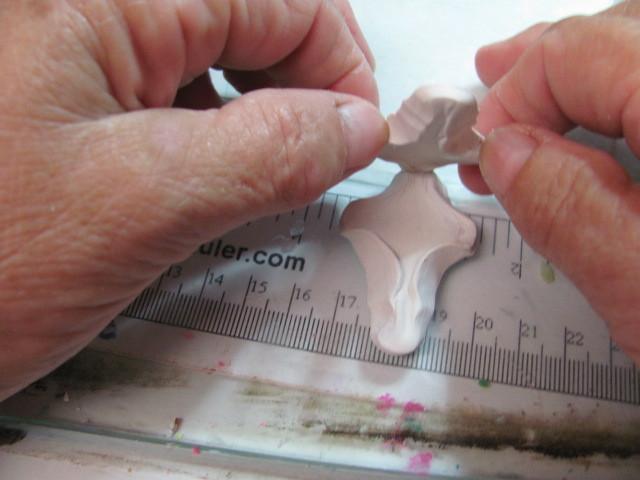 This shows you how to set the top skull onto the bottom.
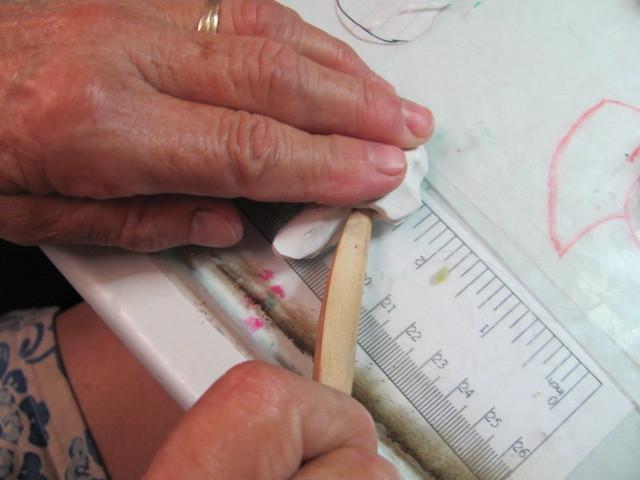 I use a little tool I have but a toothpick or stick will enlarge the sockets, go easy you don't want to tear the clay.

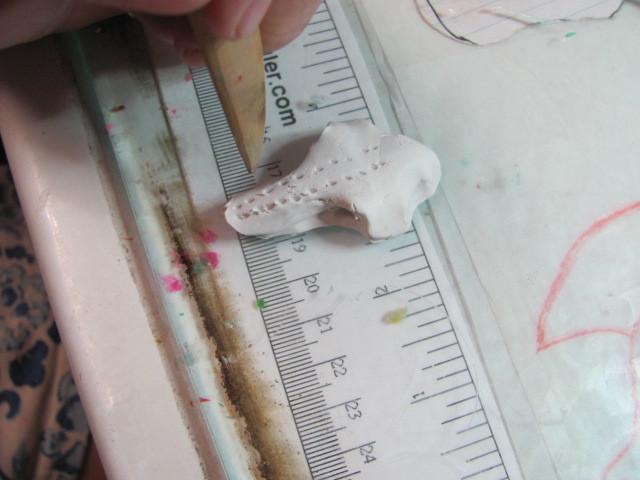
 with the toothpick punck little holes around the eyeball like you did the center of the skull. You can play around and get it shaped just right.
  We are making horns for that rascal!!!! roll out a ball about the size of a nickle and if you are happy with the shape
  Cut it in half and put it to the head.
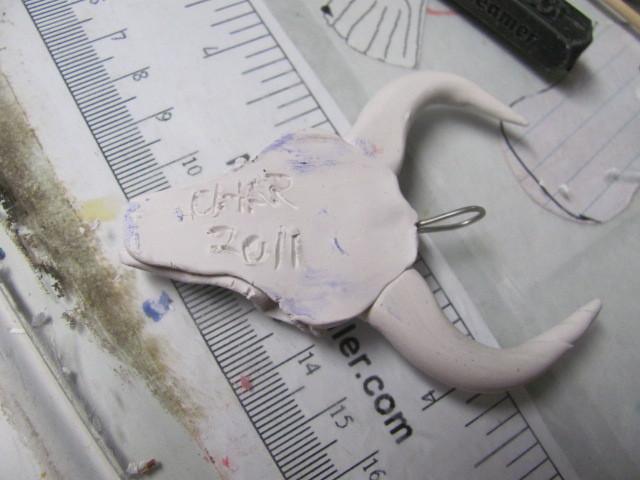
 If you want you can add decorations and take it to oven and Bake it. I baked mine @ 275 for 30 minutes. do 15 min for each 1/4 inch thickness.
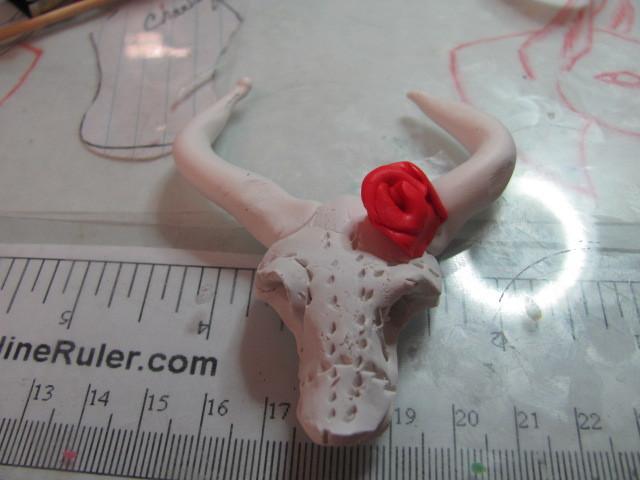

« Return to the thread "Cow Skull Tutorial"
« Return to Garden Art forum
« Return to the Garden.org homepage