Yes,
@frenchy21, there is! And
@Lauriebasler, you are welcome! !
@purpleinopp
Here's the particulars:
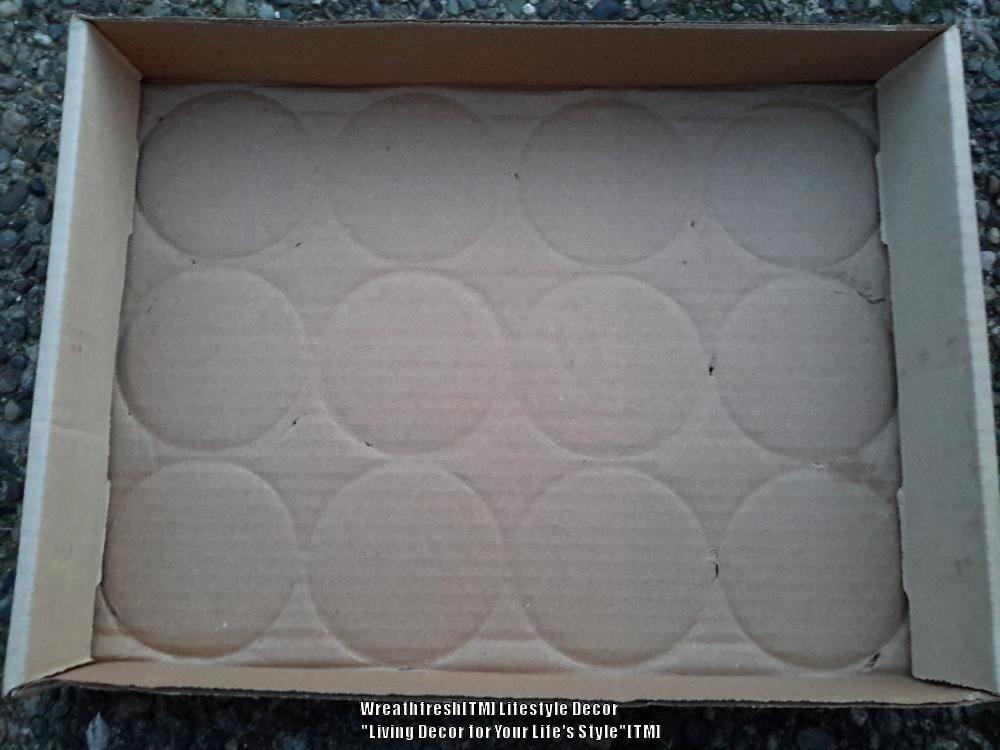
Take a flat cardboard box, the type you would get dog or cat food in... type doesn't matter just easier if it's flat and low sides like this!

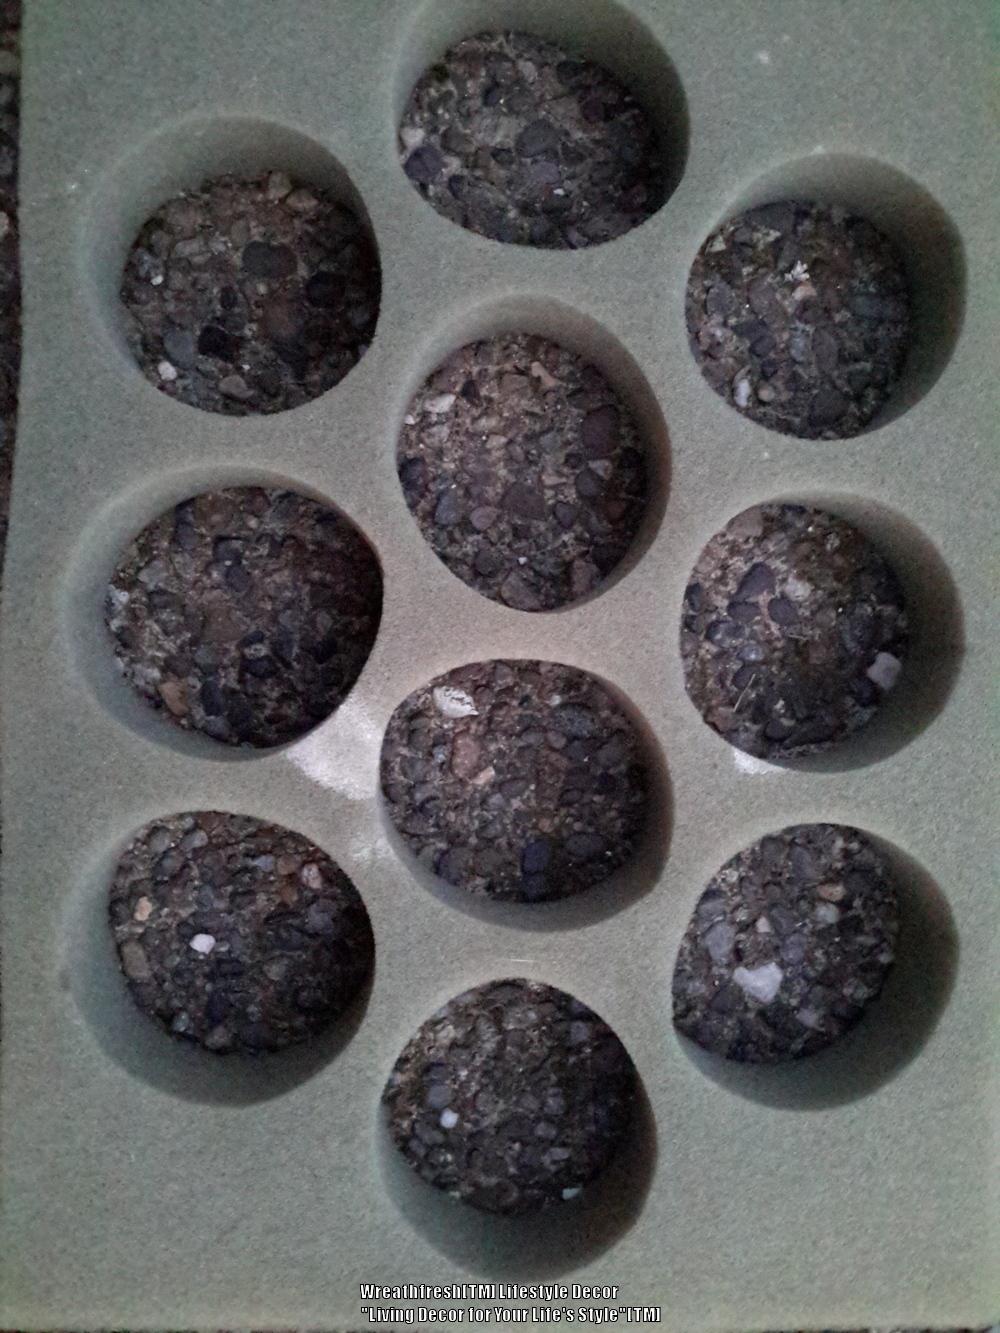
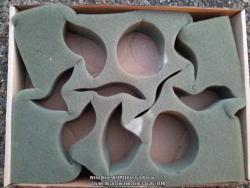
Then get that foam insert from the box of pears that your in-laws sent to you from "Harry and David's" last year for Christmas (you all know what I'm talking about... You get the catalog! Tower of Treats, baby!)
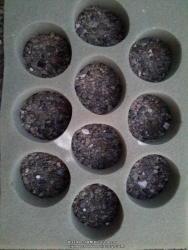
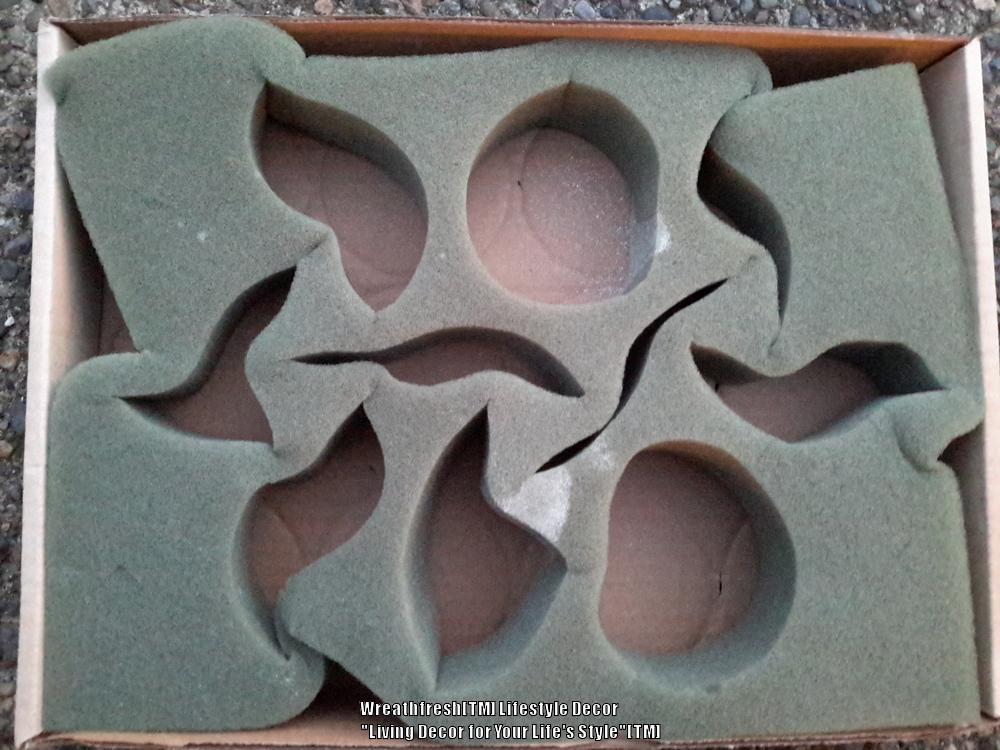
Now, "Sqeesh" the foam into the box (it's a word... Look it up)
Attach the drill bit that is the pointiest(From what my Grandma taught me of Canasta as a child it looks like a Spade), the 'glass and tile' drill bit I posted above that is silver colored in the picture, with no threads) The reason I use this one first is because you can drill what I would equivocate to a 'pilot hole.'
Do you need to do this? No, but if you break your antique pottery there will be lots of Tears so I like to take precautions. :)
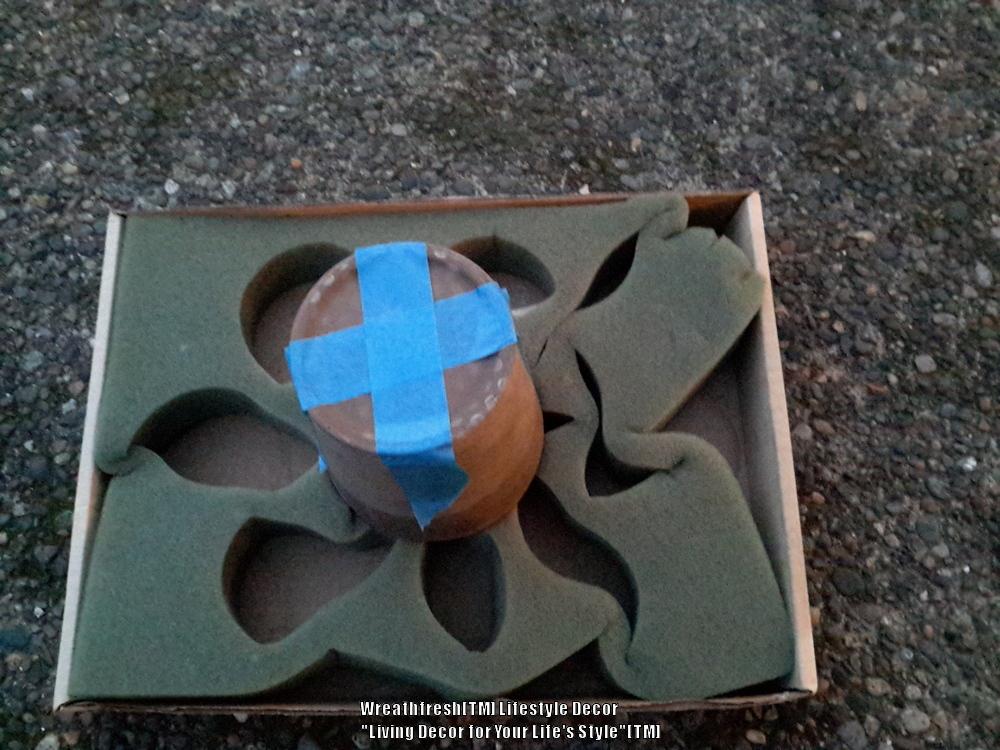
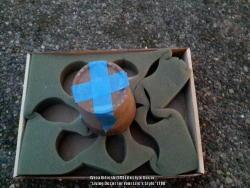
Next take your piece of pottery, turn it upside down onto the foam that you "squeeshed" into the cardboard flat box(squeeshed is the conjugated Past Tense of the verb 'To Squeesh'). Now get out your crappy blue tape that you would never use to trim paint your house because it bleeds( yes, use the crappy stuff you would not use inside. Why? Because the crappy blue tape you would not use to trim your house because it bleeds, has a sticker tack, better for this project...). Make an 'X' on the bottom of the pottery where you want to drill the hole, thusly.
Now, go to the store and get your husband's or your favorite snack/beverage...why? Cuz you're going to need some patience to make the darn hole!! It takes a long time, and you'll need a snack/bevvy!
Seriously...
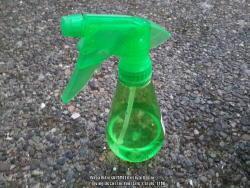
Now, get your squirt bottle ready...
Why? Because the drill bit is going to get very hot as you are Drilling and you do not want to crack the ceramic [insert composition of planter material, HERE].
Set your drill to the setting with the most torque..
Squirt some water on to the blue X with the crappy tape you put on the back of the pot.
Now, Drill baby drill!!
When you start to see a divot in the ceramic underneath the blue tape, switch to the masonry drill bit of the appropriate size ( the drill with threads...).
Take a munch of your favorite snack or sip of your favorite bevvy...
Now, squirt more water as you are drilling, and continue to drill baby drill!!!
If your spouse is like mine and complained about this project the whole way, what you will find is that the feeling of Victory after 7 minutes of drilling will be so sweet, they will be asking you for more pots to drill. No joke! The favorite snacks and bevvy's help, but are not a requirement of the enjoyment that one feels after tackling a physics problem like this one.
Do I like doing this drilling myself? Of course! The feeling of satisfaction when you create drainage for a beloved creamic is undeniable. But whenever we are offered help on our tasks this is the one my spouse loves the most!! Therefore, I can get my hands in the dirt...
Recently I went to the McLendon's... I enjoy picking through the 75% off carts they have laying around the store... I found the Holy Grail of drilling!! Yes, I said it! The Holy Grail, Extravaganza of all Drilling behemoths... the one I had been waiting for......
The DIAMOND BIT!!!!
She is the coup de gras, the tete-a-tete, epitome, number one all time, one and only drill bit you will ever need..
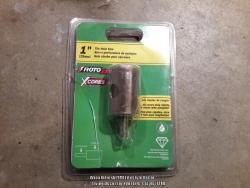
I drilled a hole in an 18in oval planter in about 47 seconds...
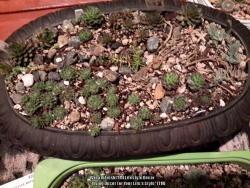
Boooyah!! The plants look boring cuz its almost Winter-time, but you get the jist!
Drill bit was orig over $42...got for close to $11+ tax.
Diamonds ARE a girl's best friend. :)
UPDATE: WEAR PROTECTIVE EYE GEAR!!