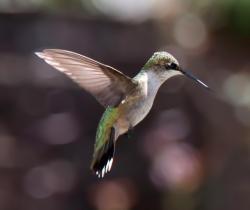
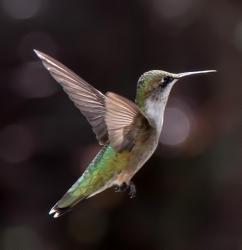
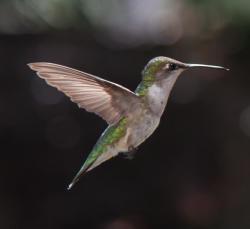
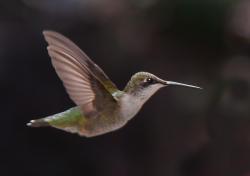
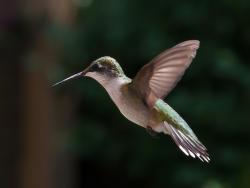
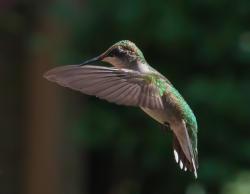
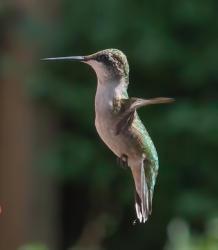
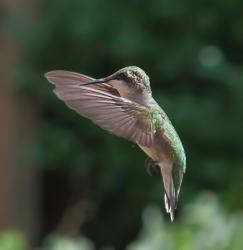
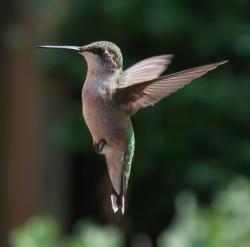
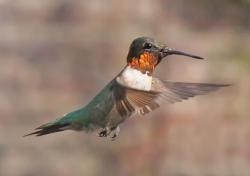
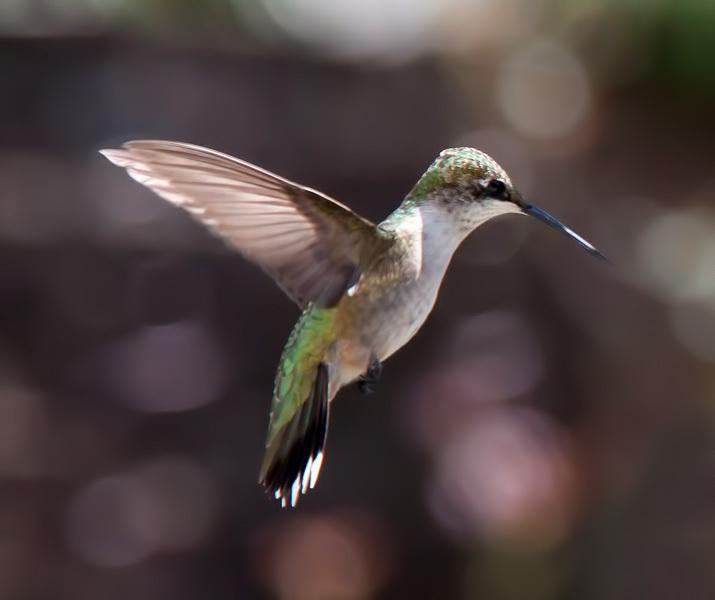
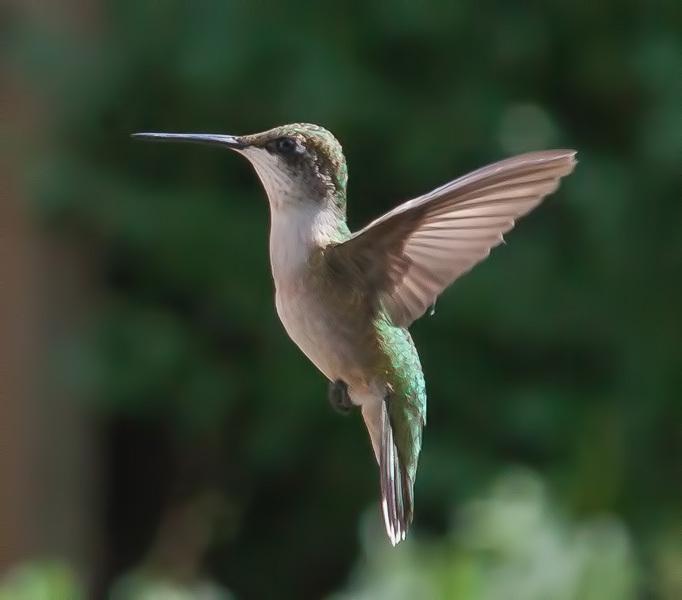
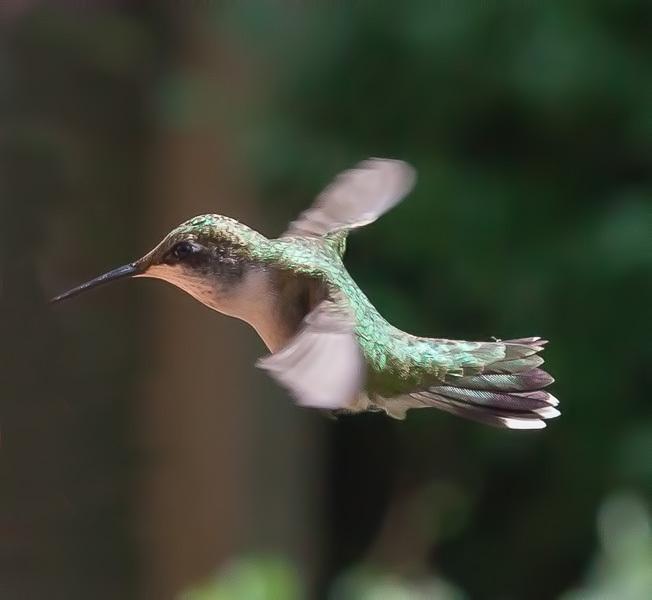
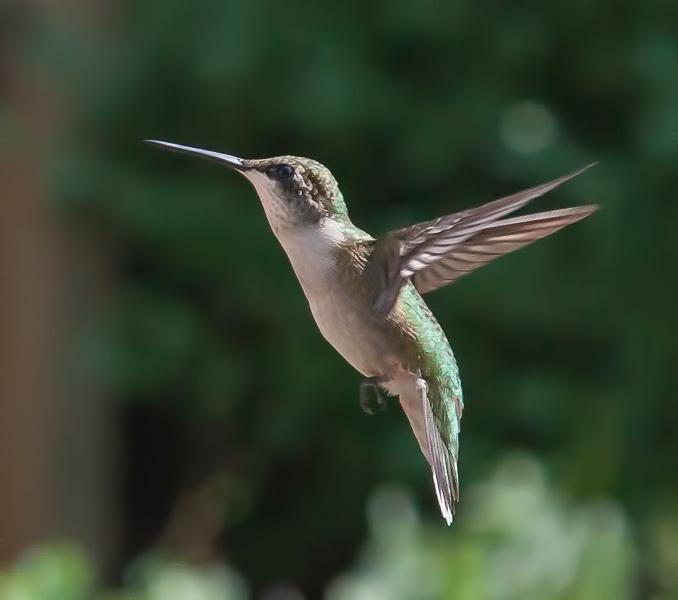
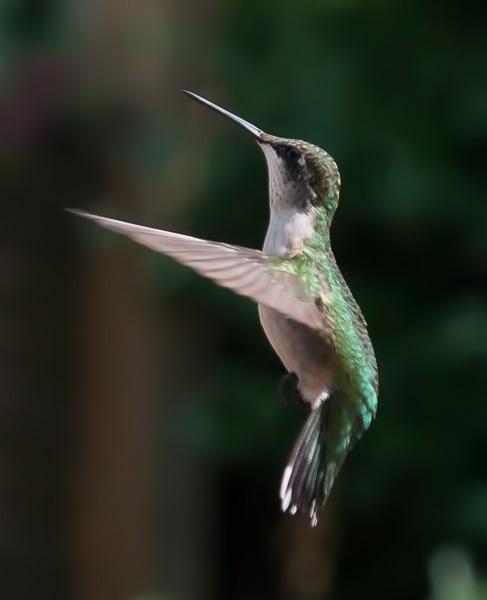
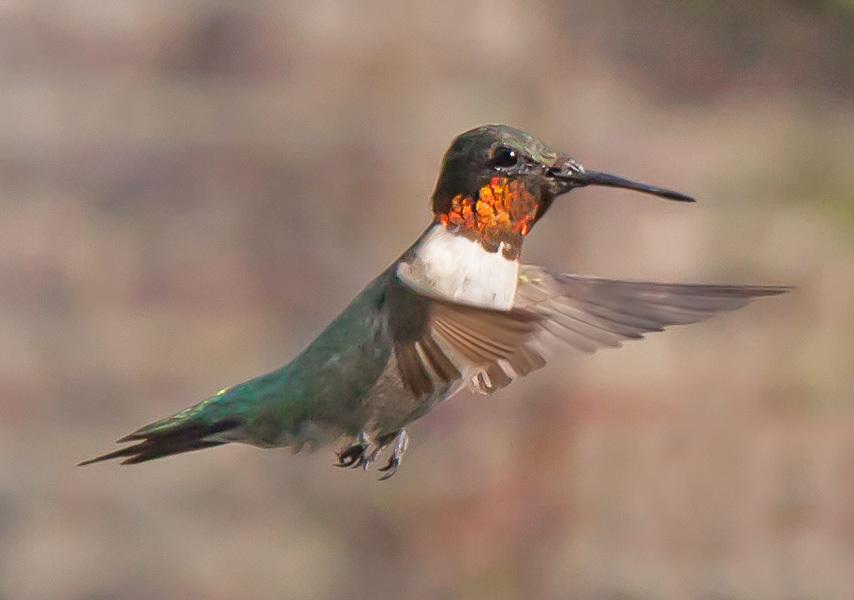
Here are some photos of hummingbirds I took this week, and here is how I set up the shots:
I used a Canon 5D II, with a 24 - 105mm f/4 lens with a minimum focus distance of 18 inches (i.e., the minimum macro distance).
I set the camera up on a tripod inside the house by a window where there is a hummingbird feeder outside the window.
To freeze-frame wings, you have to use as short a shutter speed as possible, which means letting in as much light into the camera as possible (which means using a lower aperture number - this may sound counterintuitive, but the smaller the aperture number, the larger the aperture opening). My lens' lowest aperture number (largest opening) is 4.0. However, this has to be balanced against what is known as "depth of field" - the area in space where the bird will be in focus vs. out of focus. The smaller the aperture number, the less depth of field. It's all about trade-offs, so I chose an aperture of 6.3.
But 6.3 doesn't let in as much light as 4.0, and that means the shutter speed is going to be slower, so I set my ISO speed at 1600 to compensate. This makes the camera's sensor more sensitive to the available light, allowing a faster shutter speed. The trade-off is that high ISO settings can produce grainy "noise" in the image, which interferes with how crisp an image can look, but this can be dealt with to some extent in post processing. Again, it involves trade-offs. Too much noise can interfere with the sharpness of an image, but so can the "over-elimination" of noise by producing too much blurry softness.
When the hummingbirds came to the feeder, I used a radio remote control to take pictures of them when they were hovering, as opposed to perched on the feeder. This allowed me to sit back, relax, and watch the birds and simply press a button in my hand rather than on the camera. These remote controls are small and cheap, by the way, provided your camera has a port to plug in the receiver.
I used Lightroom and Topaz filters to post-process my images. I cropped them to enlarge the image of the birds, and used the software to reduce the "noise" that is produced by using such a high ISO number.
The results were fairly good, although I would have liked them to be crisper/sharper. They would have been if I increased the aperture number (made the aperture smaller), but then I wouldn't have been able to freeze frame the wings. Again, it's all about trade-offs. (Another challenge was taking the photos through window glass that is 85 years old.)
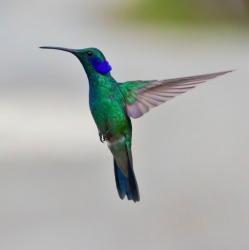
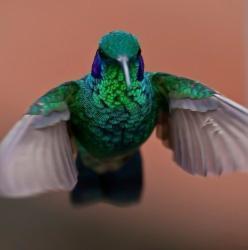
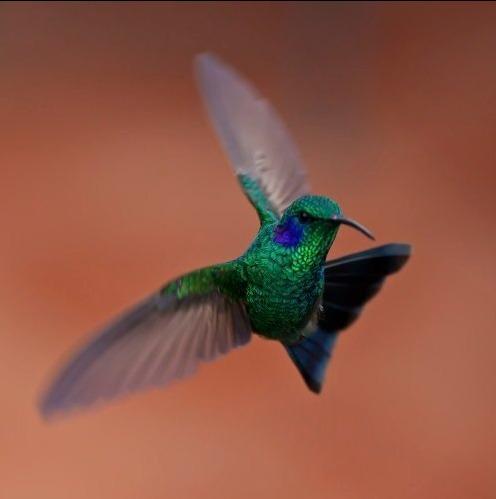
If it sounds like a lot of work, in some respects it is, but it's the kind of work I enjoy, because it requires me to think through the settings needed to achieve the image I envision before I take the photo. There is a joy to be had in photography when you understand the relationship between shutter speed, aperture, ISO speed, and depth of field, and how to make them work together to produce the results you want. The interrelationships are the same whether you have a point-and-shoot camera or an advanced DSLR with interchangeable lenses. For me, it's analogous to knowing which plant to place in which type of soil, with how much sun or shade, and how much moisture. When you know how these things work together, you can cultivate a beautiful garden. When you understand the elements of photography, you can produce magnificent photos - even if you don't have a tripod or radio remote control. By way of example, the last three photos of the purple crested hummingbirds I took while holding the camera in my hand (those I took a few years ago).