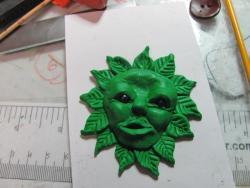
Greenleafman for your own little garden.

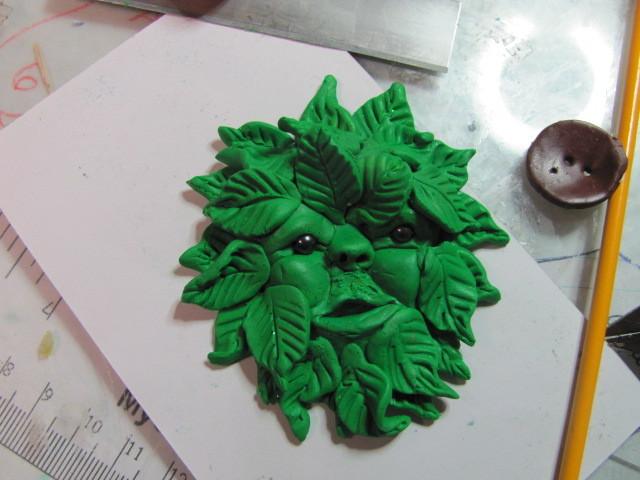
Here is what we are going to make. So Get you a drink, And roll up your sleeves,
We are going to make a greenleaf man.
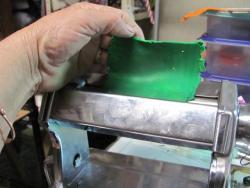
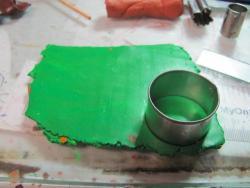
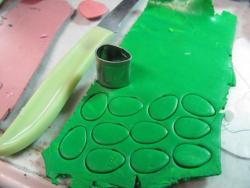
First we got to condition the clay. I used three different colors. sometimes the clays works up and it is sort dry.
Besides rollin' up those sleeves , put you a little lotion on your hands. I use it and it sure helps to condition the clay and helps keeps your hands soft too.
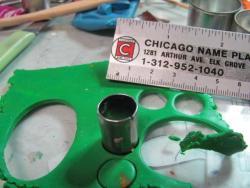
I have round and also an oval cutter. I used both for this little fella. You will need to stamp out two, one for the back

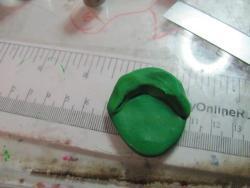
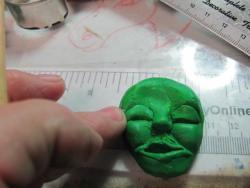
You know our leafy needs his lips. So another little ball or Half circle , then take a pointed shaper or even a popsicle stick and form his mouth.
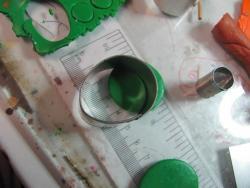
The oval is actually the back, but you can stamp out and use about half of a 1 inch circle to make a little snake or roll, Be sure to taper both endcause this is Leafy's forhead.
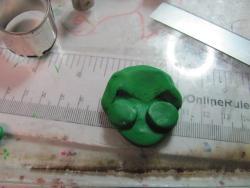
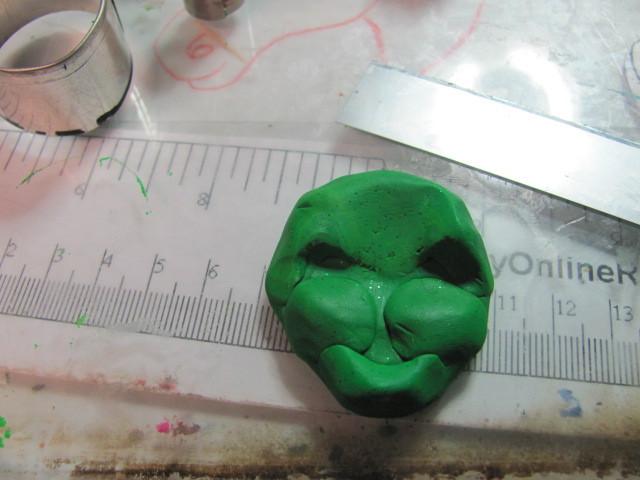
We will use two little balls or stamp out two small circles for his cheeks. Be sure to leave space for his eyes. Take your finger and smooth down the edges Be sure to make his eyesockets sunk so you can see where to put his eyes. We will fill it later before we add the eyes.
Next is his chin. Another ball or take a round cutter and form a small roll and taper each end.
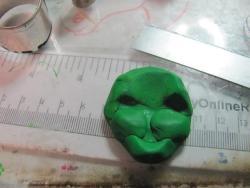
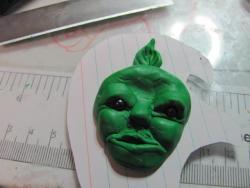
He's starting to look sort of human, even if he is green.
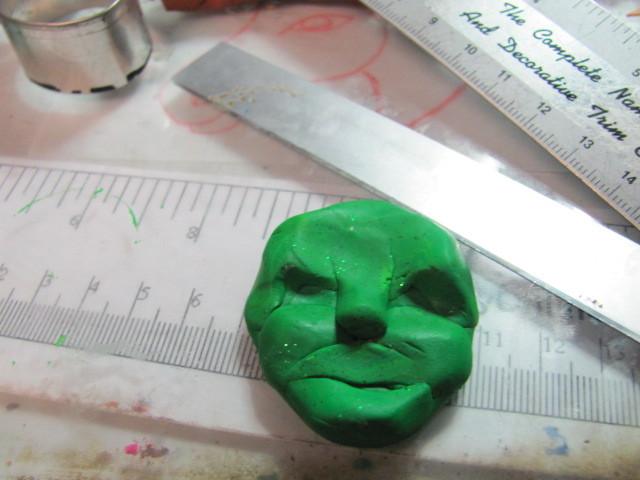
Here we go, Lips for leafy. You have already shaped his mouth and we want to make his lip. roll out a very small roll for his lips. I usually start with the bottom lip, lay the clay on the edge of his mouth, If I have too much I cut it off with my craftknife. We do the top the same way.
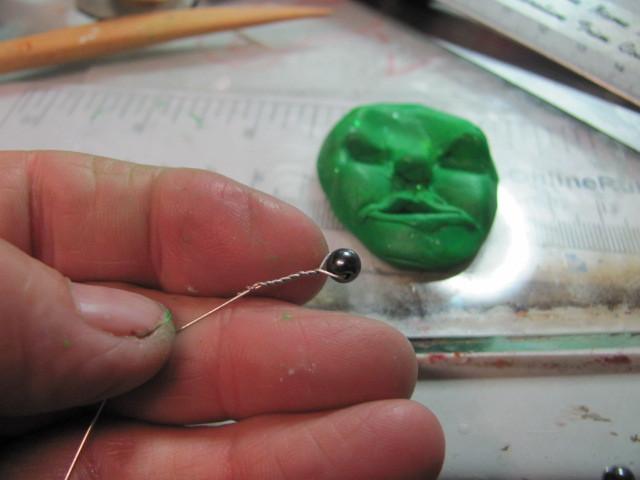
Then we do the eyes.

I use a very thin wire and a #4 bead Or whatever looks right.
Then build up the eyes to put the eye beads in aver cutting them off the wire.
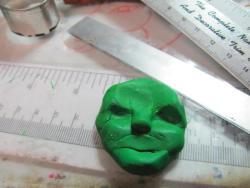
After putting in the eyes, need to make him some eyelids , another little rool, then shape it with tapered ends and smooth it in. DON"I want A Flat face.
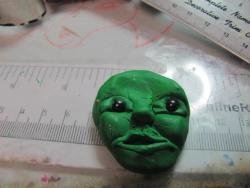
Right about here I made his nose and shaped and smoothed it out. Want it to look right. I used another roll and shaped the end with my finger, if you want you can use a toothpick and make his nostrils.
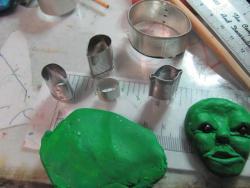
I have several thing I use to make leaves. A small oval is what I used on this one.
Here are first round of leaves stamped out. We make the leaves. Very simple.
Make a score(line) down thecenter gently or you'll cut the leaf in half. I forgot to tell you I make them about a quarter or eight of an inch thick.
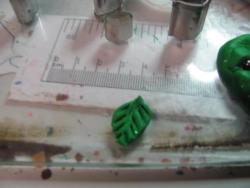
Then make angles on each side like a leaf.
I start on the top and go around
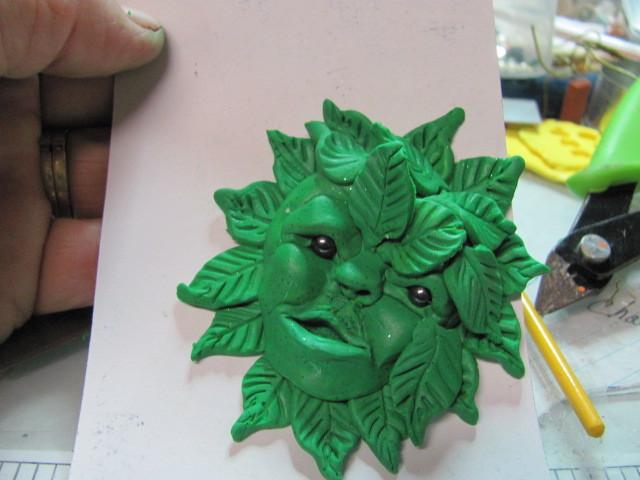
[And around. These leaves are placed under the face and gently press down.
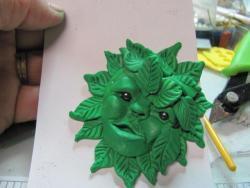
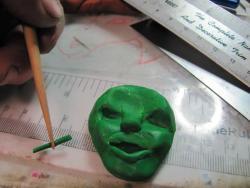
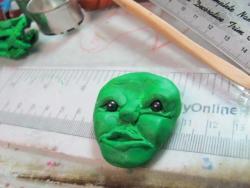
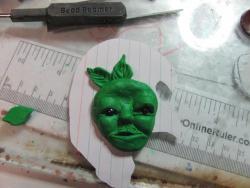
See, he is shaping up!!! Start pressing the leaves on his face. Don't cover his eyes. I sort of put them on at an angle.
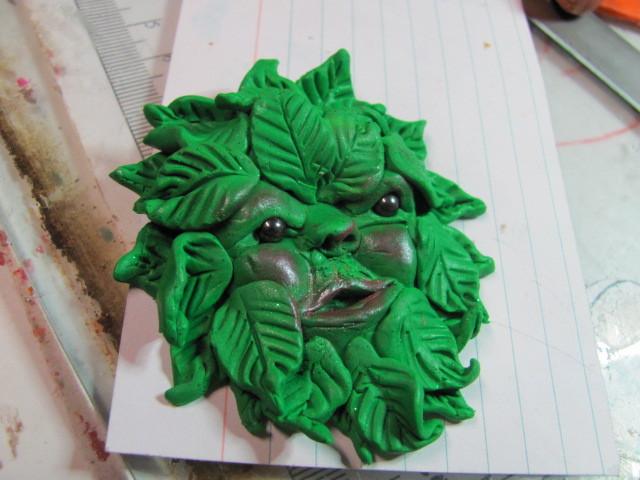
Put one in the center above his nose. Notice his nostril?? Took that tookpick and (this sounds horrid!!!) stuck it in and GENTLY flared it out. Now he can breathe....

Whew!!! Getting him done now!!! This is first time i used a blush and dog gone if I didn't hit his nose but I rubbed it off a little and he is looking better.

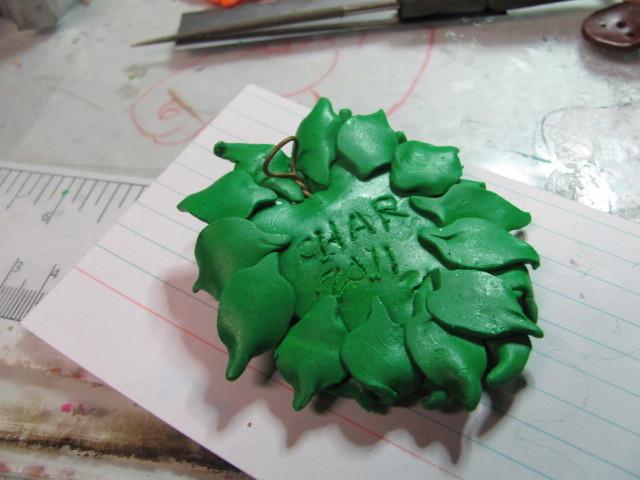
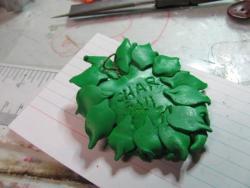
I Put my name and date on his back. You can also make a loop to hang him in your house or heck, this feller is so handsome you can wear it on your neck as a pendent.
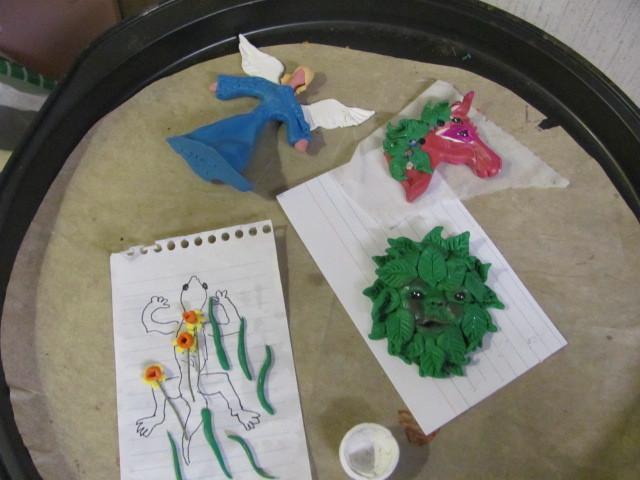
O,K into the oven with leafy and a few of his friends.
Bake at 275 degrees for 30 min. Suppost to do 15 min for each Qaurter inch. We want this feller done right.

After the pan cools, you can coat him with something like Sculpty satin glaze. I'll get you pictures if you wish to show you what I use. I use the same pan to bake at all times, do not use your utensils for baking in after you have used them for clay. Keep all the clay stuff together with your clay. It's a safety thing...
Hope you enjoyed this. If you have any questions I'll try to answer if I don't know I'll find you a link that will.
Thank you all. Thank you Vicki.....


 You know our leafy needs his lips. So another little ball or Half circle , then take a pointed shaper or even a popsicle stick and form his mouth.