Hi, Ken,
Briefly (I have to get back outside):
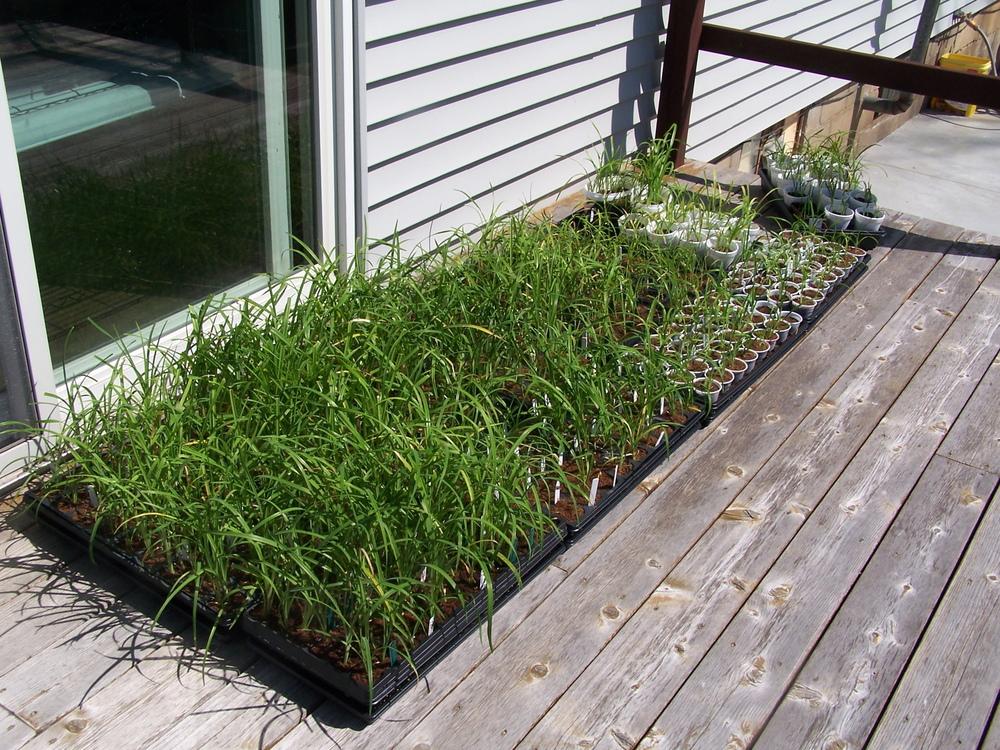
The small bed which I recently planted, was only just finished being excavated and built a week or so ago. My seedlings would have been too small to go out a month earlier, even if the bed had been ready. The beds get morning shade and afternoon sun. (There was really no better place to put the beds, short of starting to tear up a weedy and gopher infested lawn - and even that has a lot of shade.)
I planted an earlier (larger) bed similar to this around this time last year, and I have another larger bed (of that same size) ready to be filled, once I finish filling the smaller bed. In all of these beds, each seedling gets its own 6" x 6" planting area, so there is room enough for the seedlings to grow, without getting too crowded. The goal is to plant such that the beds turn over ever year, with most (if not all) of the seedlings having bloomed. The total combined seedling capacity for these 3 beds is 185 seedlings (not anywhere near enough, sigh), with each bed having 5 rows, and either 7 or 15 columns.
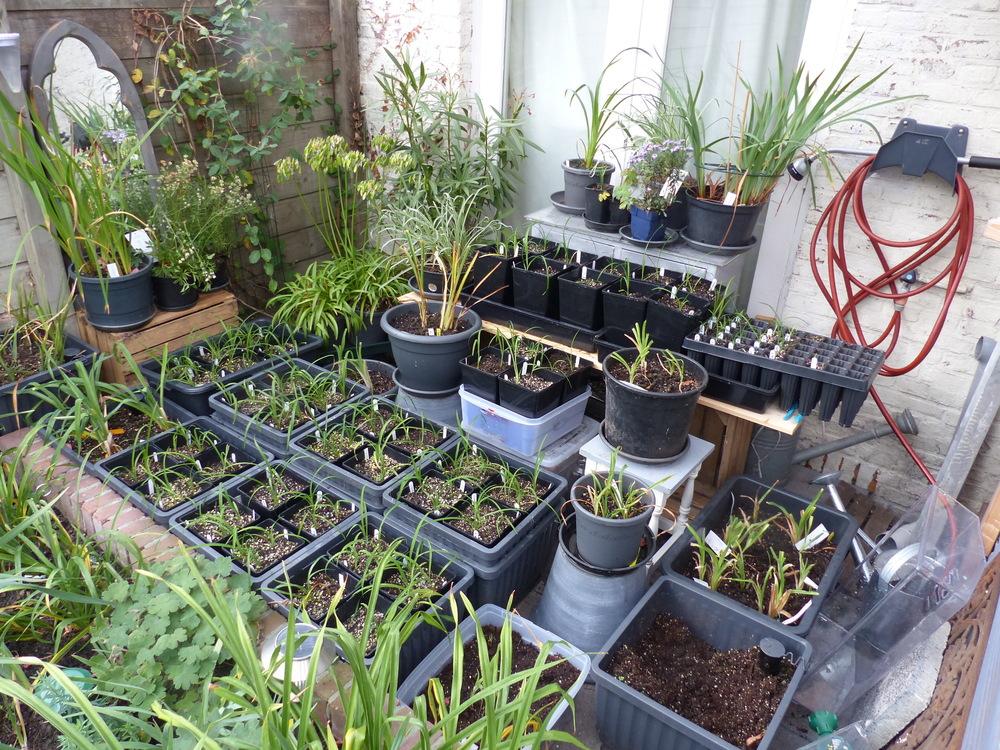
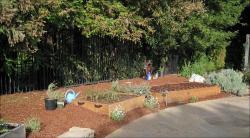
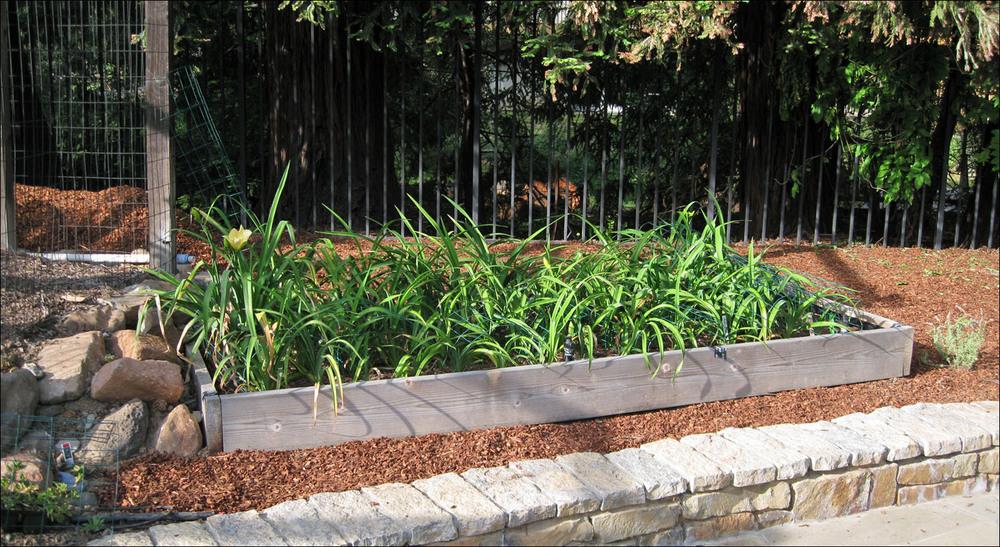
The images below were taken a few days ago, showing the older bed, and (click on the image to see the corner of the older bed) the area for all three seedling beds:

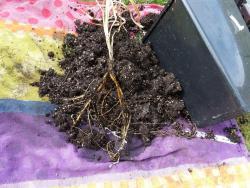
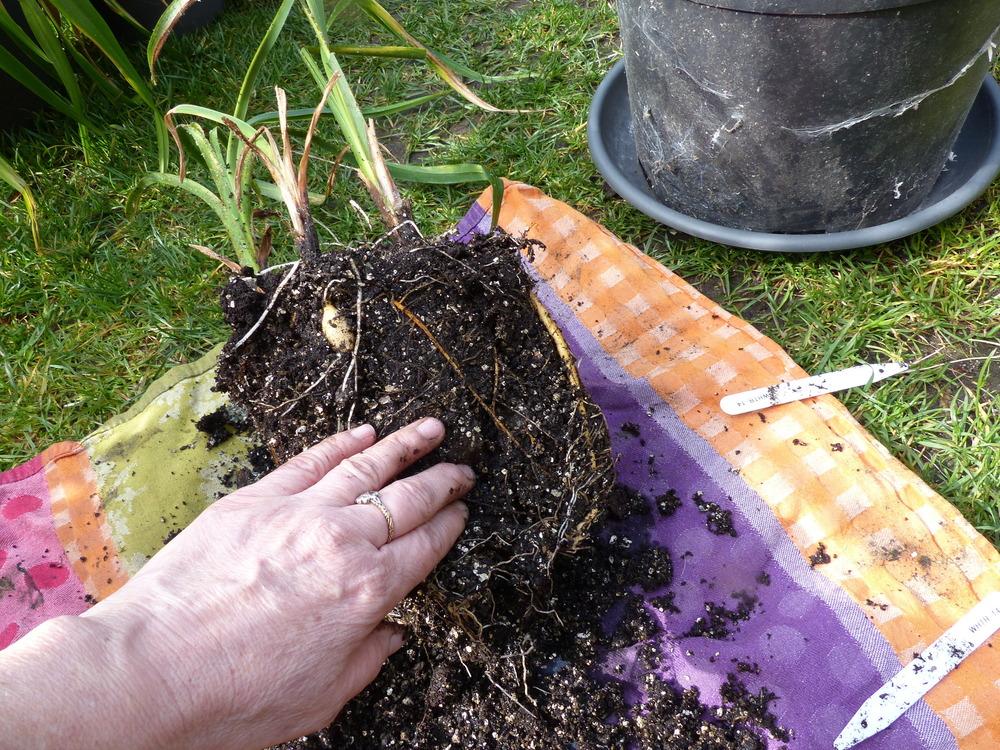
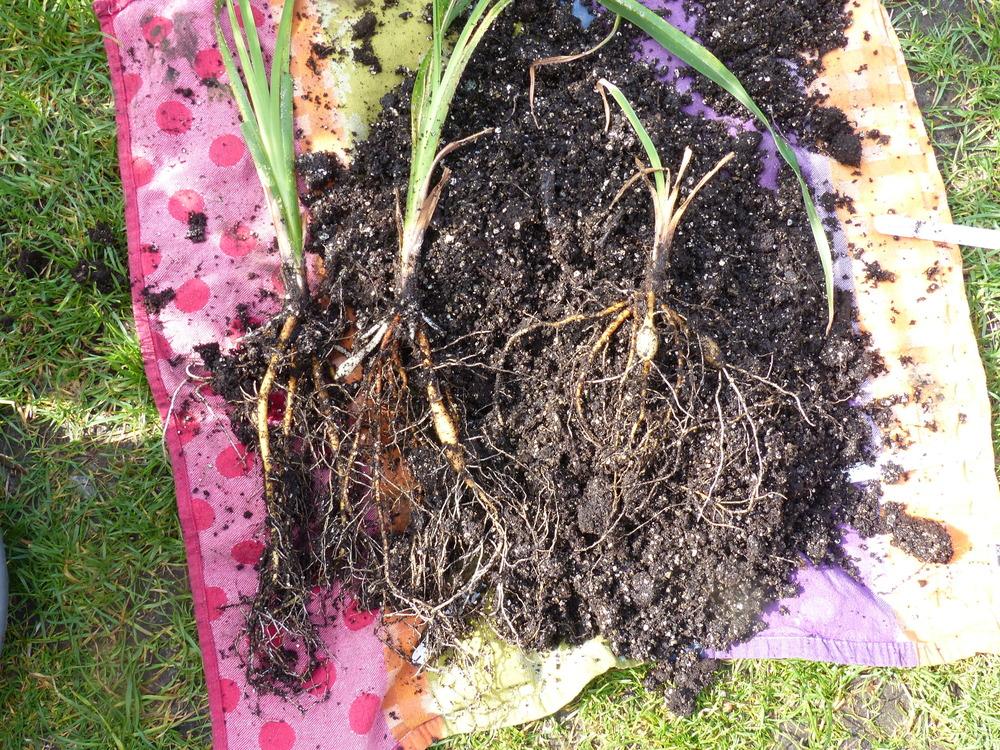
What I have done in the past (in such packed situations) is to use hand pruners to cut the plant below the crown. (I'd probably do myself harm if I tried to use a knife.) I haven't taken the pruners to some problematic (rusty) seedlings that I recently found in the old bed... yet. (I did cut the foliage way back. )
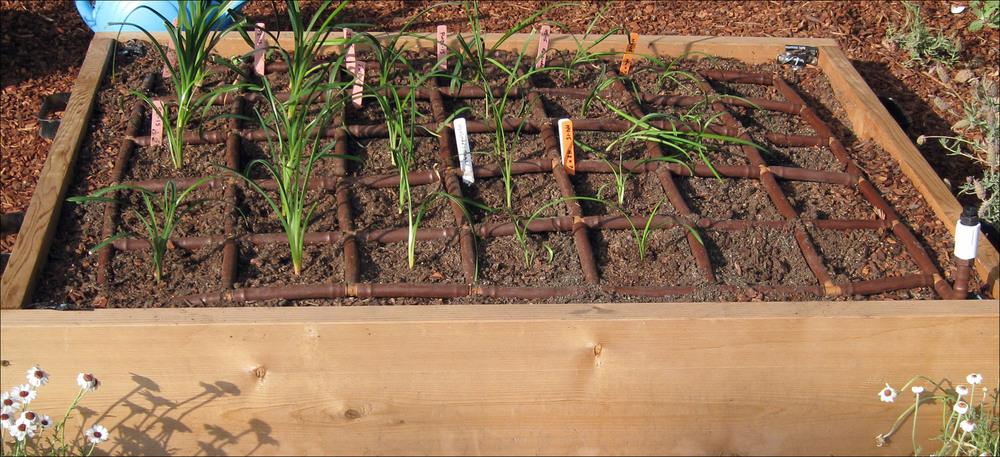
The irrigation is a leaky pipe system, but I don't have the specifics as to size, because I did not construct it. (The original bed was done by a hydrologist we had doing some work here; the two newer beds were done to mimic the first one, with my few-hours-a-week garden helpers doing the work.) I believe that each piece of pipe enclosing each seedling has one drip hole in it. (When the seedlings are very small, I do keep an eye on them and supplement irrigation if needed with a watering can, until the roots can reach out to the drip areas on their own.)
Gophers don't bother daylilies (I should know, we have our fair share of gophers). However, those beds are under redwood trees, and we had to do some massive excavation of tree roots, and then line and bottom the beds (the "bottom" being more than a foot below the bottom of the wooden frame) with tree barriers. I fully expect that we may have to re-excavate the beds every few years or so.
The soil mix is a bit complicated. I was reading the forum in search of an easy but reliable formula, and looked at what Spunky

and others did , and made various modifications to that, based on what was available here, and what I do (and do not) like to use. (I refuse to allow Milorganite or any processed sewage sludge into the garden, and I have gotten picky about composts also, based on some bad experiences.) Very roughly, for a 39" x 7.5' bed (the older seedling bed), which can hold 75 seedlings (5 rows x 15 columns), we used:
12 cubic feet of Summerwinds Organic Planting Mix (green bags; sorry, don't have a picture)
8 cubic feet of fine (dime sized or so) redwood mulch (my garden helpers have a source for this and get it by the truckload)
32 qts of fine vermiculite (I gather not all vermiculite is "fine")
(This makes for a lovely loose soil, which I hope will make it relatively easy for digging the seedlings up, when it comes time.)
Once those are all mixed together (and an additional amount mixed and added, if necessary, to bring the bed level up), then into the top few inches of the mix we added:
Alfalfa meal (maybe 1/2 bag or more of a 3 lb bag; I should maybe increase this amount)
Dr. Earth or Gardner & Bloom All purpose organic fertilizer (roughly 3.5 lbs, used partly for the beneficial soil bacteria)
Maximize (a grossly estimated amount, based on the bag's directions; provides Fe/Ca/Mg)
Time Release fertilizer (general purpose Miracle Gro which is 12-4-8; we used about 1.5 cup)
In addition to all of the above, I have tried (sometimes failing) to supplement with liquid fertilizer (either Maxsea 16-16-16 or else a Peters formulation closer to the 3:1:2 ratio that daylilies want), every one or two weeks. (This was done by watering can.) Back in January-February, when most of the seedlings (dormant or Sev) had little foliage above ground, I also broadcast and scratched in more of the 4 granular amendments.
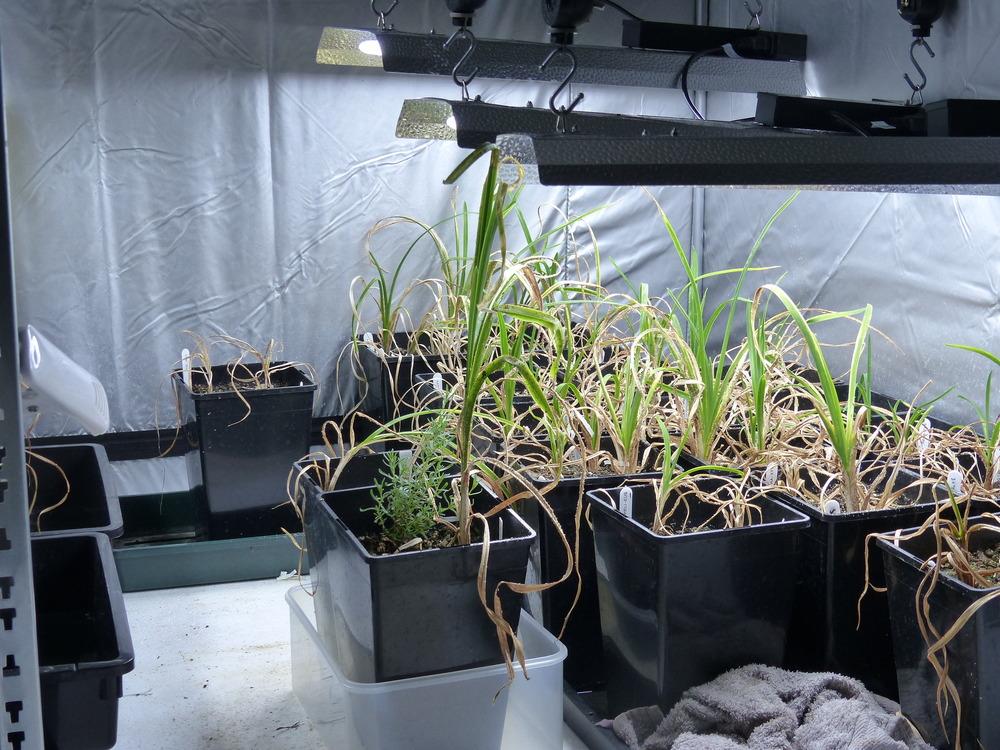
While the seedlings in the first bed did very well growth wise, with irrigation twice a week and the above extra amendments, I am experiencing the first of them trying to bloom this past week, and the blooms are not opening well. I don't know at this point whether to blame the cold nights or perhaps the soil is a bit too dry; my fear is that maybe the drainage in the bed is too good, and/or we aren't watering enough. (The lush growth could be attributed in part to our past wet winter?) I tried changing the controller setup to water more than twice a week, but my hydrologist says it's not that simple, and that we need to rewire those beds

. I'm having enough rust issues right now that I don't want to use a hose on the daylilies, and using a watering can is tedious (and not foolproof against spreading rust), so I'm not sure how I'm going to address this issue.
When I started planting out the smaller bed earlier this week, I had already noted the bloom-opening problems, so I added in some redwood compost to each planting cell, and mulched each little plantlet with the redwood fines.
I hope that answers your questions.
One final point that I should make, is that you will need to provide some protection against above-ground critters, anywhere from birds (who might go after very young seedlings), cats (who might think your bed is a litter box), raccoons (who might dig everything up in search of worms or grubs), or dogs (our dog is a fanatical hunter, and has divided many a plant here in mad pursuit of lizards and small frogs). What has worked well here is to take green wire fencing, cut lengths of that and then fold them into hoop tunnels, and lay those over the seedlings. The foliage and scapes can grow up through the wire mesh, while the crowns of the plants are protected. The downside, of course, is that if you have a seedling you need to cut/kill/cull in the middle of the hoop, it becomes difficult to get at. Once the plants get lush enough and/or scape, you can't really remove these hoops without potentially damaging scapes. Those hoops are there for the duration. Despite that drawback (and it is not insignificant), the hoop system is visually preferable to the alternative, which you will need if deer are an issue.
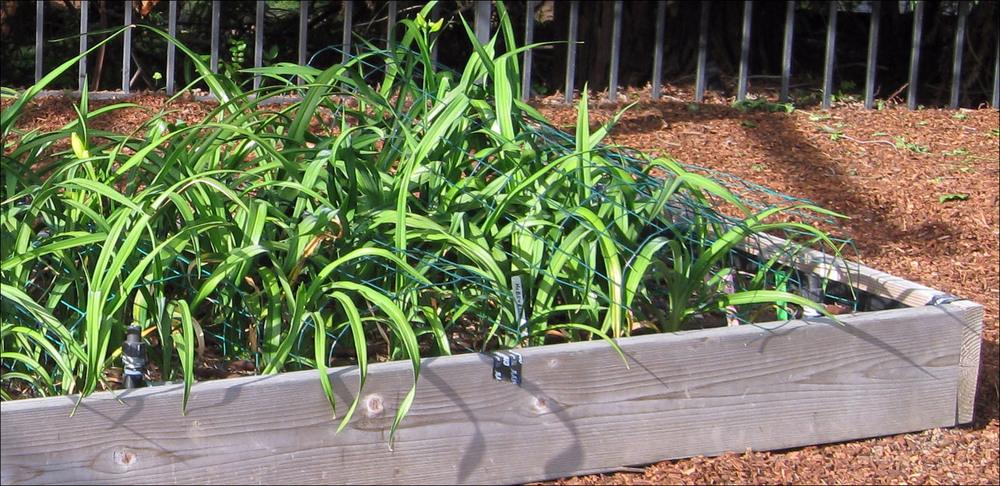
The older planted bed has this hoop system in place, for the most part. (I think I did remove one of the hoops for some reason, changed my mind, but couldn't get it back in there... but most of the seedlings are still protected.) I cropped part of the raw image of the bed so you can see the hoops more easily:

If you have deer, this hoop protection scheme will be inadequate. In that event, you need to plan for fencing
around the bed, partly to keep the deer from browsing it as a salad bar, but mostly to protect the bloom scapes. What we built in (I have not used it yet, because we finally managed to fence the deer out this winter), is PVC stakes sunk into the bed, at the corners and along the edges. The diameter of each PVC piece was chosen so that two 4' (I think they are) tall green metal garden stakes could fit inside. The plan was to use zip ties to tie the same green wire garden fencing (used to make the hoop tunnels) to the stakes, building a fence in segments. Each segment would then be installed into the PVC pieces, which would hold the stakes upright. This design scheme allows for removal of fence segments to get at the seedlings, while also

keeping the deer from eating the bloom scapes.
If you look closely at the above cropped image of the original bed, you will see a piece of black tape on the wooden front; that piece of tape is covering one of the PVC sleeves, to keep dirt and mulch out of it. Similarly, in the small recently planted bed, there is one PVC sleeve at each corner, to be used for fencing as needed. I zoomed in on the image, so you can more easily see the two tape-covered pieces at the back corners of the bed. (This image was taken before the seedlings were mulched, and the hoop tunnels installed.)

And now that's really all.... this turned out to be not brief at all, but I wanted to give an adequate description of the setup, and its possible drawbacks. I do feel that it is, overall, a preferable scheme than to growing the seedlings in tree pots, which is what I have done up until now.

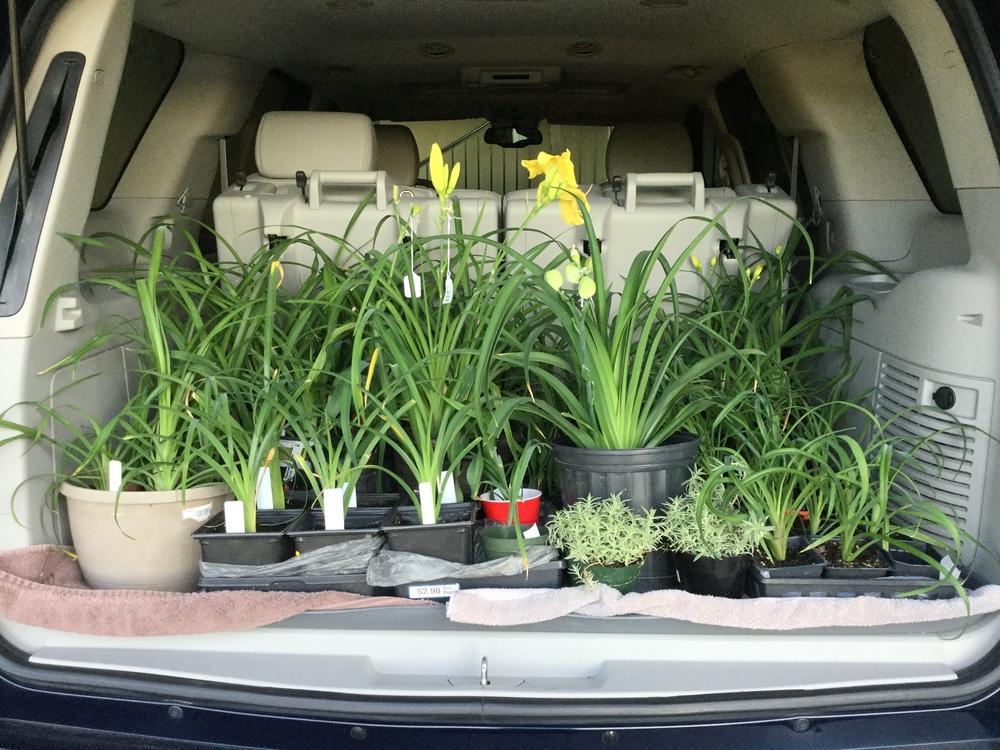


(I still have over 75 similarly small ones inside the house, but I think that maybe I need to let them get bigger before putting them out.)


), look at that!