Post a reply

Image
Jul 21, 2012 4:02 PM CST
Moderator
Name: Connie
Willamette Valley OR (Zone 8a)
Forum moderator Region: Pacific Northwest Sedums Sempervivums Lilies Hybridizer
Plant Database Moderator I was one of the first 300 contributors to the plant database! Charter ATP Member Pollen collector Plant Identifier Celebrating Gardening: 2015
bearsearch, I do the germination process in the bathroom, perfect place for them. Temperature is kept 65-70 deg. By not using bottom heat they don't dry out so fast. Like Lorn I wait till one or a couple come up then move out to the lights in a room that I don't heat at all. Typical winter temperature in there is around 55 deg. With the exception of the bathroom, I keep the whole house coolish in the winter. Unlike Lorn, they stay under the lights for most of the summer. In the fall, I have two choices-- pot them up and put under the eaves, or leave in baggies out on the covered front porch. That place is totally occupied right now!
Image
Jul 22, 2012 11:23 PM CST
Name: Brian
Ontario Canada (Zone 5b)
I can't control the heat in my apartment and it is usually closer to 80 in here, even in the winter. My house is too far away to be able to check regularly so I have to start my seeds later and outside after the last frosts. Even then I have to bring them in occasionally for possible frosts almost into June. I have had some luck starting seeds directly on my light stand but it is hot and the germination rate hasn't been good. Out of 20 seeds I may get 1/4 to 1/2 germination. I do have a fan on with the patio door open but it still doesn't cool it down enough. It also seems to take forever to get any sprouts ie: asiatics 3-4 weeks!
Image
Jul 23, 2012 6:39 AM CST
Name: Lorn (Roosterlorn)
S.E Wisconsin (Zone 5b)
Bee Lover Lilies Pollen collector Seed Starter Region: Wisconsin
For your circumstance Brian, starting seeds outside is probably the best choice. It is not absolutely necessary to start them inside. Some of us do it because we've figured out all our obstacles and found solutions to them--which you will, too, over time. Then we try to 'push things' by starting them early so we get as much growth and as big a bulb as we can the first season. And by doing that we hope to shorten the time it takes to get that 'first flower' down the road--hopefully, the second and third year with some types.

Each of us seeders on here has thier own setup which is in one way or another, different from the other. Mike in California starts his directly in wooden box frames outside (which I absolutely admire because it mimacs nature), Connie uses the baggie method (the generally accepted way) has hers under lights inside till fall, then pots and chill cycles inside a cool porch area. And I start mine inside in a dark room in covered pots and baggies and then grow under lights until danger of frosts in past. Then its outside onto, around and under a large, oversize picnic table that sits under an old age flowering crab that has sprawling flat top that gives just the right amount of dapled shade. It's close to my deck for easy work/material access and the huge picnic table provides plenty of plant and work space and in the event of a bad storm (hail) or hot 100' days the pots, baggies in boxes, can be slid under this table into the cool grass for protection. So that table and tree combination solved a lot of my problems, especially my slug problem. And, I'm sure Anthony, Rick and Tracey have devised their own methods and means that work well for them, too.

So, starting seeds outside isn't a bad idea. If it works, that's great. And getting 25 to 50 % germination isn't all that bad either. Heck, I had a couple seed lots this last spring where I didn't get a single seed to sprout.--that happens. Sometimes, I only get two or three. Seeding is--what it is; you never know what to expect. And not all are going to look like Connies (the Green Thumb) either. Tetras tend to be very robust. And different seed lots produce plants with different growing rates, leaf sizes, etc, etc, etc. It can be all over the place. And the same goes for bulb development rate and so on.

I guess, the more you see, the more you learn as well. So, I'll try to put some pictures up later today of those I have just so you know what you've got probably isn't much different that what I have going.
Image
Jul 23, 2012 7:46 AM CST
Name: Rick R.
Minneapolis,MN, USA z4b,Dfb/a
Garden Photography The WITWIT Badge Seed Starter Wild Plant Hunter Region: Minnesota Hybridizer
Garden Sages I was one of the first 300 contributors to the plant database! Plant Identifier Million Pollinator Garden Challenge
What Lorn said. I do not disagree with even one sentence. Add to that also the possibility that seed may not even be viable to begin with. I've had species seed not germinate until the third year! Presently, I am having a dickens of a time trying to get L. chalcedonicum to germinate in a ziplock with vermiculite. They seem healthy, plump, I can easily see the embryo (which by BTW, turns white when the seed is plump and translucent), but they just won't budge no matter what I try!
When the debate is lost, slander becomes the tool of the losers. - Socrates
Image
Jul 23, 2012 10:50 AM CST
Name: Lorn (Roosterlorn)
S.E Wisconsin (Zone 5b)
Bee Lover Lilies Pollen collector Seed Starter Region: Wisconsin
Rick, I saw that also on one of my seed lots. When my first planting failed to show after four weeks I checked a couple seeds. Clearly, the seed had swollen nice and plump and embryo appeared to be developing normally. So I then planted a second round with a slightly lower temperature. Still nothing! I'm still holding on to the baggies for now. But I'm thinking this lot would have been a good one for embryo rescue.
Image
Jul 23, 2012 7:06 PM CST
Name: Brian
Ontario Canada (Zone 5b)
Thanks everybody! This is my first real effort at growing lilies from seed and I was getting a bit disappointed with what I was seeing compared to what I was reading. I wasn't taking into account differences in techniques, experience and growing environment. Some of the things I've read make it all sound so simple though I do know that it's never as easy as some make it out to be. I'll have to keep plugging along and see what works for me and what doesn't. I'll take a photo or two of my seedlings so you can see what's going on.
Image
Jul 23, 2012 7:28 PM CST
Name: Lorn (Roosterlorn)
S.E Wisconsin (Zone 5b)
Bee Lover Lilies Pollen collector Seed Starter Region: Wisconsin
OK Brian, I took some pictures today so you can get an idea what I get/have now. If this gets two long, I'll start a second thread.

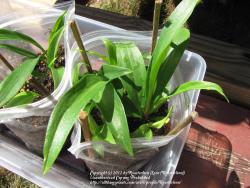
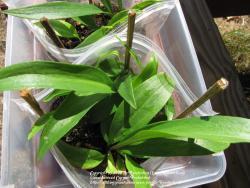
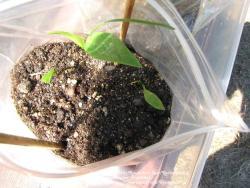
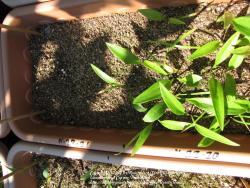
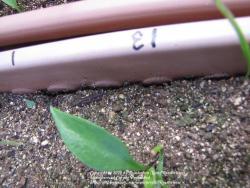
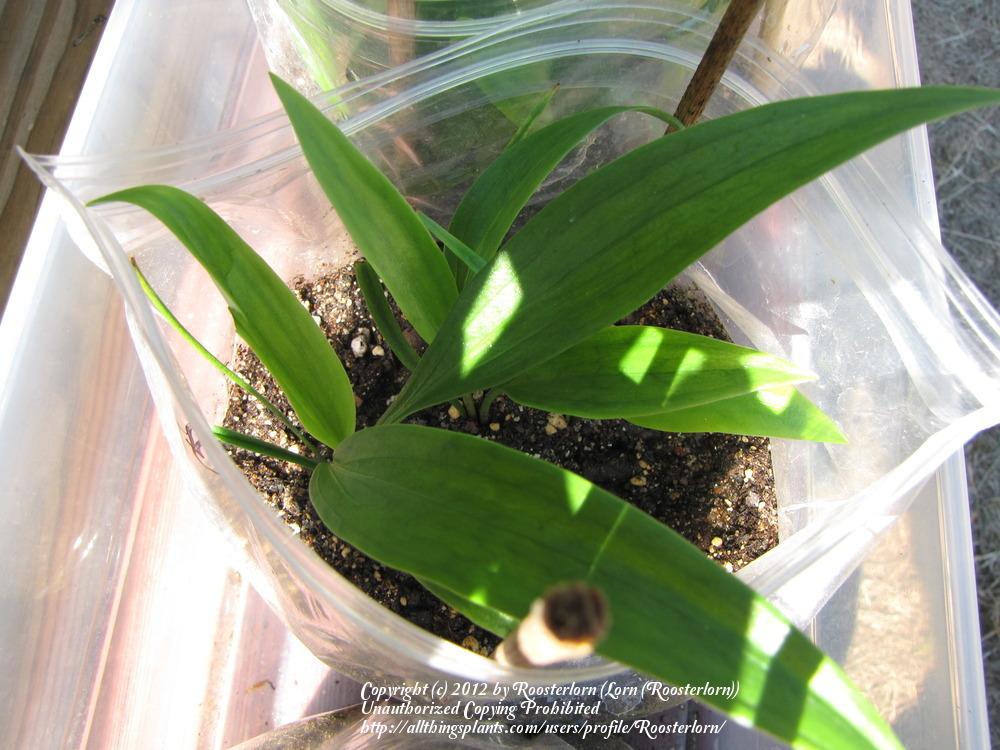
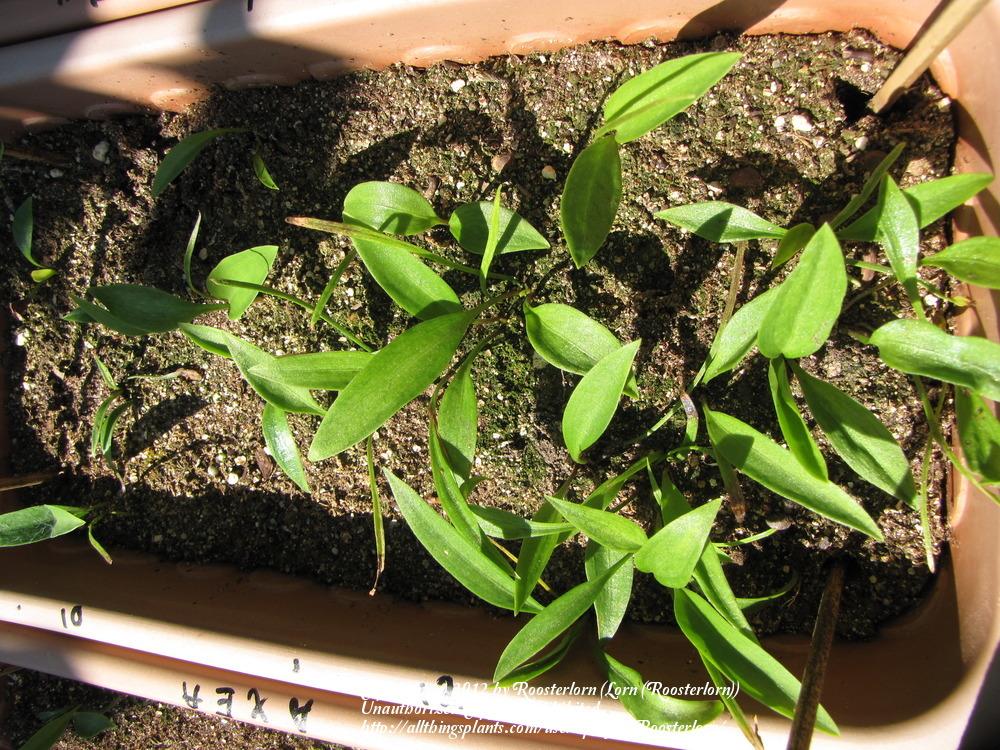
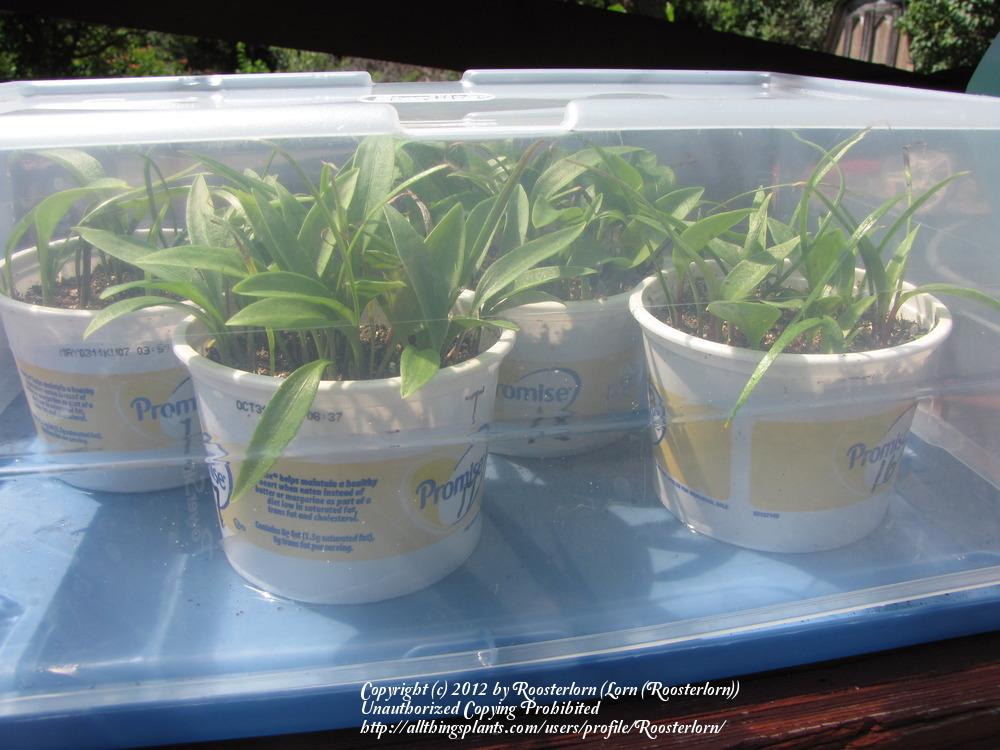
First, a couple baggies. If you think one looks like Connies, your right, it's her seed stock. Actually, all three are and there were 10 seeds in each baggie to start. I got 10 for 10 with that one baggie; the only time in my seeding life I ever got that high. These were planted March 25th. I also have other seed from Connie planted in pots (below) where two of these lots were repeat planted with better results the second time at a lower temperature.


Thumb of 2012-07-23/Roosterlorn/e7c333
Thumb of 2012-07-23/Roosterlorn/dedc56
Thumb of 2012-07-23/Roosterlorn/dadceb
Thumb of 2012-07-23/Roosterlorn/b30a82

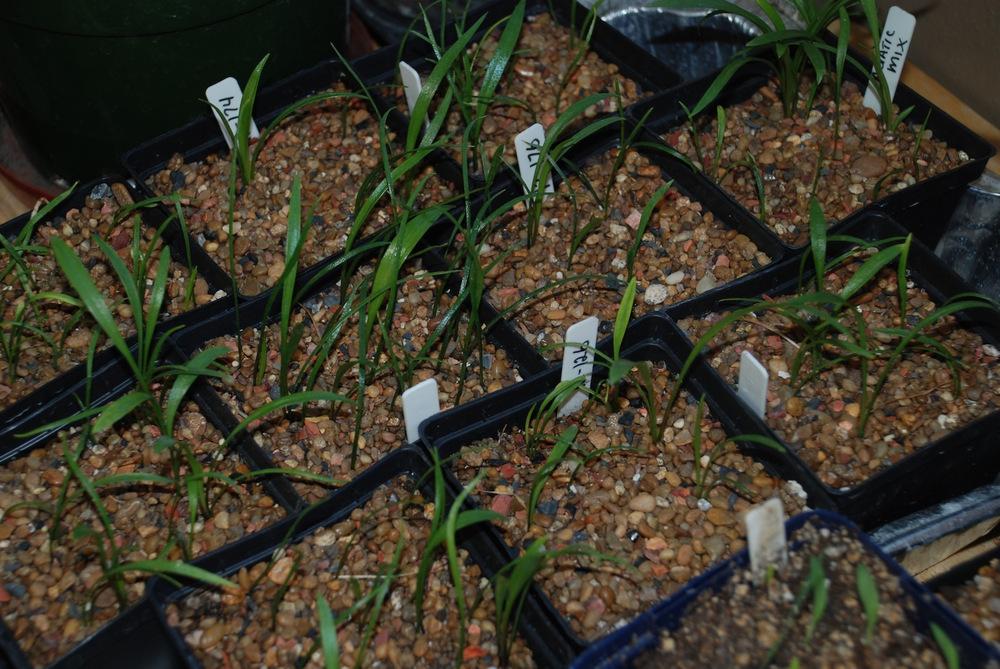
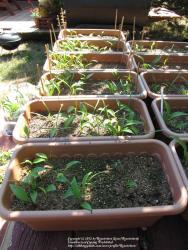
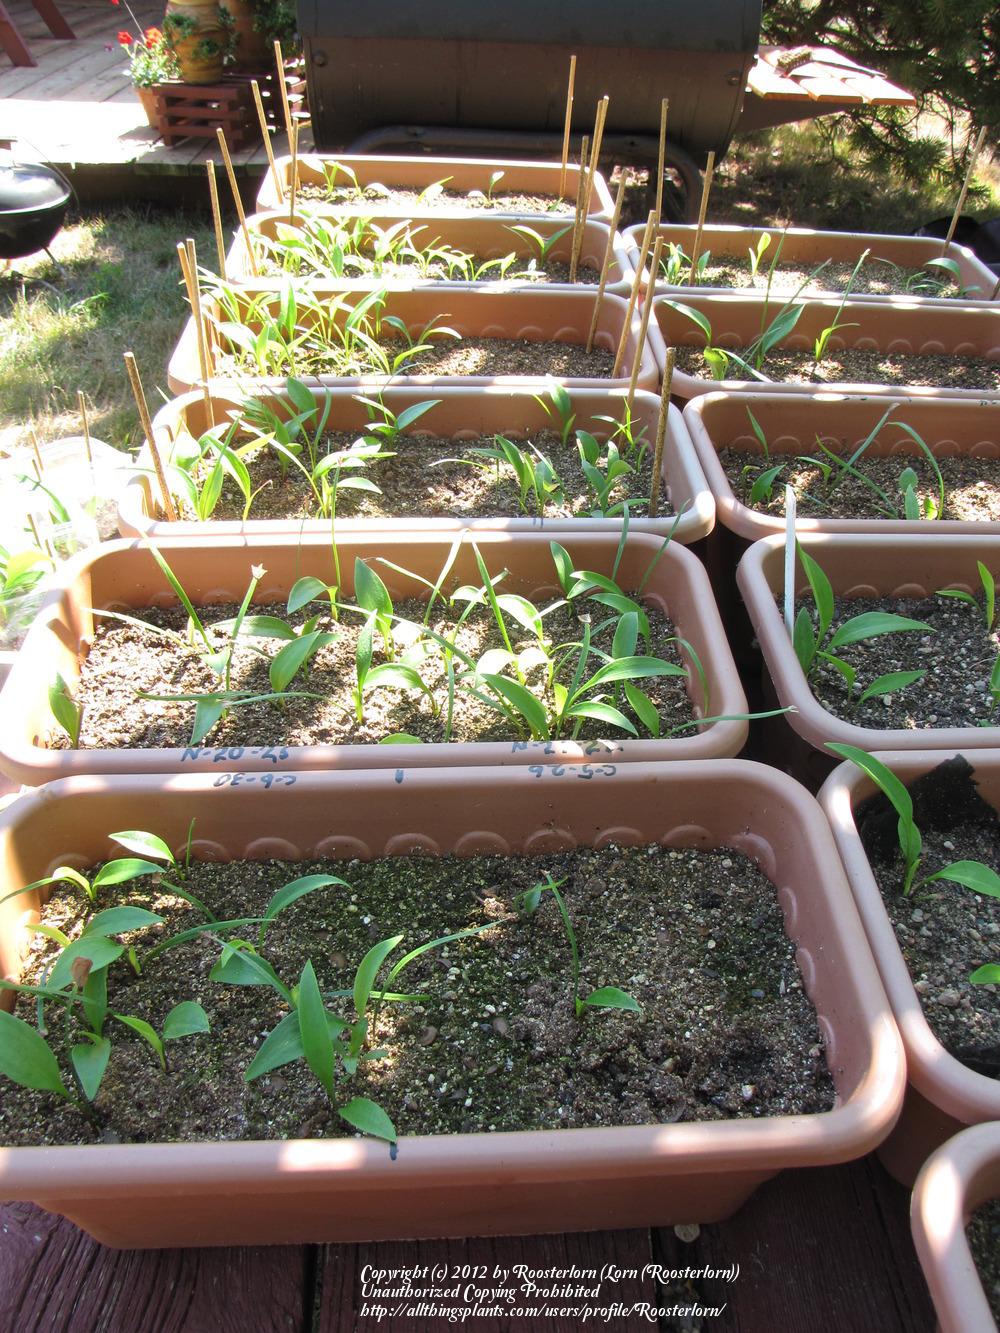
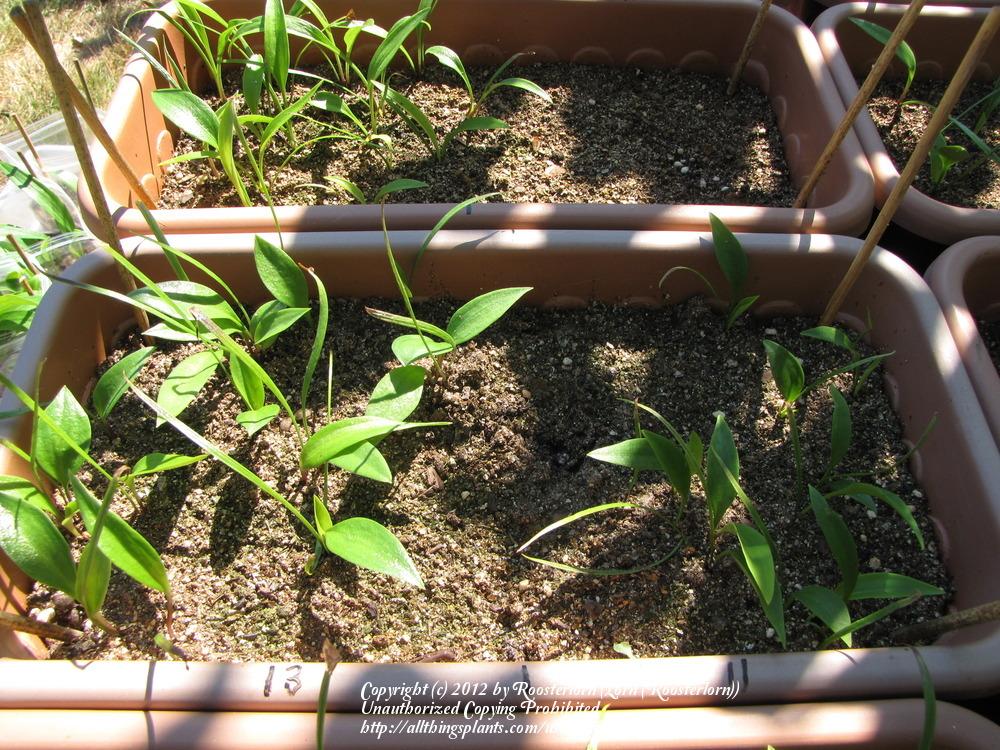
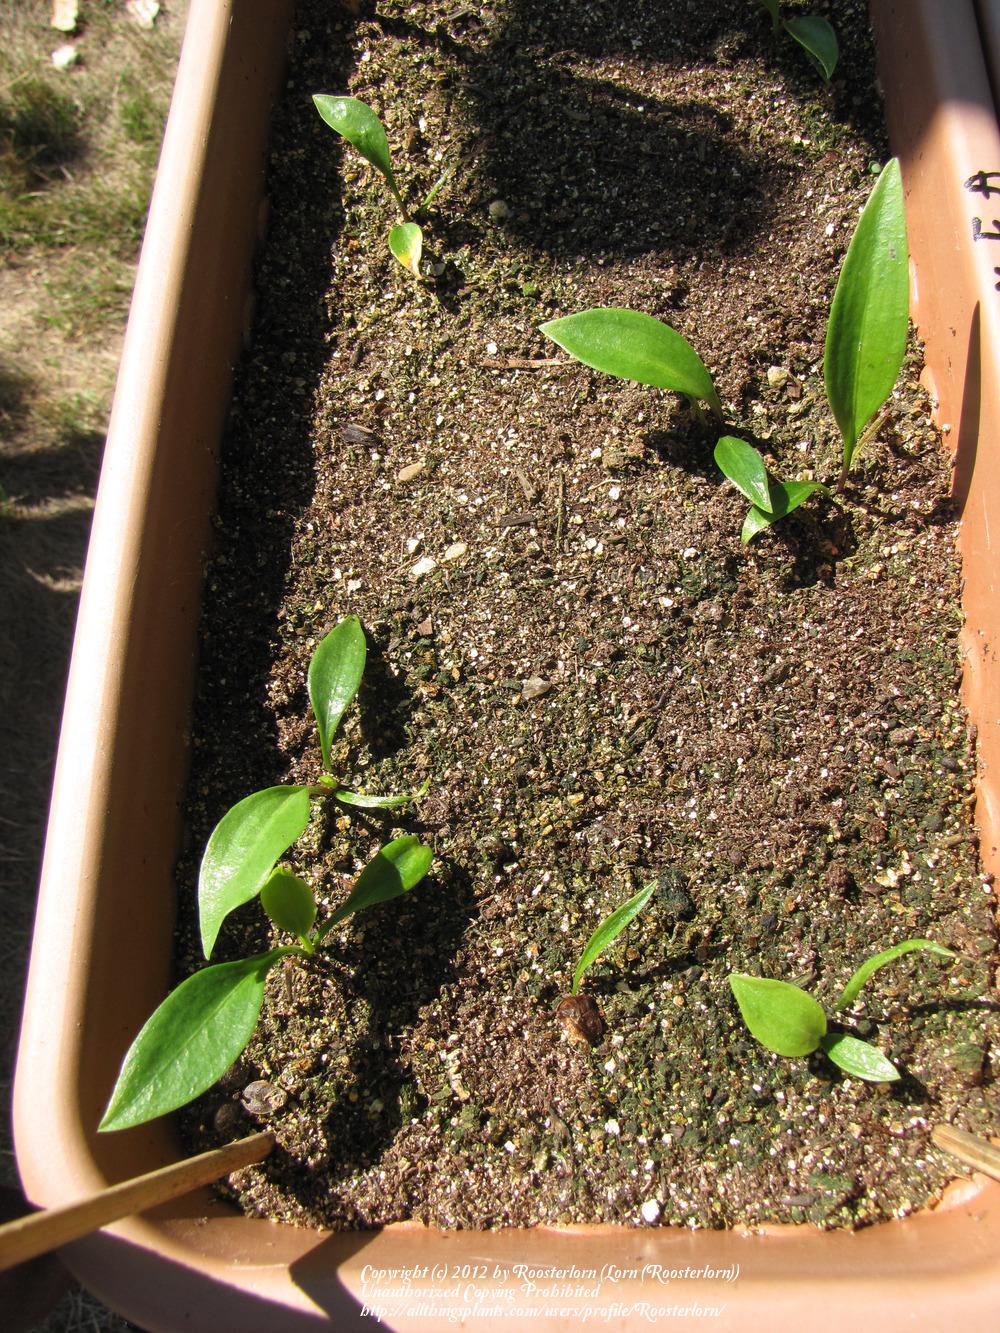
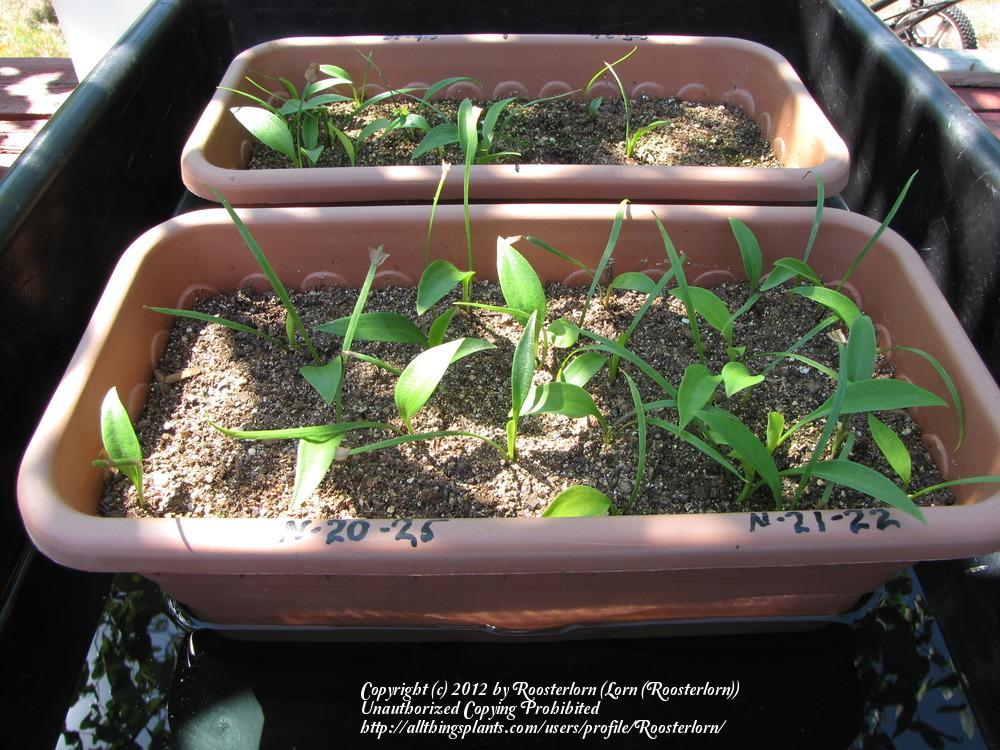
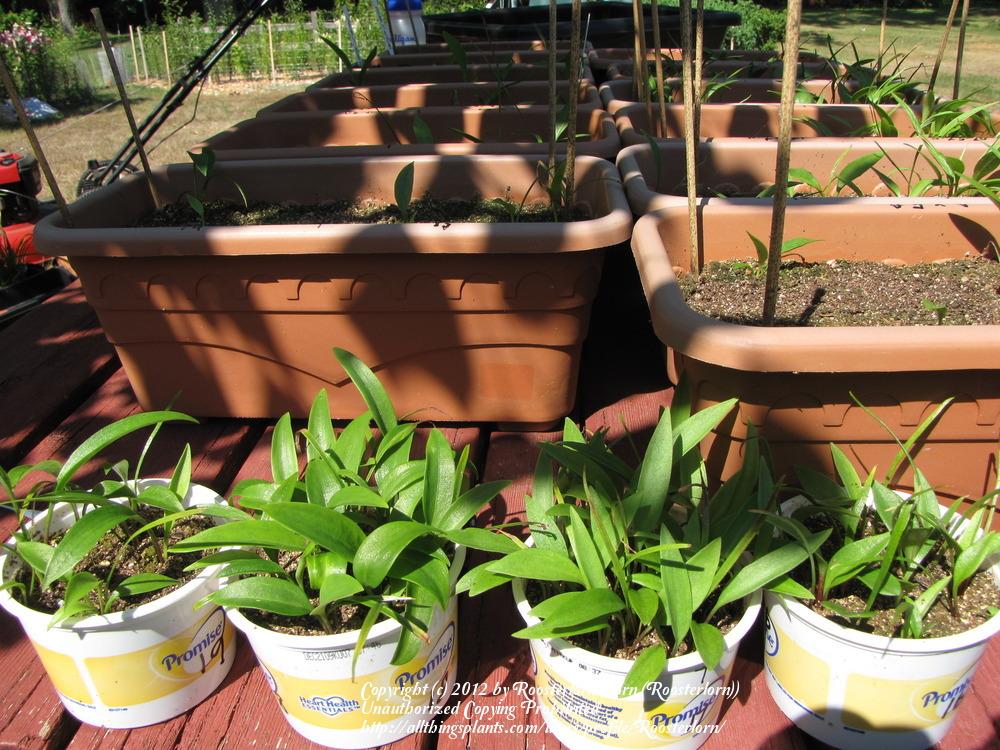
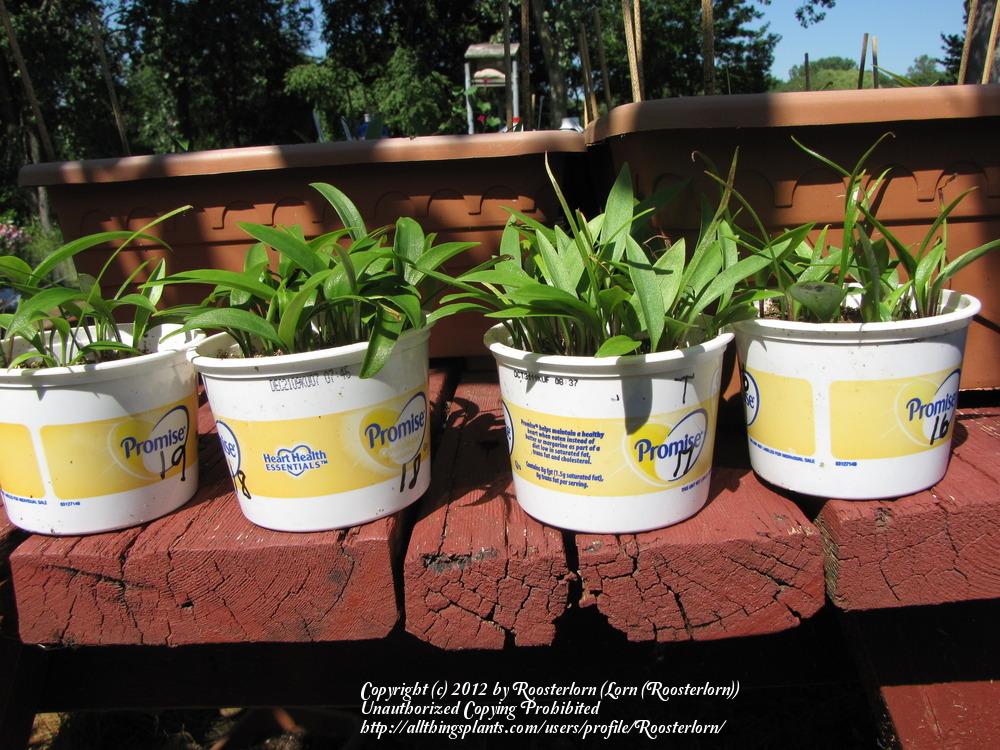
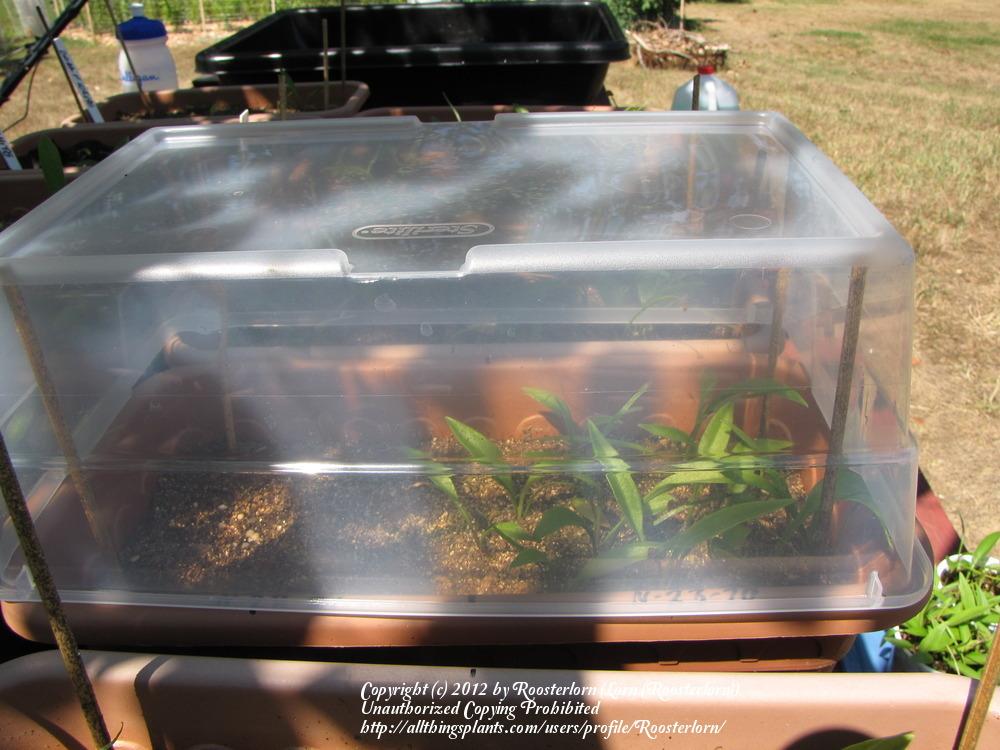
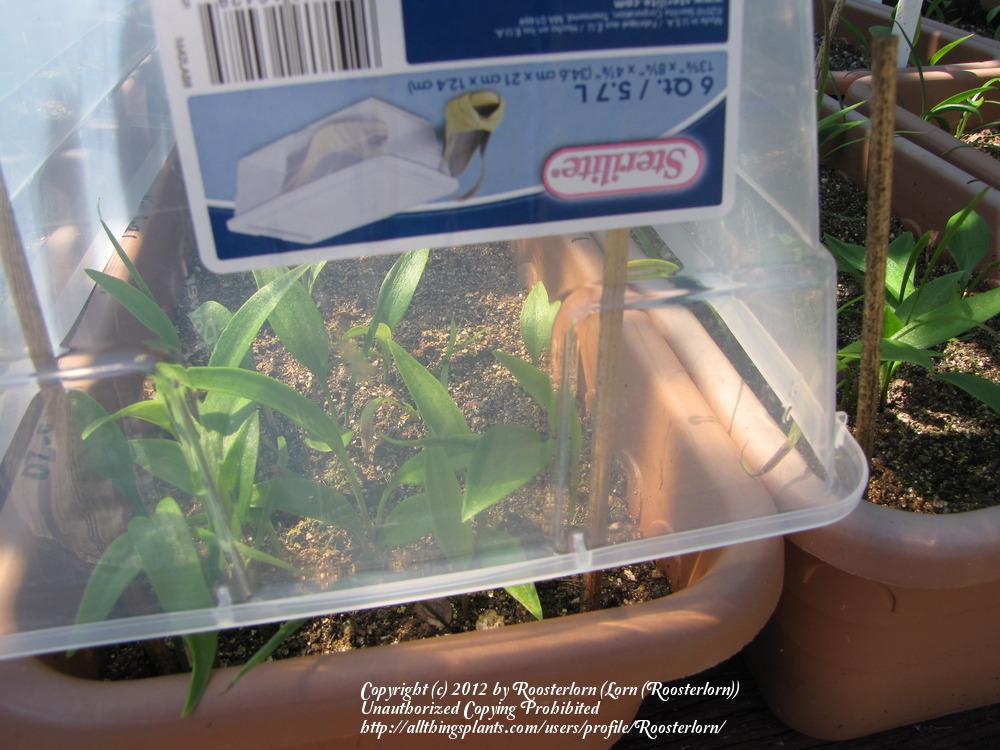
Next, I'll show some in pots. Some of these were planted on March 20th (Seed from Lisa Hunt). Others are of NALS seed, some Connies and some of Mine; all planted about May 13th. Most of these retangular pots have two seed lots in each, ie a right side and left side separated by a black dot at mid point. As you can see, there's lots of variation in germination. Note also a couple of 'sides' didn't even sprout.


Thumb of 2012-07-24/Roosterlorn/afa101
Thumb of 2012-07-24/Roosterlorn/9a1791
Thumb of 2012-07-24/Roosterlorn/6a8072
Thumb of 2012-07-24/Roosterlorn/3f121a
Thumb of 2012-07-24/Roosterlorn/72ccea
Thumb of 2012-07-24/Roosterlorn/1de6bc
Thumb of 2012-07-24/Roosterlorn/449640
Thumb of 2012-07-24/Roosterlorn/46ac89
Thumb of 2012-07-24/Roosterlorn/ccae28
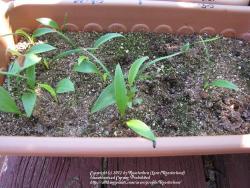
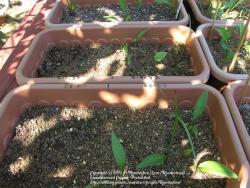
As you can see these are not that far along, but I'm not too concerned. I'll grow these right up to early-mid Dec. before they chill.

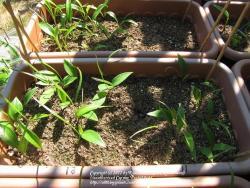
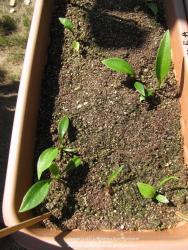
Here's an Awesome cross I got from Buggy that had some unusual attrition. A chipmunk caught my eye digging in these one morning. I scurried him off, but he had managed to dig a few up in a couple spots which I smoothed over as best I could. I had planted 20 seeds and had 14 up. Turns out he wasn't digging for tiny bulbs to eat. About a week/ten days later, up popped two tightly packed clumps of silver maples--he was planting seeds too! The end result is I now only have 7 or 8 left.

.Thumb of 2012-07-24/Roosterlorn/022e9d

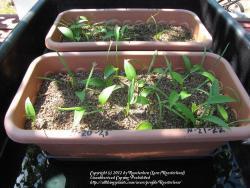
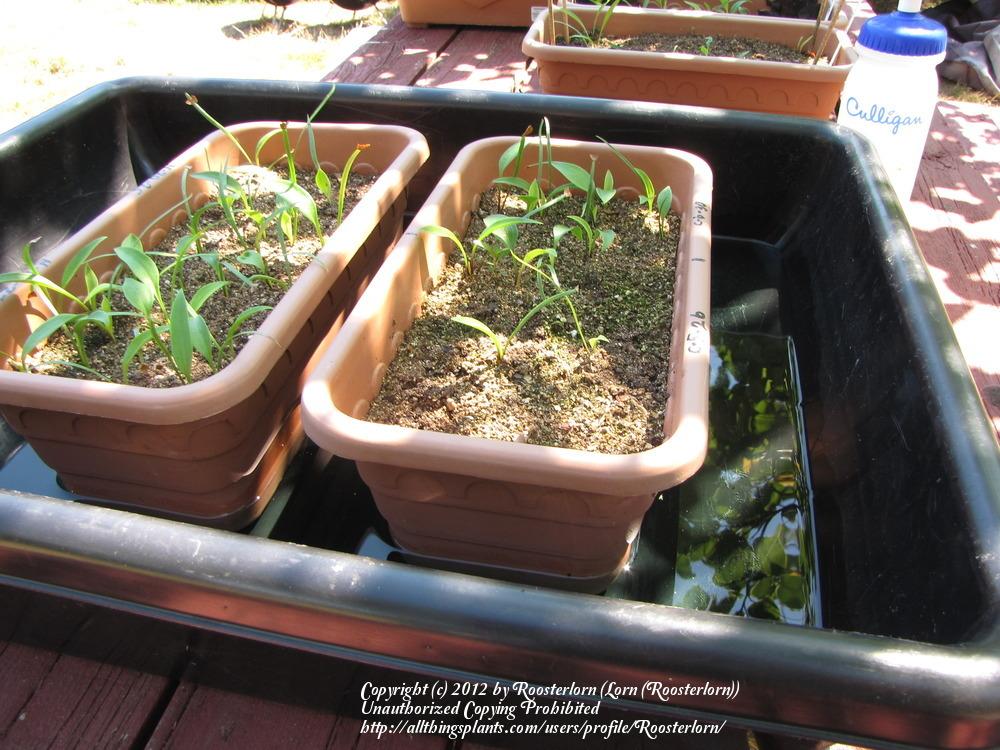
I want to show another use I have for those black cement mixing tubs too. I add about two gallons of water and fertilizer mix for a soak about every three to four weeks. A good indicator is when the soil pulls back away from the sides of the pot--it's probably time to soak (a few minutes).


Thumb of 2012-07-24/Roosterlorn/d27125
Thumb of 2012-07-24/Roosterlorn/eda70c
Thumb of 2012-07-24/Roosterlorn/bd4f92

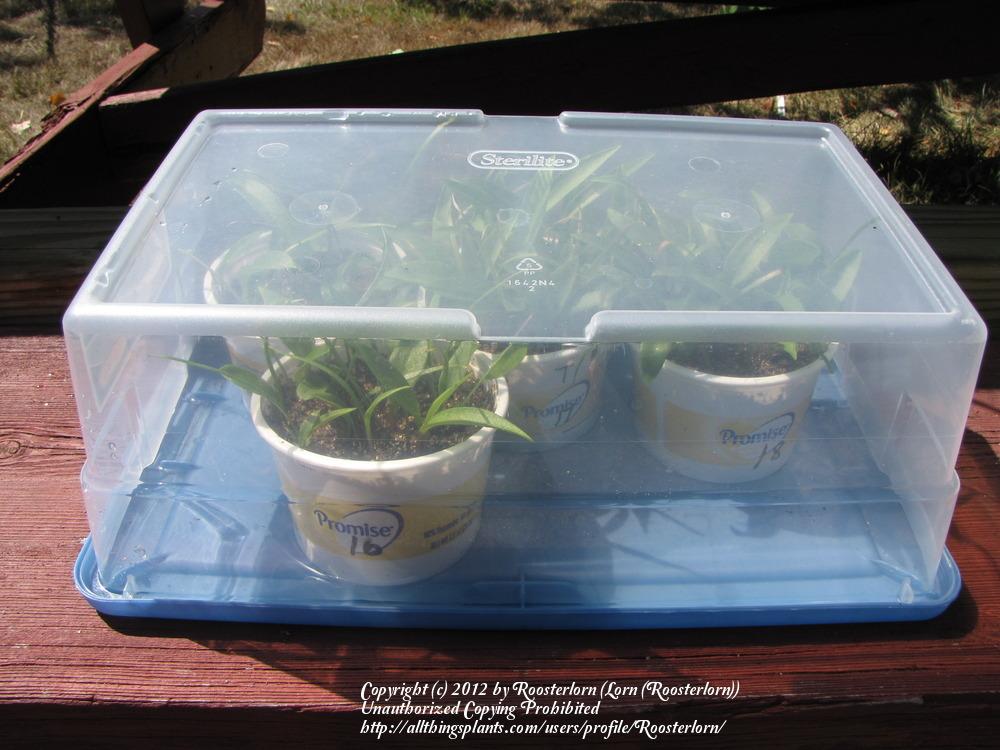
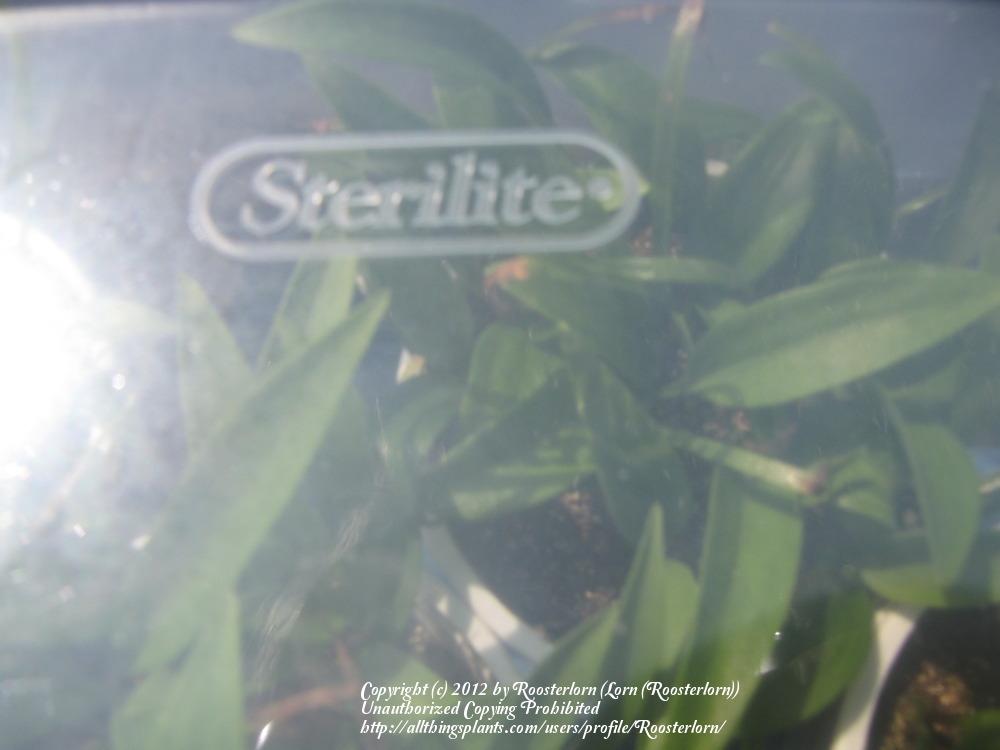
I want to break here to go run an errand, but when I come back I want to show something new I tried this year--new for me anyway!
Image
Jul 23, 2012 9:26 PM CST
Name: Lorn (Roosterlorn)
S.E Wisconsin (Zone 5b)
Bee Lover Lilies Pollen collector Seed Starter Region: Wisconsin
Ok, I'm back! I had been reading about window sill culture for lilies. Then one night I was reading on a Lily Nook link about even using margerine tubs. I thought, gee--I don't have window sills--but I think I'd like to try it, just to see how I could make it work for me. After all, I could put these little tubs in a fridge over winter for their chill cycle--how nice!

So here we go: These were planted on May 26th.

Thumb of 2012-07-24/Roosterlorn/aa0b57
Thumb of 2012-07-24/Roosterlorn/5de8e2

Here they are getting a soak using a lid from a shoe box as a basin

Thumb of 2012-07-24/Roosterlorn/ac13ee

Here they are inside an inverted shoe box cocked for venting just to show that it could be used as a mini hot house come November.


Thumb of 2012-07-24/Roosterlorn/1cc27a
Thumb of 2012-07-24/Roosterlorn/f6ff43
Thumb of 2012-07-24/Roosterlorn/a018f5

Connie recently mentioned that its been observed and suspected that crowded seedlings grow better for some reason yet unkown. I have also noticed that in the past. Well, take another look--there were about 15 seeds in each little tub. Consider that these weren't planted until May 26th, yet they are the same size or larger than than the others planted earlier. Just a coincidence? Maybe. It's only a sample of 4, and with lily seeds there are so many variables. But it does cause a person to wonder if there isn't something to it.

The little tubs are easy to manage in many respects in the beginning but now as the seedlings grow and become more demanding, they do require more attention. They dry out a lot faster.

I want to jump back to the pots for a minute. If you noticed I have skewer sticks in those too. I used empty shoe boxes for tops over my regular pots when I first brought them outside and those sticks held the tops up and allowed for air circulation. And the tops offered a little frost protection too.

Thumb of 2012-07-24/Roosterlorn/546603
Thumb of 2012-07-24/Roosterlorn/a2b4ca

Keep in mind now that what I'm showing you here, all takes place under a big old flowering crab tree in dapled shade on, around and under a huge magnum size picnic table--it works for me. Later on this year, I'll post some more photos on how I deal with the Fall and early Winter. And it won't be under this crab tree!
Image
Jul 24, 2012 6:46 PM CST
Name: Brian
Ontario Canada (Zone 5b)
Here are some pictures of my seedlings, all started in May out on my balcony.
Thumb of 2012-07-25/bearsearch/1074b5 
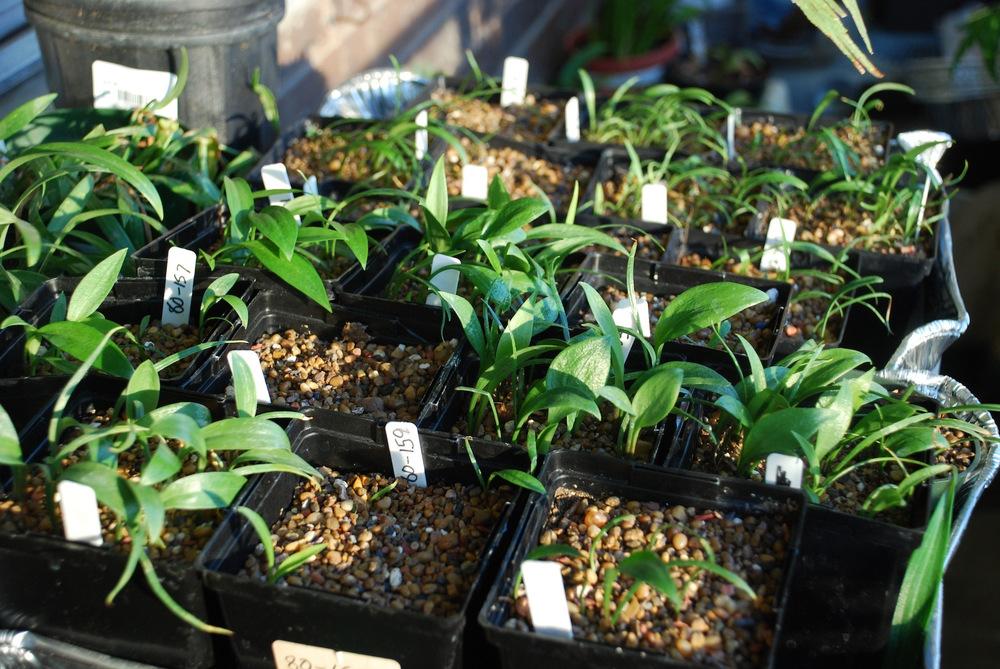
These are all OT's with one pot of L. candidum
Thumb of 2012-07-25/bearsearch/9058fc 
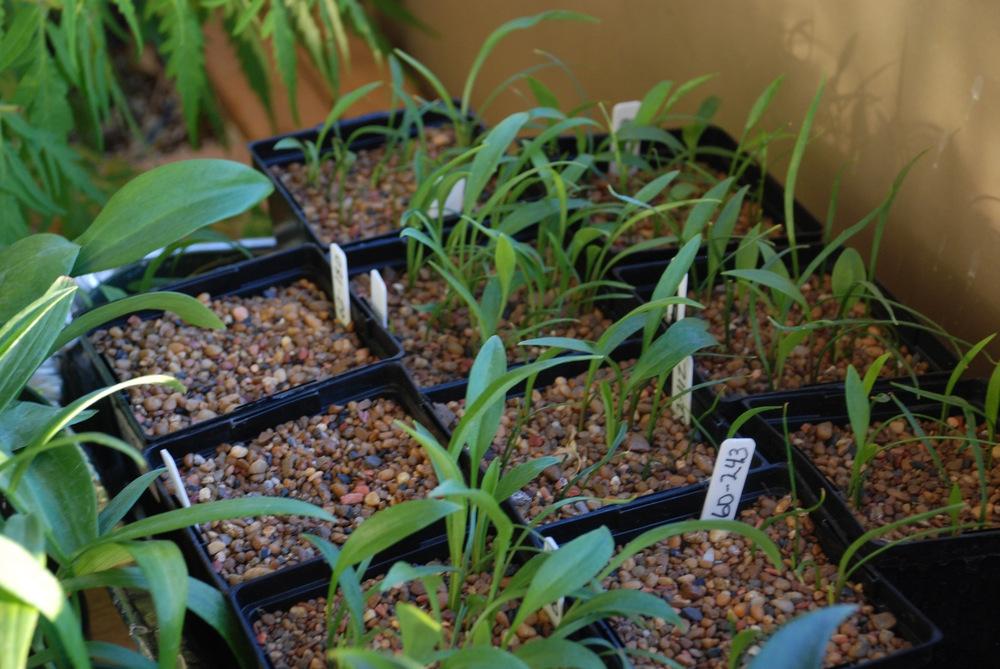
These are all Trumpet / aurelian
Thumb of 2012-07-25/bearsearch/996c5c 
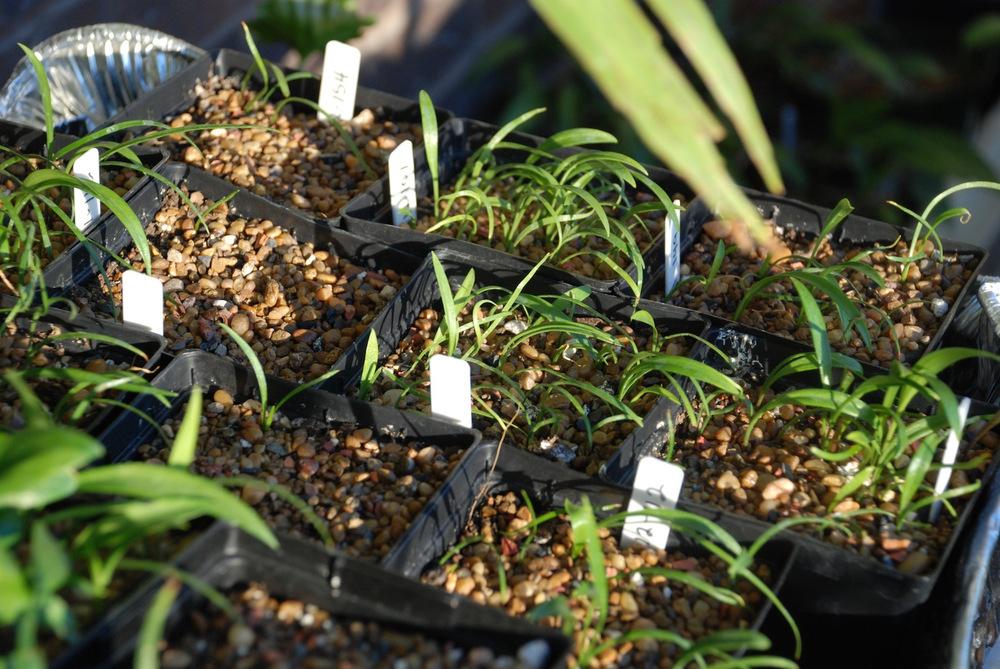
This tray and the next are all asiatics
Thumb of 2012-07-25/bearsearch/d5e6ff
Image
Jul 24, 2012 7:26 PM CST
Name: Lorn (Roosterlorn)
S.E Wisconsin (Zone 5b)
Bee Lover Lilies Pollen collector Seed Starter Region: Wisconsin
Everything looks pretty normal to me, Brian. Once you get them 'up', they're pretty doggone durable. You'll get pretty good bulb growth between now and November. Did you recently add the gravel as a topping for moisture and temperature control?

Edit added: I wanted to add that seedlings started outside are always 'shorter and stiffer' than those grown under lights, plus, those started inside have to be conditioned or 'hardened up' when moved outside. You balcony has its' benefits--you sure don't have to worry about slugs, snails, gophers and bunnies. So, I'd say if this is your first time seeding; well, then, you're doing a very good job! As time goes on keep posting your progress with these. And if any questions come up, don't be bashful about asking!
Last edited by Roosterlorn Jul 24, 2012 7:52 PM Icon for preview
Image
Jul 24, 2012 8:00 PM CST
Name: Brian
Ontario Canada (Zone 5b)
Last year at the NALS convention there was someone from New Zealand speaking about lilies down there. He was telling us about how he puts gravel (he uses road gravel) on his seed pots to prevent the soil surface from being disturbed and exposing the seed when he waters. I've had that problem with other seeds so I thought I'd give it a try only I use aquarium gravel. It helps a great deal with preventing surface disturbance and it seems to have helped with moisture control too. The seeds that grew didn't seem to have any trouble breaking through the gravel layer and the water spreads out evenly across the top before soaking in. I know I should probably be watering from the bottom but I have trouble judging how much to use when watering from below.


Edit added: Pigeons were the only pest I had to worry about. One pair got in past my netting and decided my seedlings were a great place to make a nest. I'm sure they were eating some too. Totally shredded my dwarf pomegranate that was just loaded with flowers,it survived but less than half the size it was. They made three attempts to nest and didn't leave till the one was playing the part of a Que. ball. The end of my broom square in the chest.
Last edited by bearsearch Jul 27, 2012 7:45 PM Icon for preview
Image
Jul 24, 2012 9:14 PM CST
Moderator
Name: Connie
Willamette Valley OR (Zone 8a)
Forum moderator Region: Pacific Northwest Sedums Sempervivums Lilies Hybridizer
Plant Database Moderator I was one of the first 300 contributors to the plant database! Charter ATP Member Pollen collector Plant Identifier Celebrating Gardening: 2015
Brian, I think your seedlings look just fine.
Image
Jul 24, 2012 9:33 PM CST
Name: Brian
Ontario Canada (Zone 5b)
Thanks Connie! When you don't know what to expect it makes it hard to evaluate progress.
Image
Jul 25, 2012 5:26 PM CST
Name: Rick R.
Minneapolis,MN, USA z4b,Dfb/a
Garden Photography The WITWIT Badge Seed Starter Wild Plant Hunter Region: Minnesota Hybridizer
Garden Sages I was one of the first 300 contributors to the plant database! Plant Identifier Million Pollinator Garden Challenge
Lorn, you have enough seedlings coming to fill an acre Field! (Or more!)

Brian, I too think your seedlings a coming along very nicely... better than some of mine, in fact. I started using gravel over seeded pots more than a decade ago with alpine materials. Many of these are best seeded uncovered, except by a layer of pebbles, or are seeded after the layer of gravel is placed. It didn't take me long to realize the extra values that gravel provides:
--- temperature moderation
--- moisture moderation of underlying medium
--- perfect drainage
--- sterile conditions
--- major nutrient (NPK) absence - important for dryland, alpine and desert plants
--- permanence (no biodegradation)
--- sunblocking (prevents growth of algaes, mosses and liverworts)

The last two have proved very helpful with pots that are slow to develop or when seeds don't sprout for another year or two. I use chicken grit (usually #2 size) on just about everything now, even woodland species. Different parts of the country have the same thing but made of different materials. I have our native granite. I used this pic for an article and presentation for our Rock Garden Society:

Thumb of 2012-07-25/Leftwood/5f35c5
When the debate is lost, slander becomes the tool of the losers. - Socrates
Image
Jul 26, 2012 8:09 AM CST
Name: Lorn (Roosterlorn)
S.E Wisconsin (Zone 5b)
Bee Lover Lilies Pollen collector Seed Starter Region: Wisconsin
Rick, I've wrestled the idea of using gravel for years. I think it's 'the cats meow' as far as the benifits, but the problem I have is I that I dump/spread my pot soil back into the garden when I'm done pricking out the seedlings and I try to keep the gravel to a minimun. I use gravel on the bottom of my pots but thats separated by a cloth barrier tucked downward with a putty knife, so when I tip the dry pots I can quite easily make two piles on a tarp without too much intermixing. But, gosh, it's great anyway, even if one has to end up with a mix pile sometimes.

Yes, I've got quite a few started this year. Aside from the ones here, I've got six more pots at my daughters place (she wanted to get involved--a great flower gardener). Three of those are from some older dwarf white seed I got from Buggy that I thought I better do something with. Now I'm glad I did since she's back on line and I'll have as many as she wants.

Those seedlings in the margerine tubs will have to be set out next spring. Assuming there's 50 between the four tubs at 6" spacing, that's a 25 foot row. Figure a good foot break in between batches and end borders, its probably end up about 30' of row space.
Image
Jul 26, 2012 10:50 AM CST
Name: Brian
Ontario Canada (Zone 5b)
Rick, I would think that my aquarium gravel is approximately the size of the #1 grit in your photos. Is that too fine? How thick of a layer do you use?
Image
Jul 26, 2012 1:08 PM CST
Name: Rick R.
Minneapolis,MN, USA z4b,Dfb/a
Garden Photography The WITWIT Badge Seed Starter Wild Plant Hunter Region: Minnesota Hybridizer
Garden Sages I was one of the first 300 contributors to the plant database! Plant Identifier Million Pollinator Garden Challenge
Brian, I am sure aquarium gravel comes in different sizes, too, but if yours is really that small, then it would still be fine to use. Average diameter of #1 grit is only 1/16 inch, but your eyes can play tricks on you. In my photo, place your cursor over an average size granule, compare, then bring the cursor down to the ruler and measure.

I used to use #1 grit as a topdressing in special circumstances with very fine seed. But watering from above proved very difficult because grit that fine is not stable and moves around even with the gentlest of surface watering. I can't afford patience for this, as there will always be times when a very quick watering of my materials is required just before I dash off to work. Likewise, bottom watering takes too much time for me, also.

So now I only use #2 grit as the final topdress. Thickness of the grit layer is not an exact science. Most people who employ it are very cryptic when you ask them to be specific. One of the premier Scottish alpine growers, Ian Young, plants his Fritillaria spp.(closely related to Lilium) seed on the soil surface and covers with a centimeter of grit. That would not be too much for hybrid lilies, but I think it is more than you need. I use enough to block enough sun from the soil surface to prevent moss and liverwort growth - about 3/4 of that, or a little over a quarter inch. Except in special situations, my lily seeds are lightly covered with soil before the application of grit.
---
Lorn, I reuse my potting soils, too, although more often for potting up something else, rather than adding to the garden on terra firma. Still, my native soil is clay based, and any larger mineral material is a bonus for drainage. I assume you have sand, you lucky man.

Regarding using gravel at the bottom of pots with a separating membrane, you may want to rethink your creation of a perched water table...
When the debate is lost, slander becomes the tool of the losers. - Socrates
Image
Jul 26, 2012 2:41 PM CST
Name: Lorn (Roosterlorn)
S.E Wisconsin (Zone 5b)
Bee Lover Lilies Pollen collector Seed Starter Region: Wisconsin
Rick, the bottom of my pots are drilled to the hilt with drain holes. And the only time I'm bothered with a little moss is after a heavy rain and a couple damp,calm sunny days after that.
Image
Jul 26, 2012 6:34 PM CST
Name: Rick R.
Minneapolis,MN, USA z4b,Dfb/a
Garden Photography The WITWIT Badge Seed Starter Wild Plant Hunter Region: Minnesota Hybridizer
Garden Sages I was one of the first 300 contributors to the plant database! Plant Identifier Million Pollinator Garden Challenge
I am not talking about a perched water table due to a relatively impervious layer, as in geology. Drainage in pots works differently, and a perched water table in a pot has nothing to do with how many holes are at the bottom. But if it works for you, I see no reason why you would need to change your method. Smiling

For anyone who wants to understand what I am eluding to, try this experiment and see for yourself:

http://www.srgc.net/forum/inde...
When the debate is lost, slander becomes the tool of the losers. - Socrates
Image
Jul 26, 2012 7:01 PM CST
Name: Brian
Ontario Canada (Zone 5b)
I've read about that elsewhere too, I believe there was an article about that in Fine Gardening.

Only the members of the Members group may reply to this thread.
Member Login:

( No account? Join now! )

Today's site banner is by RootedInDirt and is called "Botanical Gardens"

This site is protected by reCAPTCHA and the Google Privacy Policy and Terms of Service apply.