Sorry, I had a knock at my door!
Okay to finish.
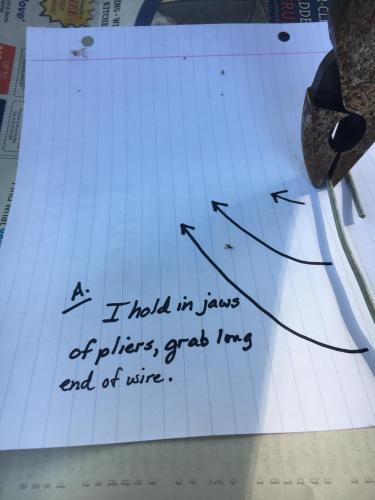
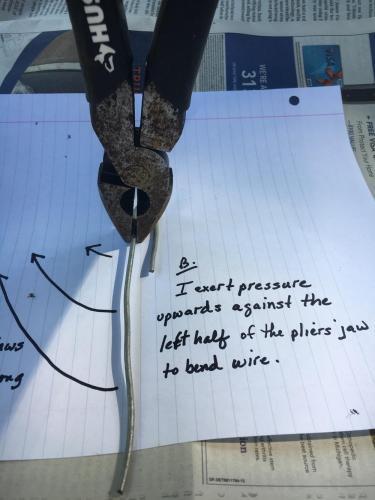
This is the hardest spot to visualize and show everyone but I flip the half finished rhizome clip in my pliers. Then while I hold the wire tightly in the pliers, I grab the wire forcibly with my fingers of my left hand and bend that 'longer leg' up and against the bottom of the pliers jaws.
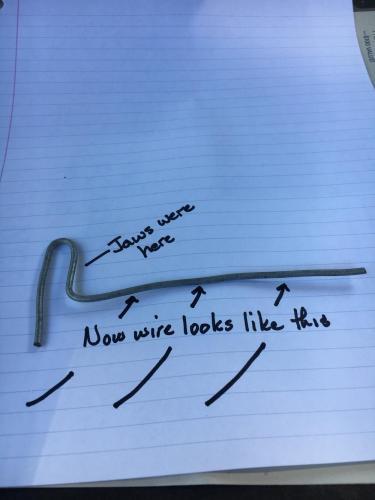
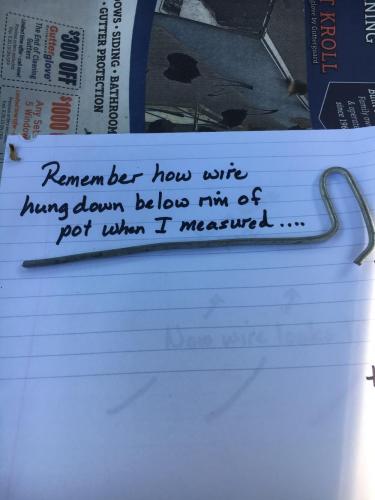
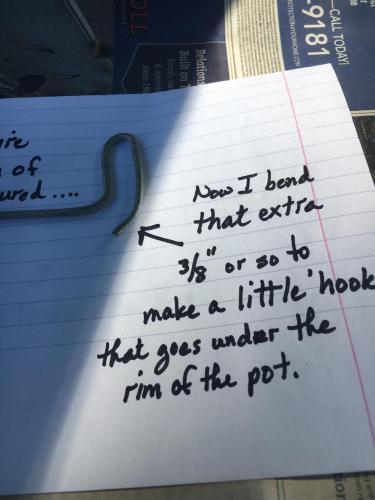
In the first image above you see the results of that second bend. Now, remembering how we first measured that piece of wire we cut, as we held it between our thumb and forefinger, you are now ready to bend it in order to make a little "hook" that will fit under the rim on the outside of the pot! Oh that is so 😎!
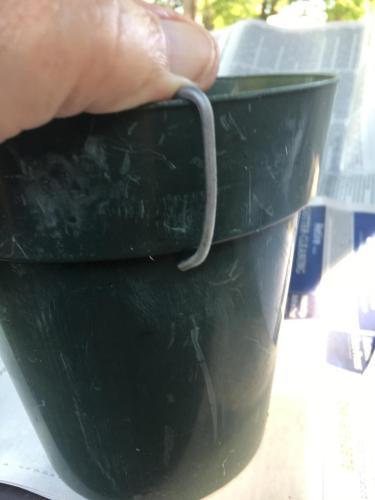
Then this image shows you just how it should look outside of the pot just prior to "installation"!!!

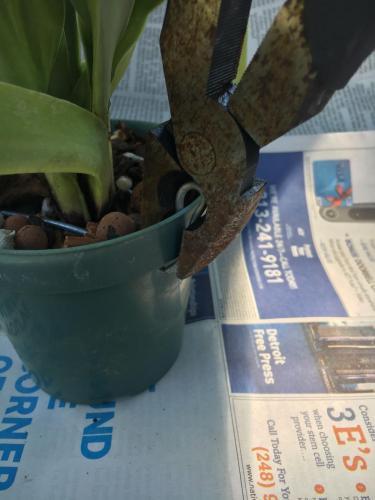
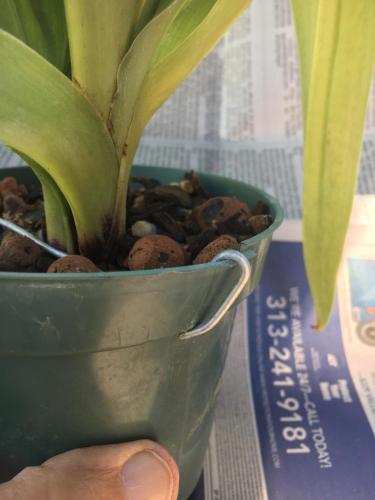
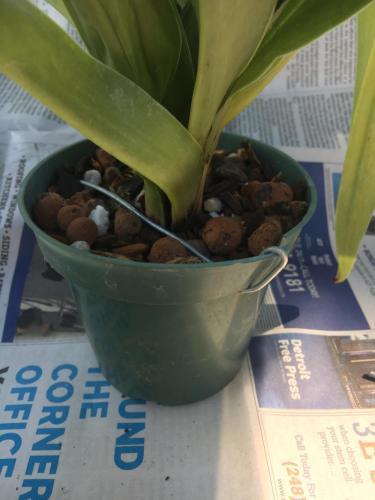
In the top of these 3 images I have positioned my linesman's pliers because I just need to squeeze the bend in the wire together as it sits over the rim of the pot. As you squeeze the rhizome clip pushes down across the media and rhizome in order to hold the newly potted plant in place!
In summary, some Paphiopedilums that are really close together in terms of growths, you really do not want to force a rhizome clip down in there for fear of cutting the rhizome and causing damage. In these instances, for whatever orchid requires this treatment, I just install the clip close to the plant. So close in fact that the clip pushes down on the roots and media giving you the desired effect!
For plants like Cattleyas that typically have some distance between the bulbs along the rhizome clip, I install the clip across the rhizome.
Gosh. I hope everyone gets the general idea. You can buy rhizome clips pre-made BUT in limited sizes. I have been making my own for 45 years. A CUSTOM clip for a CUSTOM job!!
I hope that this makes sense to everyone? Remember, practice makes perfect and I hope it is not as clear as mud!!!