


A healthy, beautiful lawn doesn't require the constant chemical feed once recommended. Whether you're starting a new lawn or renovating an existing one, the keys are choosing grass adapted to your region, building good soil, mowing at the proper height, returning clippings to the lawn, and fertilizing with restraint. This approach produces a vigorous lawn that resists weeds, insects, and disease while reducing your maintenance workload and environmental impact.
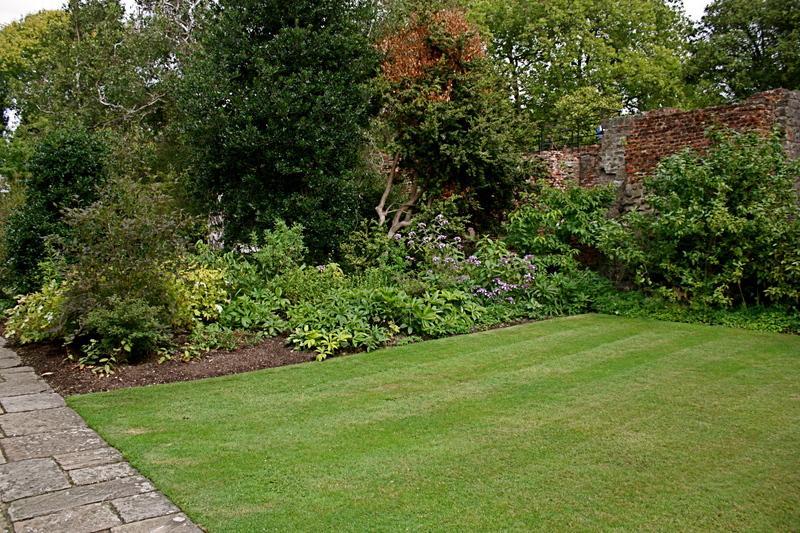
Choosing the Right Grass for Your Region
- Kentucky Bluegrass (Poa pratensis 'Midnight')
- Uploaded by vic
The foundation of any low-maintenance lawn is selecting a grass type well suited to your climate. Lawn grasses are broadly grouped into cool-season and warm-season types based on their optimal growing temperatures.
Cool-season grasses thrive in the northern half of the United States. These grasses grow most actively in spring and fall and typically slow during hot summers and cold winters. They include:
- Kentucky bluegrass: The most common cool-season grass in northern mixes. It's adaptable, forms a dense turf, and recovers well from traffic.
- Fine fescues (red fescue, chewings fescue, hard fescue): These have finer leaf blades than Kentucky bluegrass and excel in shaded areas. Tall fescue has a broader blade and withstands heat better than bluegrass.
- Perennial ryegrass: These grasses establish quickly from seed and are often blended with Kentucky bluegrass and fine fescues. Look for named varieties in seed mixes.
Warm-season grasses dominate the South. These grow vigorously during hot summers and go dormant and brown in winter. Common types include:
- Bermuda grass: Heat-loving and durable, it's the most widely used warm-season grass. It doesn't tolerate shade well.
- Centipedegrass: Sometimes called the "lazy man's grass," it grows slowly and requires less mowing and fertilizing than most warm-season grasses. It tolerates poor soils and is well-suited to sandy southeastern soils.
- St. Augustine grass: Fast-growing and shade-tolerant, though susceptible to chinch bugs. It prefers slightly alkaline soils.
- Zoysiagrass: Slow to establish, but forms a dense, fine-textured, drought-resistant lawn. Many improved varieties are available.
Transition zone: From southern California to North and South Carolina runs a region where both cool- and warm-season grasses can succeed. Consult your local garden center or Extension Service for the best choices for your specific location.
If you already have an established lawn that isn't ideal for your climate, you can gradually upgrade it by overseeding with better-adapted grasses. In spring or fall, rake the lawn vigorously with a metal rake to rough up the surface, then sow seed at 1.5 times the recommended rate. Top-dress lightly with sand and compost, and keep the area well-watered. The new grass will gradually outcompete the older turf.
Starting a New Lawn

When establishing a lawn from scratch, you have three main options: seed, sod, or plugs and sprigs.
Seeding a Lawn
Fall is often the best time to seed cool-season lawns in northern areas, as weather turns cooler and rainier and annual weeds are less problematic. Early spring is another good timing. For warm-season grasses, spring to early summer is optimal.
Soil preparation: Spread 2 to 3 inches of compost over the area. Apply lime or sulfur if a soil test indicates pH adjustment is needed, plus organic or slow-release fertilizer. Mix all amendments into the top 6 inches of soil with a rototiller. Rake level and firm with a water-filled roller.
Sowing: Using a spreader, apply seed at half the recommended rate walking back and forth across the lawn, overlapping slightly. Then walk at right angles to the first sowing and apply the second half. Roll the seedbed again.
Aftercare: Cover lightly with straw mulch to retain moisture and deter birds. Water with a sprinkler as needed to keep soil uniformly moist until seeds germinate and establish. Begin mowing when grass is about one-third taller than your target mowing height.
Installing Sod
Sod is the fastest way to establish a lawn, often taking just a day or two from preparation to installation. Its advantages include immediate lawn coverage, freedom from weed invasions common in seeded lawns, and instant erosion control on slopes.
Before delivery: Prepare soil as for seeding (till 4 to 6 inches deep, amend with compost and fertilizer based on a soil test, grade and level). On the day of delivery, water the soil to make it moist but not muddy. Arrange helpers, as sod is heavy (4.5 to 5.5 pounds per square foot).
Installation: Start laying sod along the longest straight edge (sidewalk or driveway). Leave soil level about 3/4 to 1 inch below that edge for a neat transition. Butt sod pieces edge to edge without stretching; stagger joints like bricks. On slopes, lay turf pieces across the slope. Use a large knife to trim corners; avoid small strips at edges, as they don't retain moisture.
Aftercare: Roll the entire area with a lawn roller one-third filled with water to press roots into contact with soil. Water thoroughly within 30 minutes of installation, soaking until water penetrates the soil below. Check by lifting a corner; if dry, keep watering. Continue regular watering for 2 to 3 weeks. Test soil moisture with a screwdriver; if it penetrates easily, your lawn is ready.
Plugs and Sprigs
Warm-season grasses like Bermuda, St. Augustine, and zoysia spread easily from small pieces of sod (plugs) or rooted grass runners (sprigs). This method is less expensive than sod but slower to establish (several months).
Planting: Late spring to early summer is ideal. Prepare soil as for seed, then make a grid using stakes and string. Space plug holes 6 to 12 inches apart (closer spacing fills in faster but costs more). For sprigs, make 1- to 2-inch-deep furrows 10 to 18 inches apart. Set plugs firmly in holes or lay sprigs in furrows with leafy sides up, burying the bottom two-thirds.
Aftercare: Rake carefully and roll with a half-filled roller or press with your feet. Keep soil evenly moist as plants establish new roots and leaves spread. Begin mowing when firmly rooted, about one month after planting. Set mower blades higher than usual until the lawn fills in completely.
Mowing: The Heart of Lawn Health

Proper mowing is one of the most important practices for maintaining a healthy lawn. Mowing at the correct height and frequency keeps grass strong, encourages deep root development, reduces weed competition, and minimizes disease and insect problems.
Mowing height: Different grasses have different ideal heights. Cool-season grasses generally do best at 2 to 3 inches; warm-season grasses at 1 to 2 inches. Keep grass on the taller end of the recommended range when possible. Taller grass develops deeper, more robust, drought-resistant roots and shades out germinating weeds. Here are guidelines for common grasses:
- Bahiagrass, bluegrass, St. Augustine grass: 2 to 3 inches
- Fescues, ryegrass: 1.5 to 2.5 inches
- Bermuda grass, centipedegrass, zoysia: 1 to 2 inches
The one-third rule: Never remove more than one-third of the grass height at each mowing. This prevents stress and doesn't starve the roots or expose lower leaves to sunburn. If your target height is 2.5 inches, mow when grass reaches about 3.5 inches. This means mowing more frequently, but the payoff in lawn health is well worth it.
Mowing practices:
- Mow when grass is dry. Wet grass cuts unevenly, invites disease, and creates matted clippings that smother the grass.
- Use a sharp mower blade. Dull blades tear rather than cut cleanly, inviting disease and making the lawn appear brown. Sharpen at least once per season.
- Alternate mowing directions. Mow at 45 or 90-degree angles to your previous pattern to keep grass growing upright and prevent soil compaction.
- Leave the clippings on the lawn (grasscycling). Clippings contain high nitrogen and other nutrients that decompose back into the soil. If finely chopped, they disappear into the turf; if heavy clumps form, rake them up to prevent smothering.
- Use a string trimmer before mowing along edges, so the mower can chop trimmings. Trim around trees and fences, but don't use line trimmers against tree bark, as they cause severe damage that can kill the tree. Instead, establish a mulched, grass-free zone around trees.
Fertilization: Modern Approaches

- Mascarene Grass (Zoysia tenuifolia)
- Uploaded by tofitropic
Modern lawn care emphasizes feeding grass appropriately based on type and soil conditions, rather than the heavy, frequent fertilization once recommended. Over-fertilizing causes excessive growth, increases mowing frequency, pollutes waterways, and promotes thatch buildup and disease.
Understanding Fertilizers
Lawn fertilizers contain three primary nutrients: nitrogen (N), phosphorus (P), and potassium (K), shown as a ratio like 20-5-10. Nitrogen promotes green, leafy growth; phosphorus supports strong roots and fruit/seed formation; potassium builds vigor, hardiness, and disease resistance. Most lawn fertilizers are high in nitrogen (often 30 percent or more) since that's what drives visible growth.
Micronutrients (copper, boron, manganese, iron) are also needed by plants, though usually in very small amounts. Most soils and fertilizers provide adequate amounts.
Determining How Much to Apply
Different grasses have different nitrogen needs per 1,000 square feet per year:
- Blue grama, buffalo, and centipedegrass: up to 2 pounds
- Bahia, ryegrass, fine fescue, St. Augustine, zoysia: 2 to 4 pounds
- Bentgrass, Bermuda, Kentucky bluegrass, tall fescue: 3 to 6 pounds
Use the upper end of your grass's range in warmer climates with longer growing seasons; use less in cooler climates. To calculate how much fertilizer to purchase, divide 100 by the first number on the bag. For example, a 30-3-3 fertilizer requires 3.3 pounds to deliver 1 pound of actual nitrogen per 1,000 square feet.
The best approach is to test your soil. Contact your local Cooperative Extension Service to learn about soil testing. Testing reveals your soil's current nutrient levels, pH, and organic matter content, allowing you to apply exactly what's needed, no more.
Timing and Application
For cool-season grasses in the North, the most important application is in early fall, when cooler temperatures and adequate moisture help the grass store energy for spring green-up and root growth. Many experts recommend splitting fall applications into early and mid-fall feedings. If needed, fertilize again in late spring when grass is actively growing.
For warm-season grasses in the South, apply the main feeding in mid-spring or split between early and late spring. A light midsummer application and optional early fall feeding can further thicken turf.
Always apply no more than 0.5 to 1 pound of nitrogen per 1,000 square feet in a single application to avoid burning the lawn and leaching nutrients away. If your fertilizer contains a high percentage of slow-release (water-insoluble) nitrogen, you may apply more in one dose; follow label directions.
Slow-Release vs. Quick-Release
Use slow-release or organic nitrogen fertilizers. Quick-release products are highly soluble, so much of the nitrogen washes through soil without the grass using it, wasting money and polluting groundwater and nearby waterways. Look for a high percentage of WIN (water-insoluble nitrogen) on the label, or choose fertilizers from natural sources like compost or manure.
Phosphorus Restrictions
Research has shown that applying phosphorus to established lawns with adequate soil phosphorus provides no benefit to growth but can contribute to water pollution. For established lawns, test your soil every 3 to 5 years. If the test shows no phosphorus deficiency, use a fertilizer with a zero for the middle number (e.g., 26-0-10). Many states and municipalities now restrict phosphorus in lawn fertilizers; check your local regulations.
Phosphorus is helpful during the first year of a new lawn from seed or sod and does not contribute to runoff when applied at recommended rates to new lawns.
Application Tips
- Sweep any fertilizer that lands on driveways and sidewalks so it doesn't wash into storm sewers and waterways.
- Avoid applying fertilizer right before heavy rain is predicted.
- Don't apply during very hot weather when many grasses are dormant, or in late fall after growth has stopped and roots aren't actively taking up nutrients.
- Grasscycling (leaving clippings) can significantly reduce fertilizer needs, as clippings return nitrogen and organic matter to the soil.
Watering Wisely
How often to water depends on your climate, weather, soil type, and mowing height. In general, water deeply when you do water, enough to soak the entire root zone. Then let the soil dry out before watering again. If your footprints remain visible on the lawn, it's time to rewater.
Don't apply water faster than your soil can absorb it. If puddles form, stop and wait for water to soak in before adding more. Water in early morning so grass is dry by evening, reducing disease risk and water loss to evaporation. Mowing high develops deeper roots requiring less frequent watering. Choosing well-adapted grasses for your region and building soil with organic matter further reduces water needs.
Thatch and Aeration
Thatch is the layer of living and dead grass and roots between the green parts of the turf and the soil. A moderate layer (0.5 to 0.75 inch thick) actually benefits the grass, but excessive thatch (more than 1 inch) interferes with water, air, and nutrients reaching roots. It's also more vulnerable to drought, insects, and disease.
Excessive thatch forms when plant material accumulates faster than soil microorganisms can decompose it. Warm-season grasses prone to thatch (Bermuda, zoysia, St. Augustine) benefit from regular aeration. Contributing factors include over-fertilizing (especially with quick-release nitrogen), soil that's too acidic or alkaline, frequent watering, and excessive pesticide/herbicide use that harms beneficial soil organisms.
Contrary to popular belief, grass clippings do not cause thatch. Leaving finely chopped clippings on the lawn adds organic matter and nutrients, improving soil structure and reducing fertilizer needs.
To determine if you have a thatch problem: Use a trowel to remove a core of soil and measure the dead grass layer above the soil. If more than 1 inch thick, action is warranted.
Removal and prevention:
- For shallow thatch (less than 1 inch), use a stiff lawn rake, working in small sections.
- For deeper thatch or large areas, rent a power rake or vertical mower. Adjust cutters to slice just through the thatch. Pass over the lawn in parallel rows, then again at 90 degrees. Remove debris with a rake.
- Best timing: just before the grass's active growth period (spring for cool-season grasses, late spring for warm-season types).
- After removing thatch, water and fertilize to help the lawn recover. Overseed with quality seed.
To prevent excessive thatch: Build soil with compost, use slow-release nitrogen fertilizers, water deeply then let soil dry out between waterings, mow at recommended heights to encourage deep roots, check soil pH and adjust if needed, and rake a thin layer of compost over the lawn annually to encourage healthy soil microorganism populations.
Core aeration (removing small plugs of soil and thatch) is an excellent complementary practice. Aeration opens holes that let water, air, and nutrients penetrate, reducing compaction and encouraging deep root growth. Aerate once a year, preferably in early fall for cool-season lawns or in spring for warm-season lawns.
Weed Prevention Through Good Culture
The best way to prevent weeds is to maintain a lush, dense lawn that crowds them out. Rather than relying on herbicides, follow these practices:
- Mow at the proper height for your grass. Taller grass shades weed seedlings and strengthens root systems.
- Mow frequently enough so you never remove more than one-third of the blade height.
- Leave clippings on the lawn. They return nutrients and organic matter, encouraging vigorous grass.
- Core aerate to reduce soil compaction in high-traffic areas.
- Fertilize at recommended rates and timing for your grass type.
- Build and maintain healthy soil with regular compost applications.
A lush, thick lawn with these practices will have few weeds. If a few appear, relax your standards. As the great horticulturist Liberty Hyde Bailey wrote, "Love the things nearest at hand; and love intensely." A lawn with some dandelions and clover is perfectly functional for playing and entertaining.
For detailed information on herbicide options and chemical weed control, see our Weed Control guide. If you choose to use herbicides, follow label directions closely to minimize runoff and environmental impact.
Insect and Disease Management
A healthy, well-maintained lawn naturally resists many insects and diseases. Build soil health with compost, avoid excessive quick-release fertilizer and pesticides, and maintain proper mowing and watering, and you'll avoid most problems.
Grubs: These are the larval stage of beetles (Japanese beetles, Oriental beetles, European chafers). A healthy lawn tolerates moderate grub feeding. In spring or fall, lift a square foot of turf in several spots and count grubs. If you find fewer than 10 to 12 per square foot, treatment isn't necessary. If treatment is needed, beneficial nematodes work better than chemical products. Apply when soil is around 70 degrees Fahrenheit and keep it moist for at least a week afterward. Contact your local Extension Service for the best nematode species and timing for your area.
Mole crickets: These introduced pests damage southern lawns. A natural nematode (Steinernema scapterisci) specifically targets mole crickets and is effective in fall (September-October) and spring (March-April). It doesn't affect native insects, earthworms, or soil microbes. For more information on lawn pests, see our Pest Control guide.
If insect pests become a serious problem, try a natural control first. Organic pest control products have improved dramatically and effective, safe options are available for almost every lawn pest. They make sense from environmental and health perspectives; imagine the number of times kids fall facedown in the grass during games or how close toddlers are to the lawn.
Lawn Damage: Dog Urine
Brown, dead spots in an otherwise healthy lawn often come from dog urine. High nitrogen concentration in urine burns grass; female dogs cause more concentrated damage (spotting) while males spread damage over wider areas.
Keep dogs from urinating on the lawn through physical barriers or training. If damage occurs, dilute the spot with water within 5 to 10 minutes of urination (though constant vigilance is impractical). Choose grass types more resistant to urine damage; tall fescue and perennial ryegrass tolerate it better than bluegrass and Bermuda.
To repair dead spots, soak the area thoroughly with water, rake to remove dead grass and scratch the soil, then either plug in sod of the same type or overseed with quality seed. For more information, see our dog urine damage guide.
Reducing Fertilizer and Environmental Impact
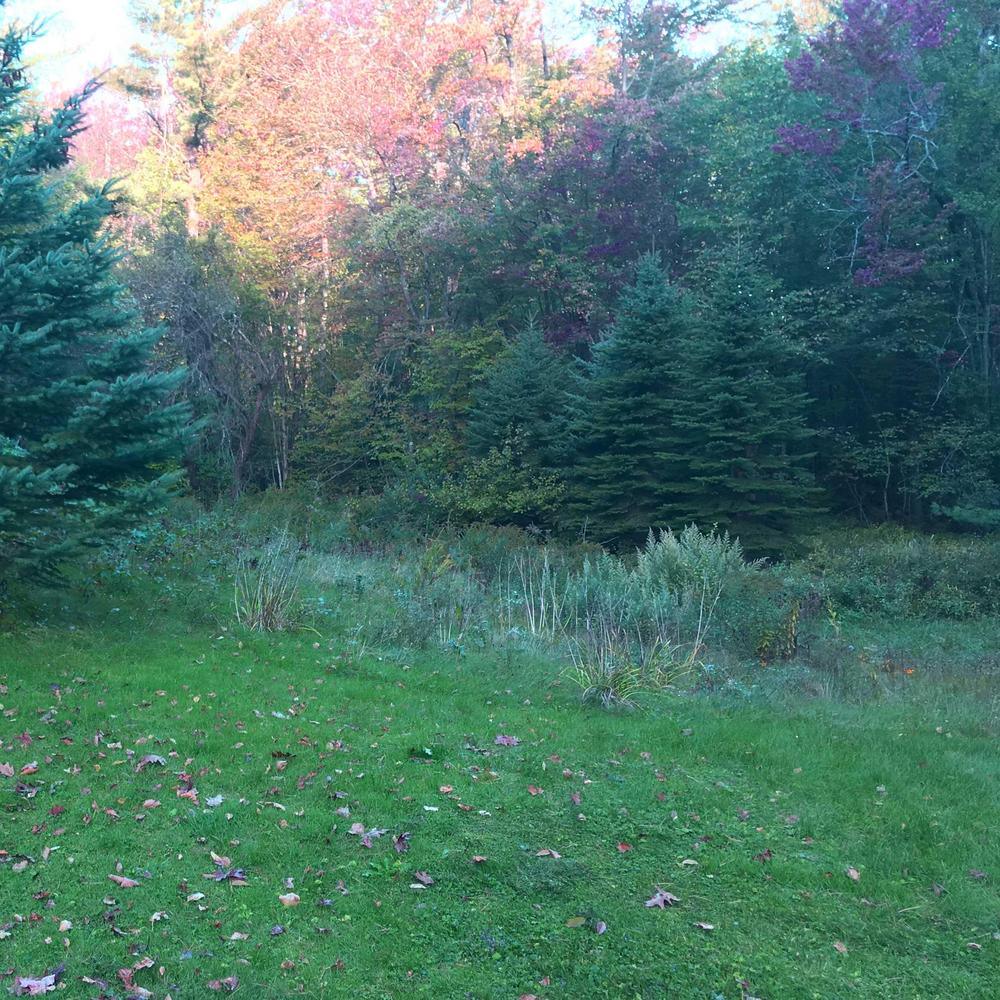
A properly maintained lawn provides real environmental benefits: it generates oxygen, absorbs carbon dioxide, prevents soil erosion, protects groundwater, and reduces stormwater runoff. Smart practices maximize these benefits while minimizing negative impacts.
Select appropriate grasses: Choose species and varieties best adapted to your region, site conditions (sun/shade, wet/dry), and intended use. Work with your local garden center or Extension Service.
Test soil: Soil testing every 3 to 5 years reveals exactly what nutrients and pH adjustments your lawn needs, eliminating guesswork and over-application.
Fertilize at recommended rates and timing only: Different grasses need different amounts. Apply only what your soil test recommends. Avoid frequent light applications; the research shows heavy-use golf courses and sod farms thrive on just 1 pound of actual nitrogen per 1,000 square feet per year.
Use slow-release nitrogen: These products feed grass over time as it needs nutrients, unlike quick-release products that wash away unused.
Avoid phosphorus unless needed: Research shows phosphorus-free fertilizers are sufficient for established lawns with adequate soil phosphorus, protecting waterways.
Leave clippings on the lawn: Grasscycling returns nitrogen and organic matter, reducing fertilizer needs and waste removal.
Mow high and frequently: Tall grass shades weeds and develops deep roots requiring less water and fertilizer.
Aerate compacted soil: Reduces water runoff and improves fertilizer uptake.
Apply compost: Annual top-dressing with compost builds soil structure, water-holding capacity, and beneficial microorganism populations.
Water efficiently: Apply water to soak the root zone, then let soil dry before rewatering. Morning applications reduce disease and evaporation. Install rain sensors on automatic sprinkler systems.
Sweep up spilled fertilizer: Any fertilizer landing on driveways and sidewalks should be swept up to prevent stormwater runoff pollution.
Seasonal Care Calendar
Spring (Cool-Season Lawns) / Late Spring (Warm-Season Lawns)
- Rake and remove old leaves, sticks, and debris.
- Evaluate lawn for low spots, bare areas, and compaction.
- Test soil pH and nutrient levels. Most grasses prefer pH 6.0 to 7.5 (slightly acidic).
- Apply lime if pH is too low; apply sulfur if too high.
- Wait until grass is actively growing, then apply a light slow-release fertilizer if needed.
- Overseed thin or bare areas. Choose appropriate grass types for sun, shade, and soil conditions.
- Aerate compacted areas before or immediately after overseeding.
- Water deeply but less frequently, encouraging deeper roots.
- Begin regular mowing when grass reaches one-third taller than recommended height.
Fall (Cool-Season Lawns) / Spring to Summer (Warm-Season Lawns)
Fall for cool-season grasses (North):
- Apply the most important fertilizer application of the year in early fall (September). This is when cooler weather and adequate moisture allow grass to store energy for spring green-up and root growth.
- Avoid fertilizing right before heavy rain or when the ground is frozen.
- Rake and remove leaves to prevent smothering.
- Overseed thin lawns; fall is ideal for cool-season seed establishment.
- Aerate if needed; fall is excellent timing.
- Continue regular mowing at proper height. Some experts recommend a slightly lower final fall mow to reduce winter disease, though this is optional.
Late spring to early summer for warm-season grasses (South):
- Apply the main fertilizer feeding in late spring (May). This supports vigorous growth as temperatures rise.
- Establish warm-season plugs and sprigs in late spring to early summer.
- Once growth begins, begin regular mowing.
A Note on Mower Selection
While modern lawn mowers come in many types, any sharp-bladed mower properly maintained and used at correct heights produces a healthy lawn. Focus on proper mowing practices rather than equipment.
Further Reading
For detailed information on specialized topics related to lawn care, consult our guides on Fertilizers, Weed Control, and Pest Control. Contact your local Cooperative Extension Service or state agriculture department for regional lawn care guidance and information on local fertilizer regulations.
